Contact Email

My contact email: 1tgoding@gmail.com

Friday, July 14, 2023

Cockpit Topside work continues

 Now it's time to mill up the stringers and sheer clamps for the cockpit seat backs. I used 40mm x 19 mm knot free spruce from the local hardware.


I set my table saw blade to 72 degrees. 


...and ran two 2.4m long x 40mm wide spruce through. 
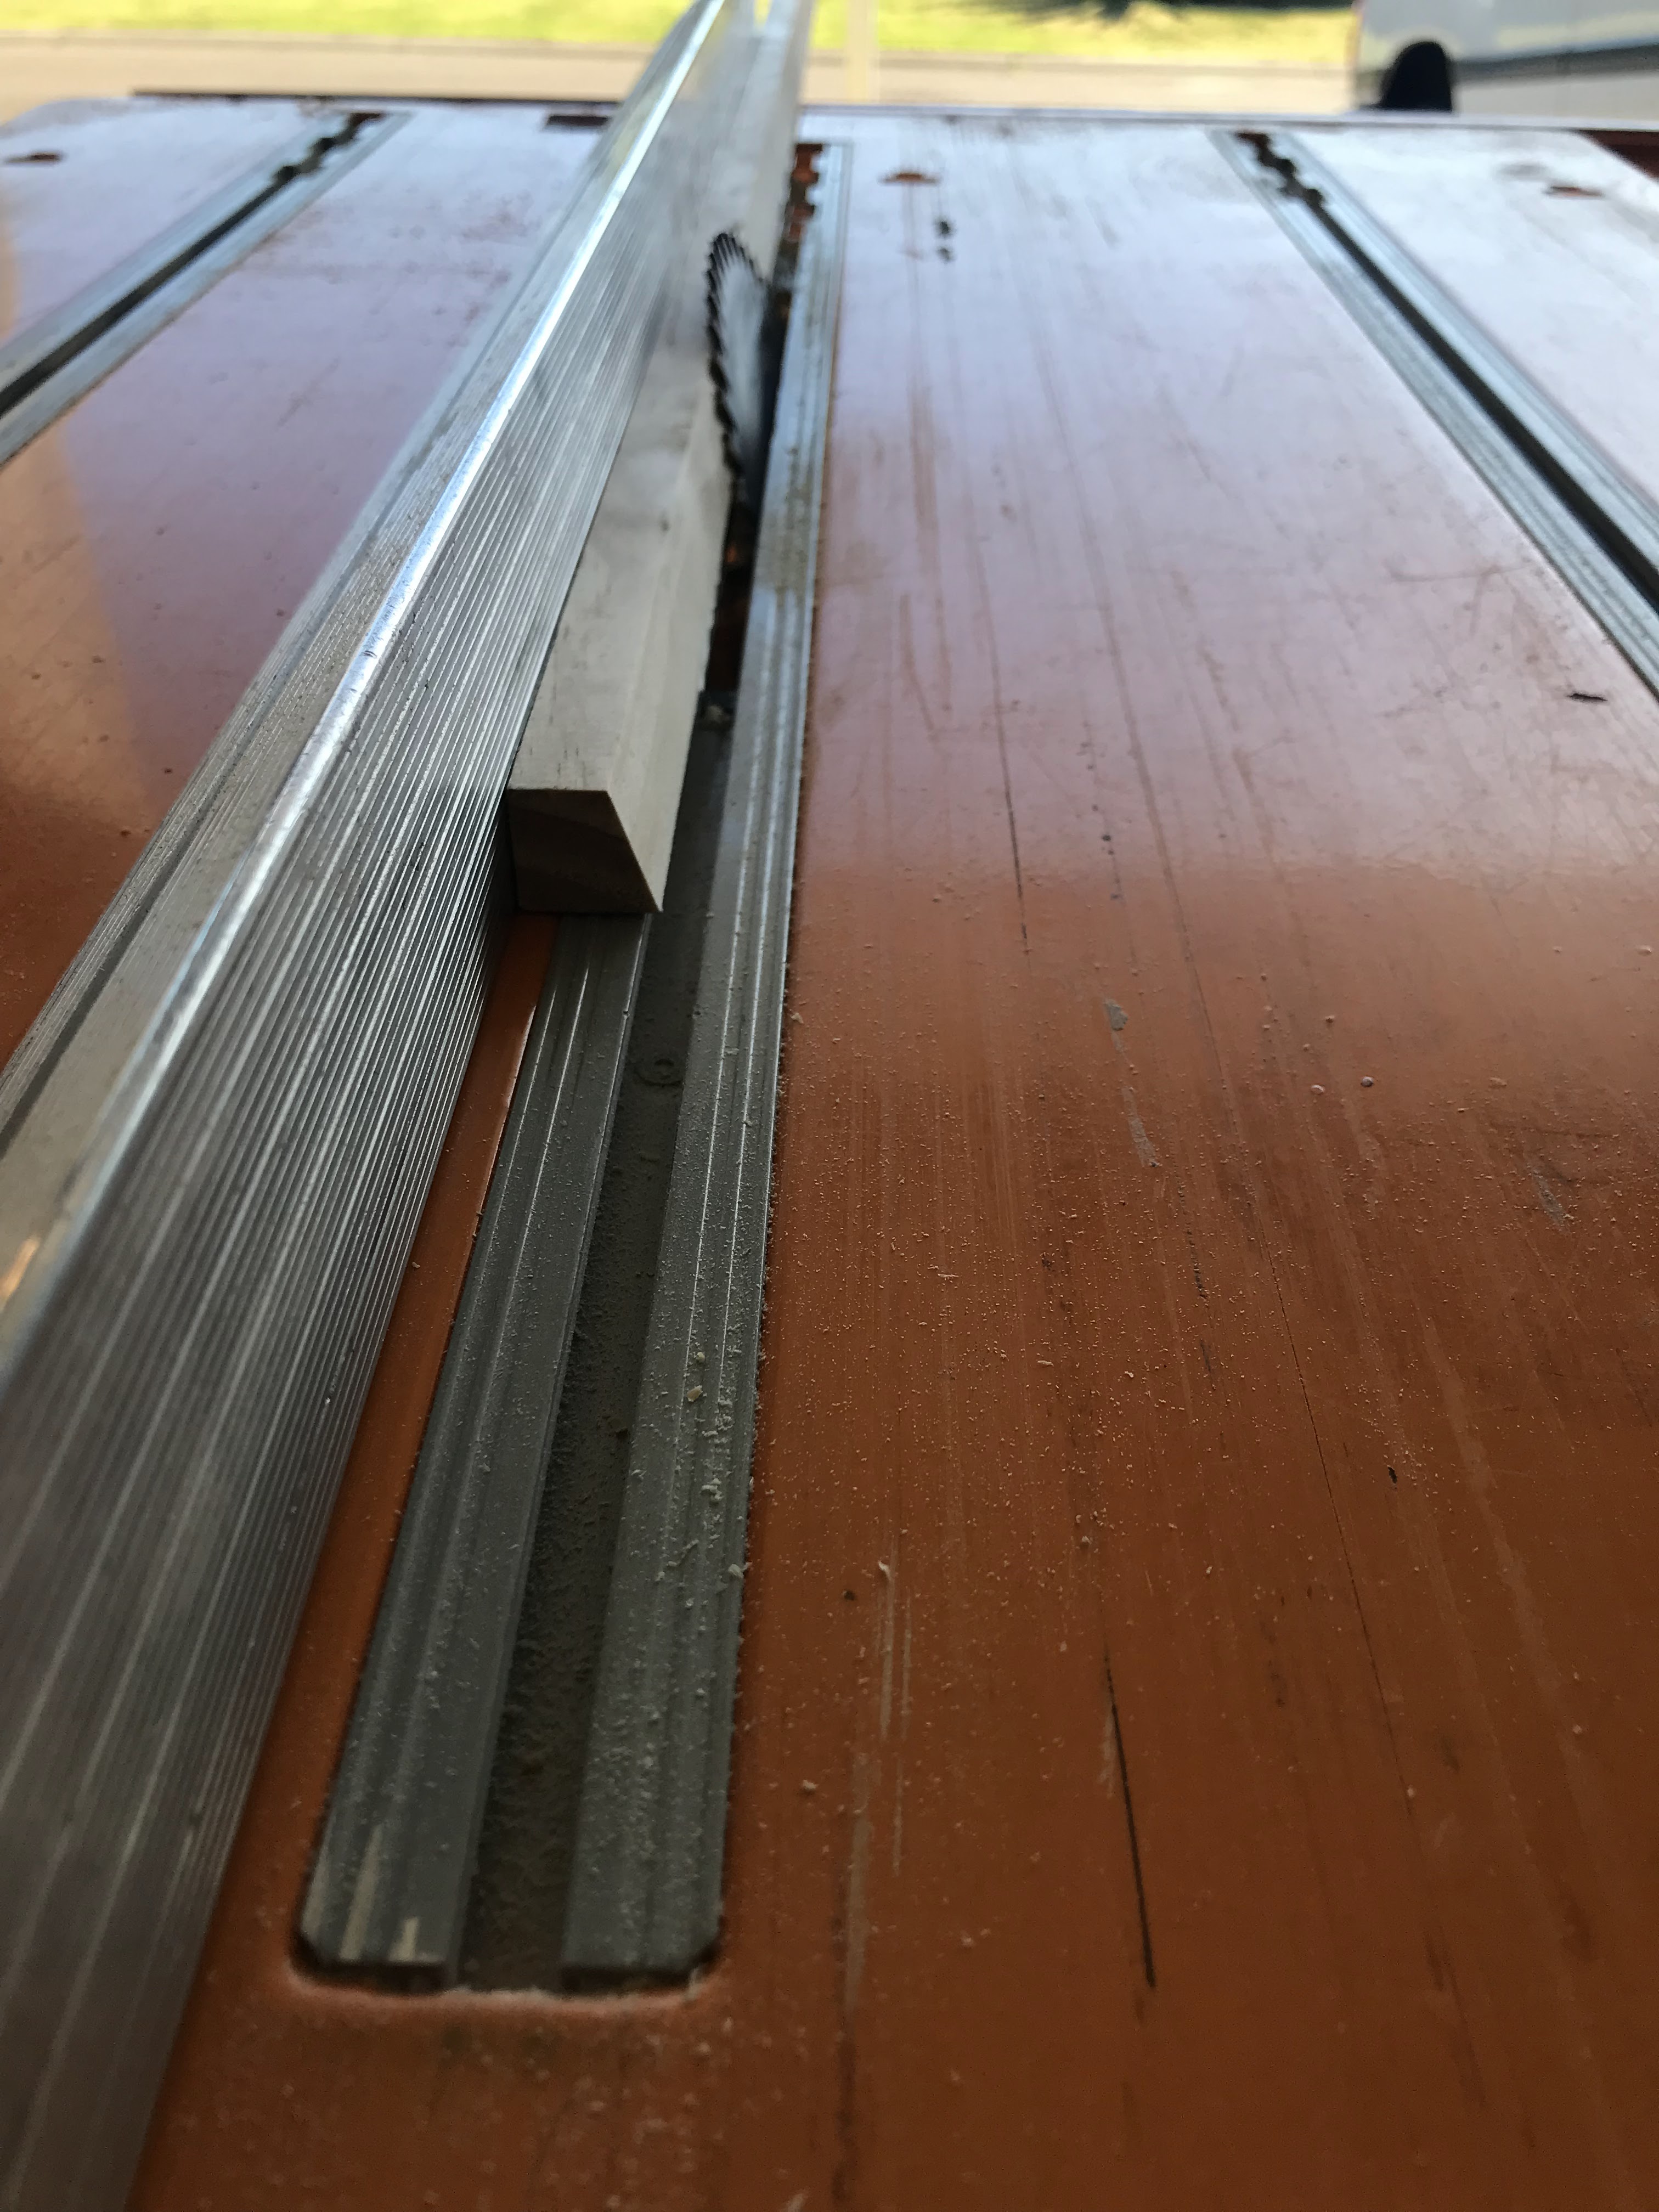


This produced the four angled stringers required for the seat backs. The saw was set back to 90 degrees for the two sheer clamps on the upper outer edge.


The stringers and sheer clamps were run through a thicknesser to 13mm.


All the stringers are ready to be glued in place.


The port & starboard 72-degree lower stringers are glued in place, small screws and weights maintain a nice curve. 


Two temporary frames are cut from scrap and propped near the transom.


The upper stringer and sheer clamp is glued in place on the starboard side and held with weights and clamps. Small adjustments are made to the recesses in the seat back frames to fit the stringers and sheer clamp.


The port side sheer clamp is clamped in place.


When the epoxy dried, I used a combination of belt sander, block plane and orbital sander to reduce the height of the stringers to the same level as the hull side decks. A long spirit level was layed athwartships to ensure the seat back stringers were level. A nice pleasing to the eye curve is maintained for the seat back tops.

I made a cardboard template for the transom skirt for three reasons. firstly, A cardboard template is easy to bend in place than 9mm plywood, Secondly, the placement of the cardboard template with cut outs for the seat back stringers enabled a precise line to be scribed on the stringers so when cut they fitted neatly against the transom skirt and thirdly, it enabled me to cut out the two blocks used to secure the transom skirt.
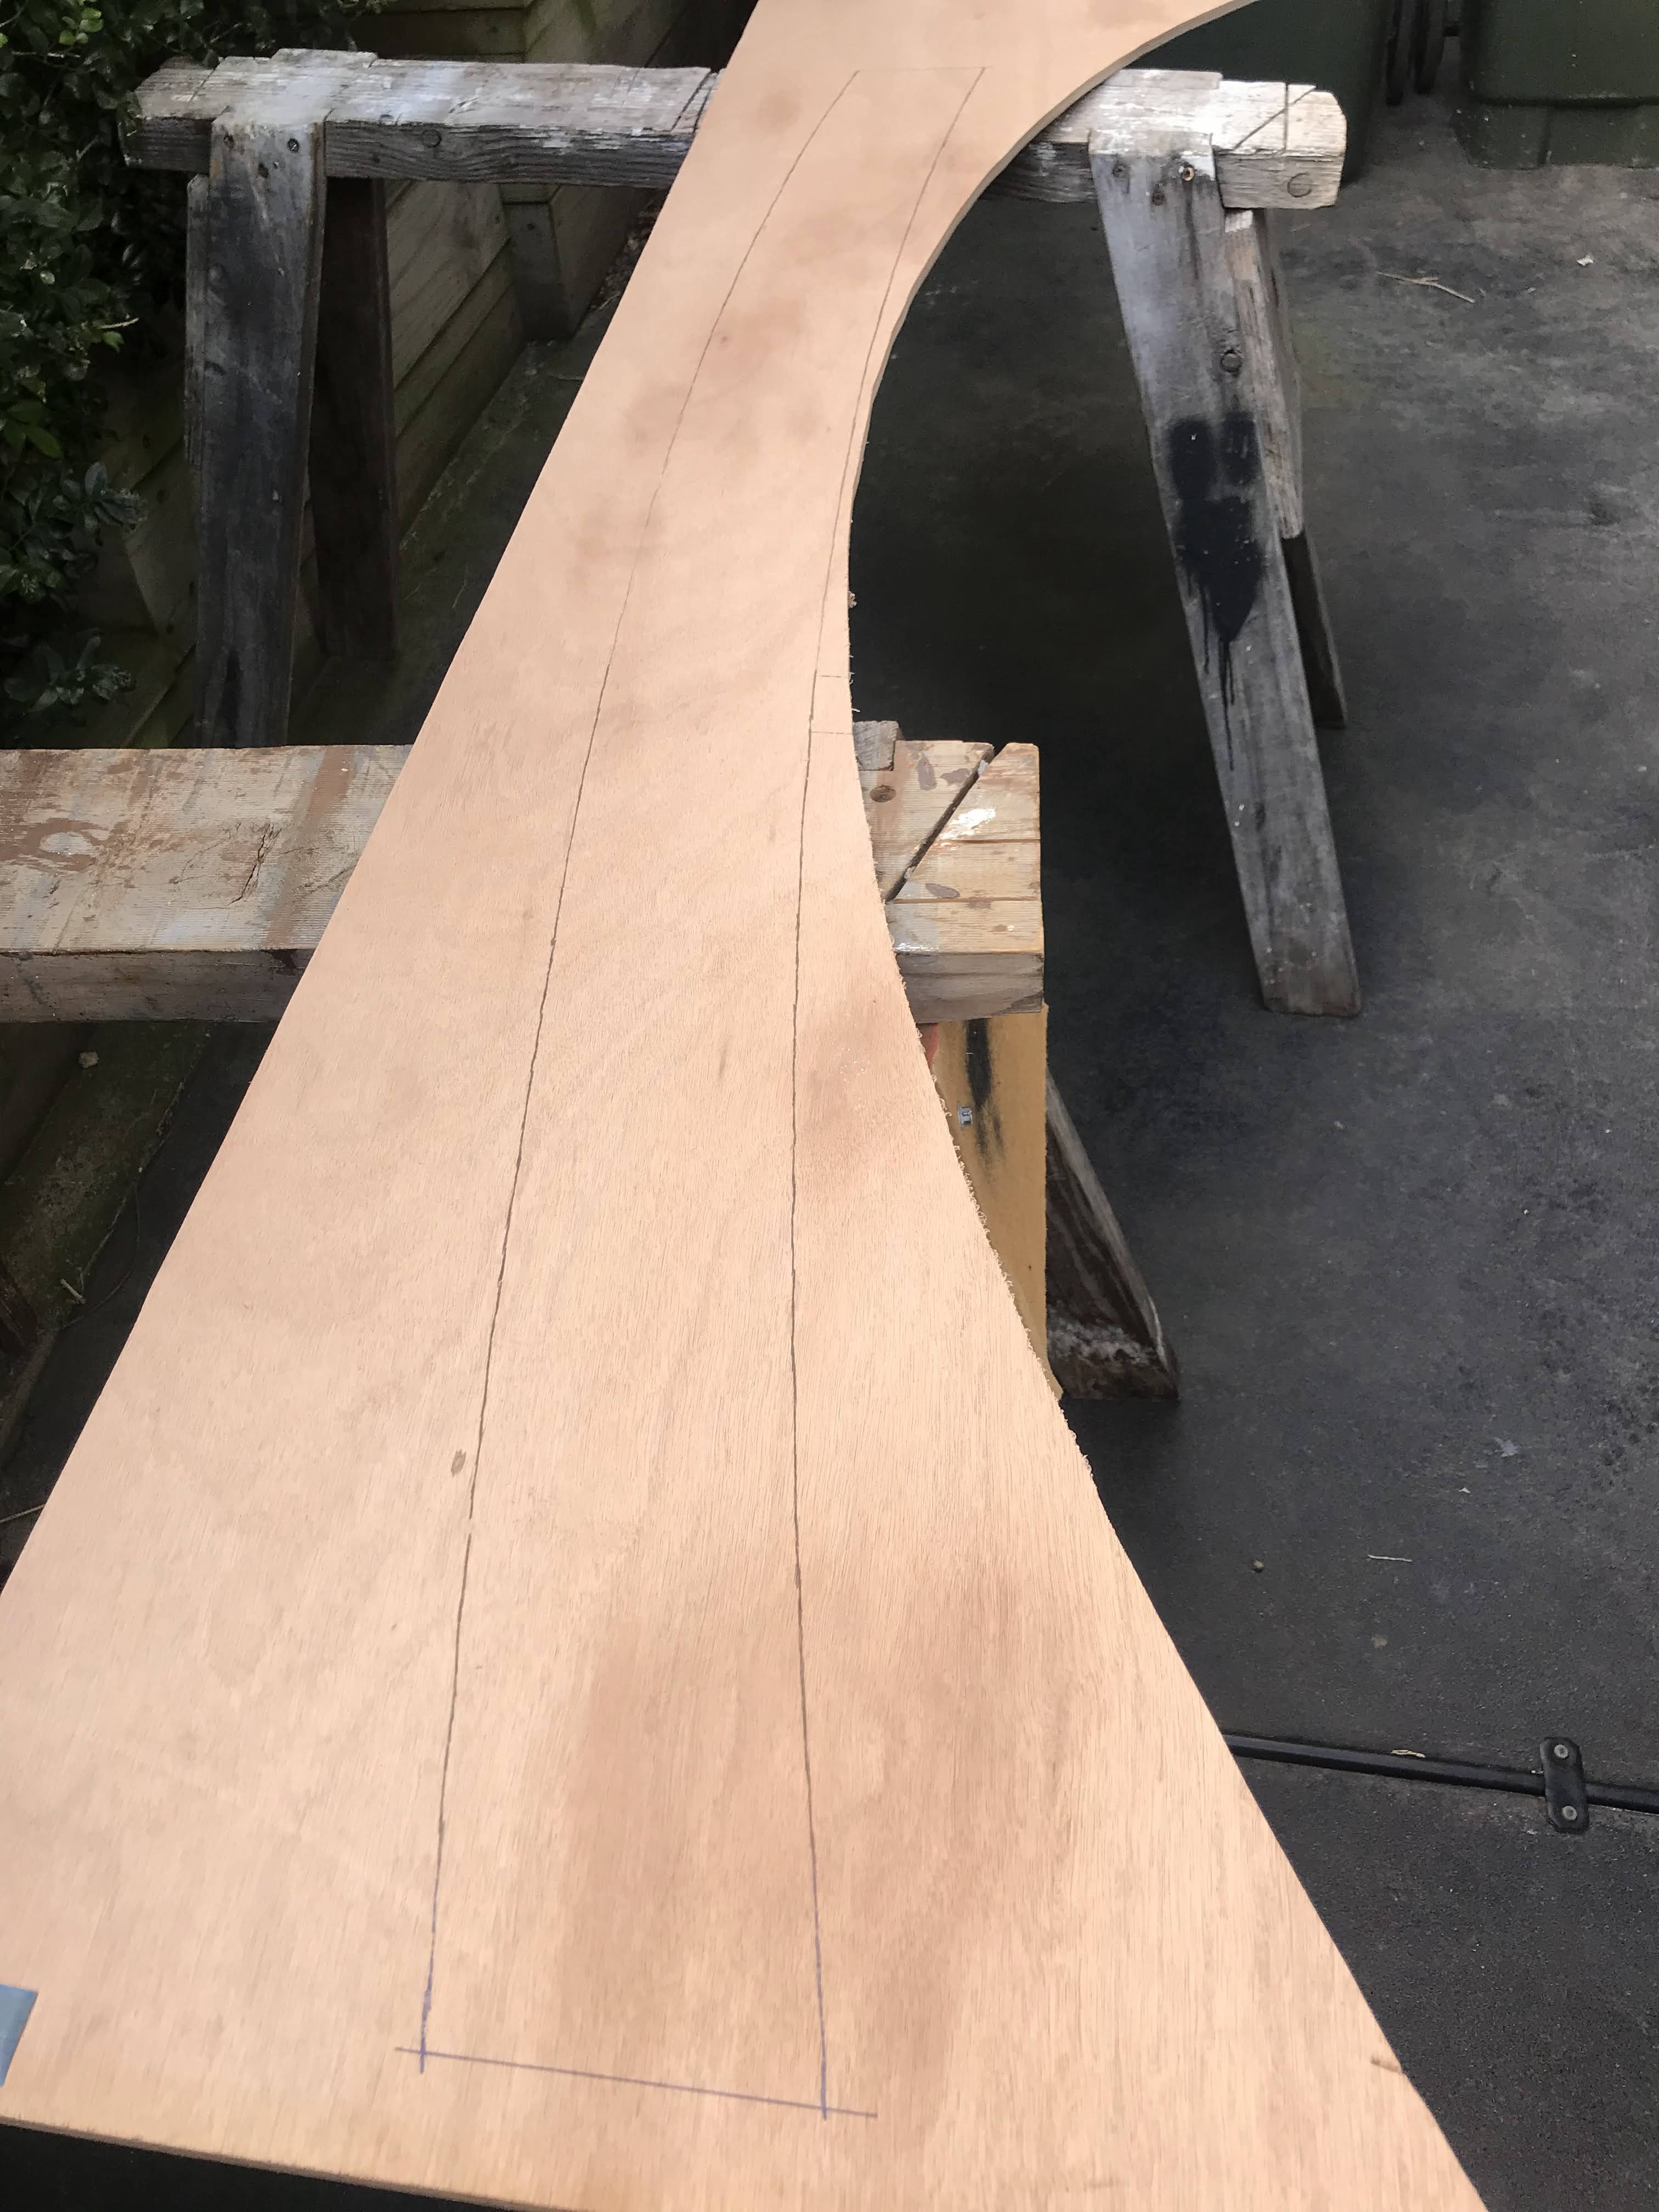


After trimming the seat back stringers and gluing the blocks the cardboard template was used to scribe the 9mm ply for the transom skirt... so n ow it's time to bring out the trusty jig saw and make some dust.


Temporary angled blocks are screwed to the transom. Starting in the middle the skirt is screwed in place and pushed and screwed to follow the top of the transom.


It just amazes me how all these straight pieces of timber when fixed in place form such beautiful curves and traditional lines, My PocketShip is evolving into a pretty girl.
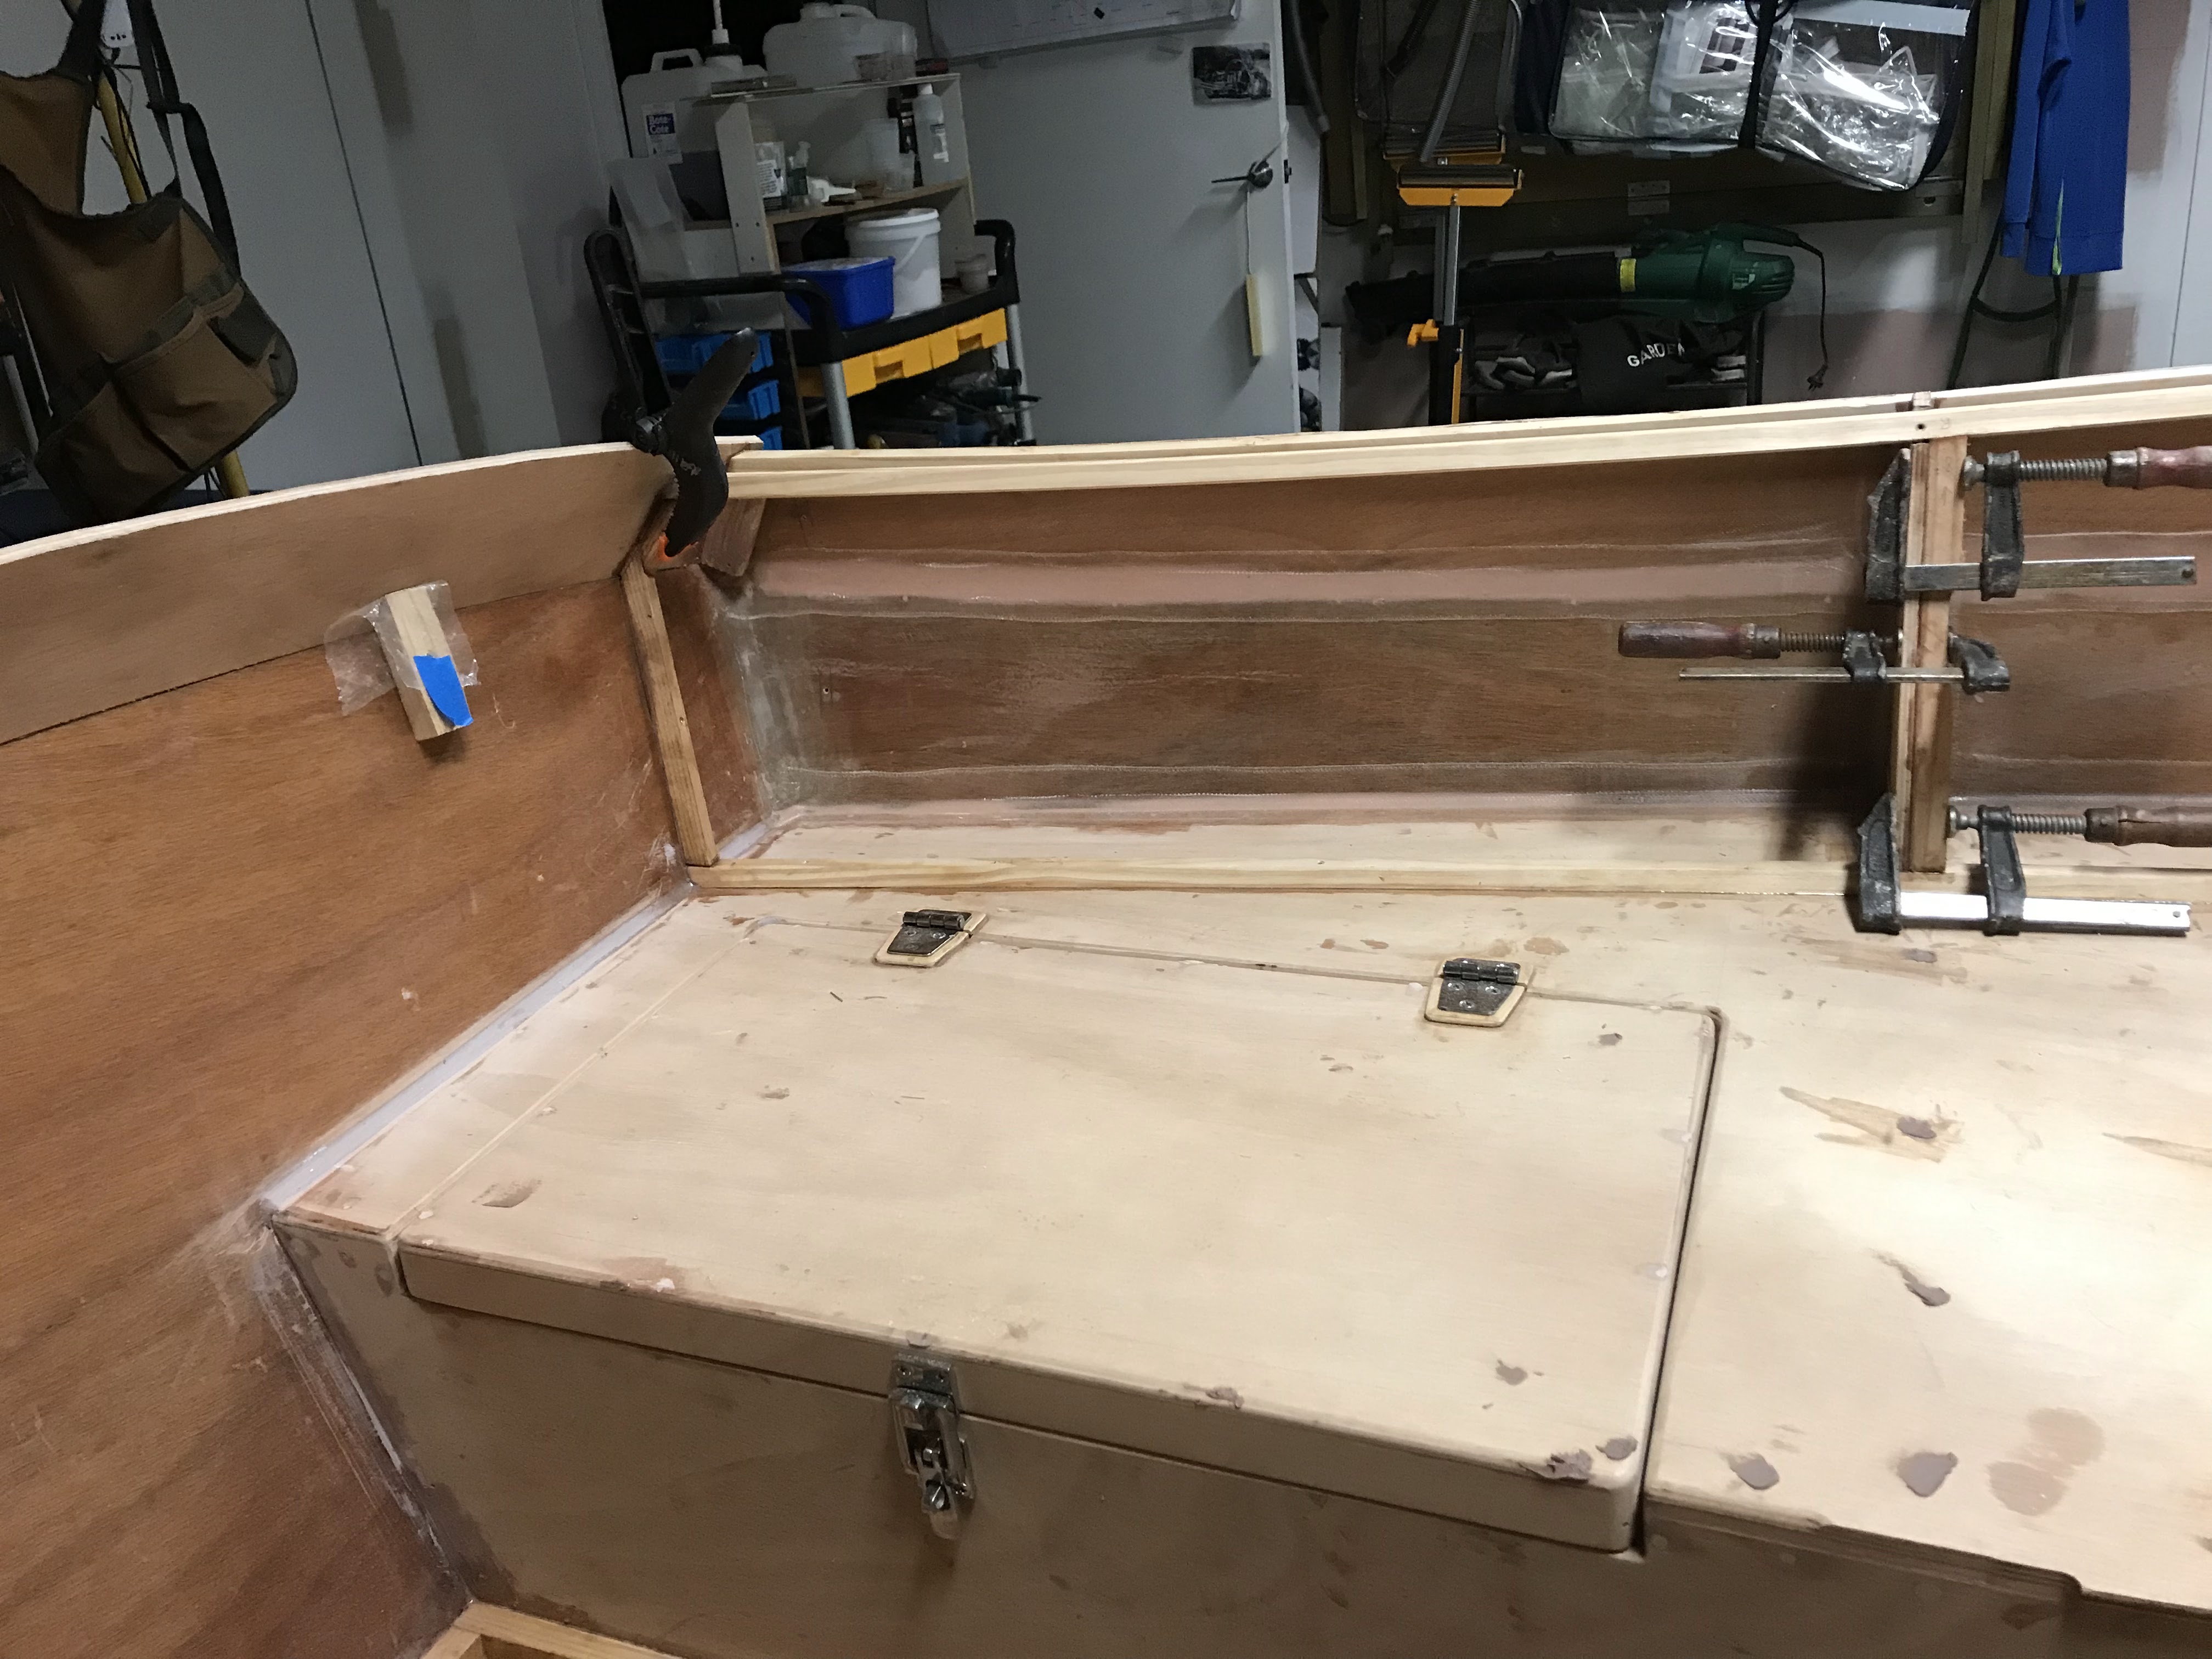


In addition to the cabin BH and Transom I glued extra cleats to each seat back frame to provide additional area for securing the 6mm plywood seat backs.


I also added an extra vertical cleat between the upper and lower stringers, in the middle of frames 2 & 3. Again, to provide support for securing the seat backs.


Time to install blocking timbers in the seat back tops for the spinnaker hardware, gallows and aft anchor cleats. I also added additional blocking Timbers at the forward end next to the cabin BH just in case I think of anything else to install. I constructed these from three pieces of scrap ply (2 x 9mm and 1 x 6mm) laminated together.


The lower piece straddled the stringers as a base for the two upper pieces which fit between the stringers. A small rabbet on the edge of the lower piece enables the upper pieces to fit level with the top of the stringers.


The three sections are glued together and held in place with clamps.


Here are the spinnaker hardware blocking timbers located either side of the seat back frames.


Sunday, July 2, 2023

Timber Steaming Test


 I decided to trial a timber steaming system. I initially intended to build something from 90mm diam. PVC plumbing pipe but after a scrounge around under the house I found a plastic tube from a petrol garden blower. The tube's diameter was large enough and the length long enough for both the sheer clamps and the forward section of the gunwales. 


The tube had an angled section on the end that would sit above a boiling jug or saucepan.


 STEAMING TIMBER

Trial One


The first set up involved laying the pipe on a trolly with a boiling kettle supplying steam.


As can be seen here by the escaping steam it worked OK but a lot of heat was lost out of the plastic tube, and I wasn't happy with taping down the "on" switch of the kettle to maintain boiling.


Trial Two


The plastic tube was 
tightly wrapped with towels to keep in the heat.


The unit was placed on sawhorses and angled so the end was lower to allow water to run into a bucket.


A pot of boiling water was placed under the tube and towels used to direct the steam into the pipe.


The starboard sheer clamp was placed inside the pipe. You can see the steam coming from the end of the pipe.


I steamed the starboard sheer clamp for twenty minutes before clamping in place. While the timber did bend OK it still required some force from the clamps, there was no breaks or cracks.
I left it in situ under clamps overnight, when removed the timber maintained a nice bend.


Wednesday, June 28, 2023

Topside Work continues.

 After the upper hull sides and seat-back frames are epoxy tacked in place it was time to lay some fillets. Larger diameter fillets were layed between the hull sides and the topside panels, smaller fillets layed around the seatback frames.


I took my time with the fillets to reduce sanding. 


Leftover filleting epoxy was used to fill screw holes in the cockpit floor.


After sanding, the fillets and seat back frames are strengthened with fiberglass tape.


Thats the end of sixteen months of construction


Sunday, May 28, 2023

Topside Panels

 Using carbon paper under full size paper plans I traced the topside panels onto the two lengths of 6mm ply scarfed together. I placed the two pieces on top of each other and set to work with the trusty jigsaw.


The inside faces are glassed.


The topsides are stitched in place to the lower hull. She is really taking shape now.


The top sections required some temporary screws to hold in place and the forward point needed shaping to fit neatly together.


Now all the top panels are stitched in place it's time to epoxy tack weld together.


Thats the end of fifteen months of construction

Thursday, May 25, 2023

Forward Deck and Storage Area


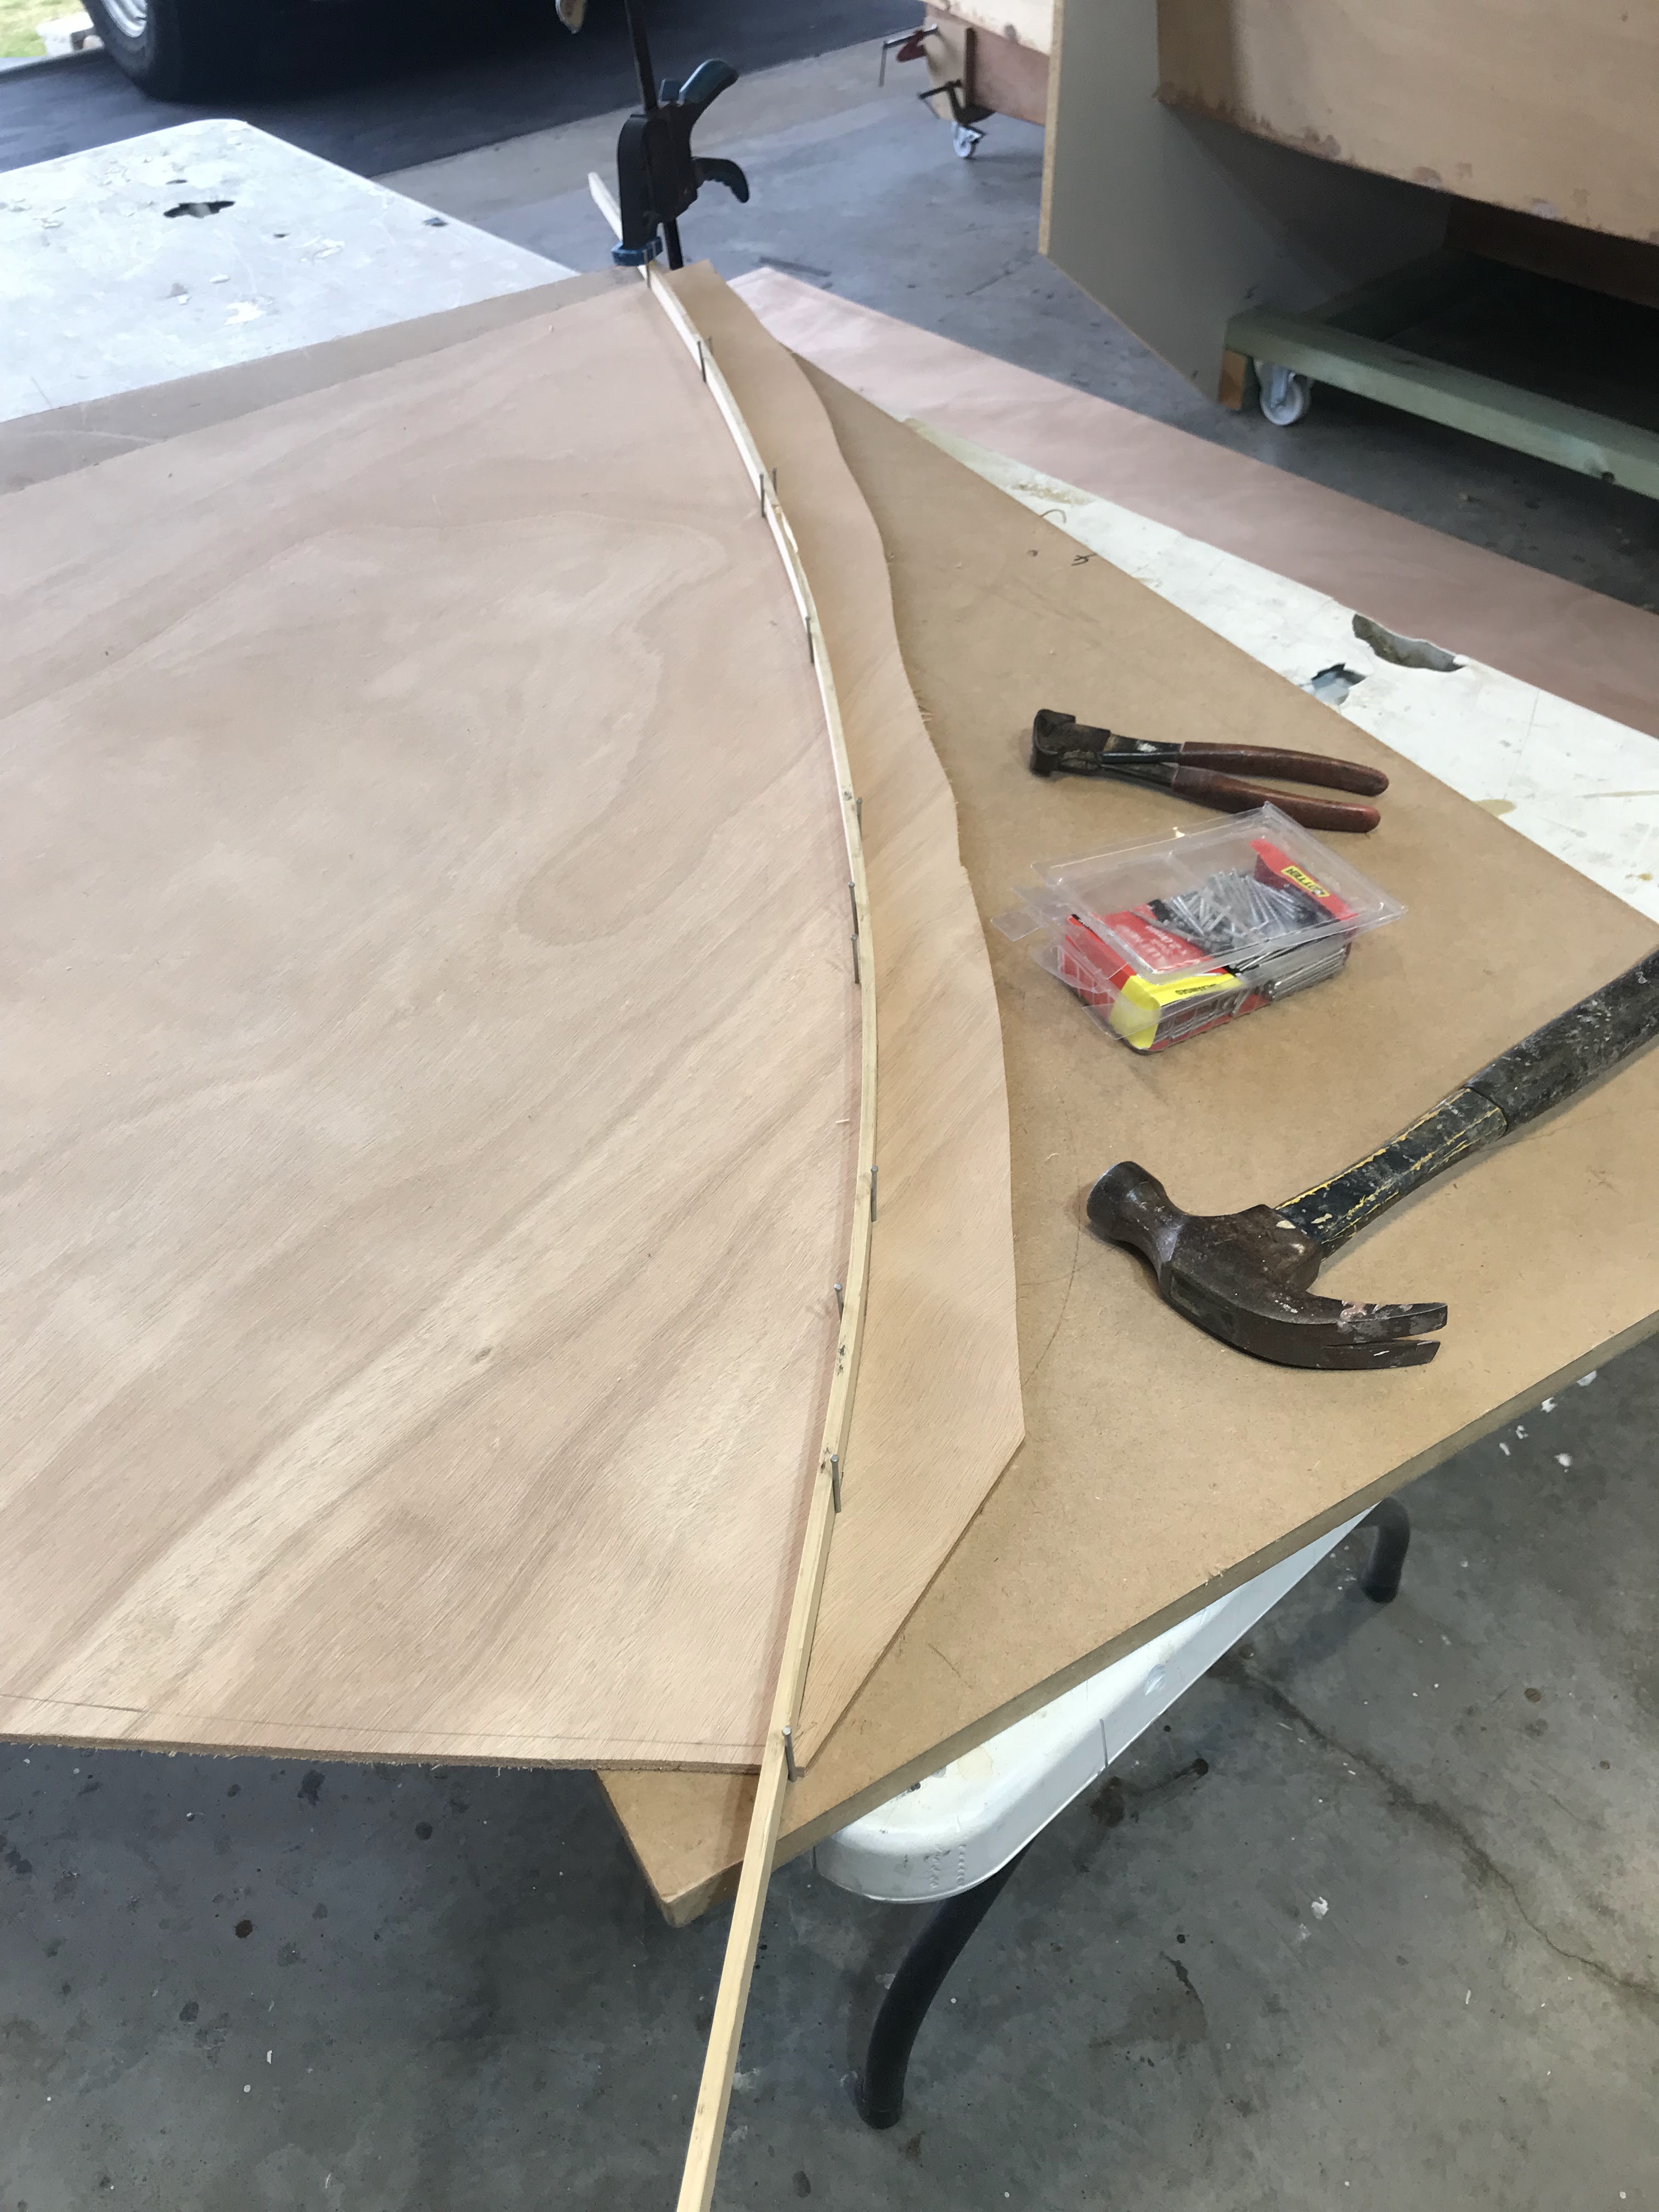
 The forward deck is rough cut larger than the plan. I placed the oversize piece onto the foredeck and traced the exact size.

A 6mm thick stick was secured inside the traced line as shown in pic. and another line drawn inside the original line.

This method provided an exact foredeck shape less 6mm for the foredeck sides.


Before securing the foredeck, I will build and install a platform for the battery and paint the interior of the forward storage area.


To support the battery, I glued and glassed two small, cleated frames to the hull bottom. A third cleat was secured to BH 2. This cleat has a slot for the electrical wires to pass through to the electrical panel. 


The battery platform sealed with epoxy prior to painting. 


Using a renovator tool, I cut out the access lid for the forward anchor locker. The lid will be hinged to the foredeck.


The underside is glassed for additional strength. 


And the exposed area is coated with polyurethane for a bright finish.


The forward storage area is painted and masked up in preparation for gluing down the foredeck.


The foredeck is glued and held down with temporary screws. The underside is cleaned up and the masking tape removed.


The foredeck is cut slightly larger around the anchor locker to provide a ledge for the lid to sit on.


The upper hull sections are stitched and then tack glued in place, fillets between the upper hull sides and the foredeck are installed and sanded smooth.


The foredeck sides are masked up and glass cloth is smoothed in place. 


Wednesday, May 24, 2023

Foam Flotation in the Bow Compartment


In preparation for the bow compartment buoyancy, I'd collected bags of polystyrene foam. I thought this was a good idea until I had to cut it up. This stuff makes so much mess, it goes everywhere. I even found it in my undies. 


But I persevered and eventually filled the bow area.


On September 1, 2022, I posted a forward anchor mod to the bow area. My intention is to make this compartment watertight so as to not lose any buoyancy. I also installed the round bow eye access port in the floor of this compartment instead of in BH 2.


If you zoom in on this pic, you can see the bow eye nuts through a 90 mm pvc pipe pictured below.


I glued the pipe in place to hold it securely while I installed the polystyrene foam in the bow compartment. 


The polystyrene foam is cleaned up and levelled to the bow area deck.