First Scarf on the Keelson.
I used a circular saw scarfing jig; it takes a bit of initial setting up on the base of the saw but once done it's quick to add or remove the jig. A forty-tooth circular saw blade left a perfect cut on the one in eight scarf.
The first scarf of the build on the Keelson.
A string line was stretched along the keelson centerline prior to gluing the scarf. This ensured a straight keelson.
Lead Smelting the Keel.
Now it's time to melt some lead, I used an old stainless-steel pot and a single burner gas stove. I was lucky enough to have some mates who donated a bunch of sinkers and old scuba weights which I combined with tyre weights, thanks Greg & Graeme.
The first melt was the forward section. The keel was levelled, and two concrete pavers clamped either side and one beneath. I raised the keel to allow the lower clamps to fit.
The pouring process went smoothly with lots of smoke from burning timber. Two pots of lead were melted to fill this section. I left an inch of melted lead in the pot after the first pour to speed up the melting process for the second pot.
Time to prepare the rear section. The keel was raised and levelled, a blocking piece fixed beneath, and four pavers clamped to the sides.
A good old Aussie penny was placed for good luck, I managed to find one for the year I was born (yes 1957 was a good year). Then the keel cap was glued and clamped in place. A small four wheeled trolley was placed under to help move the keel around, it's quite heavy.
Time to glue the keelson in place after trial fitting with weights, screws and clamps. The keel was levelled vertically with a spirit level on the side of the centerboard case and the keelson glued and screwed into place with a spirit level to ensure it was at 90 deg. to the keel and centerboard case. Fortunately, the keelson fitted over the circular inspection port spacer I installed earlier which prevented the inspection port catching on the swinging centerboard.

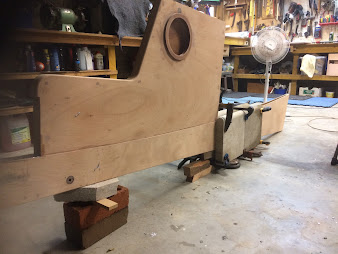
The Cradle.
The cradle is cut from an old and very large piece of 18mm chipboard. I was using it on top of sawhorses as a bench, I won't be sorry to cut it up as it was too heavy to lug around.
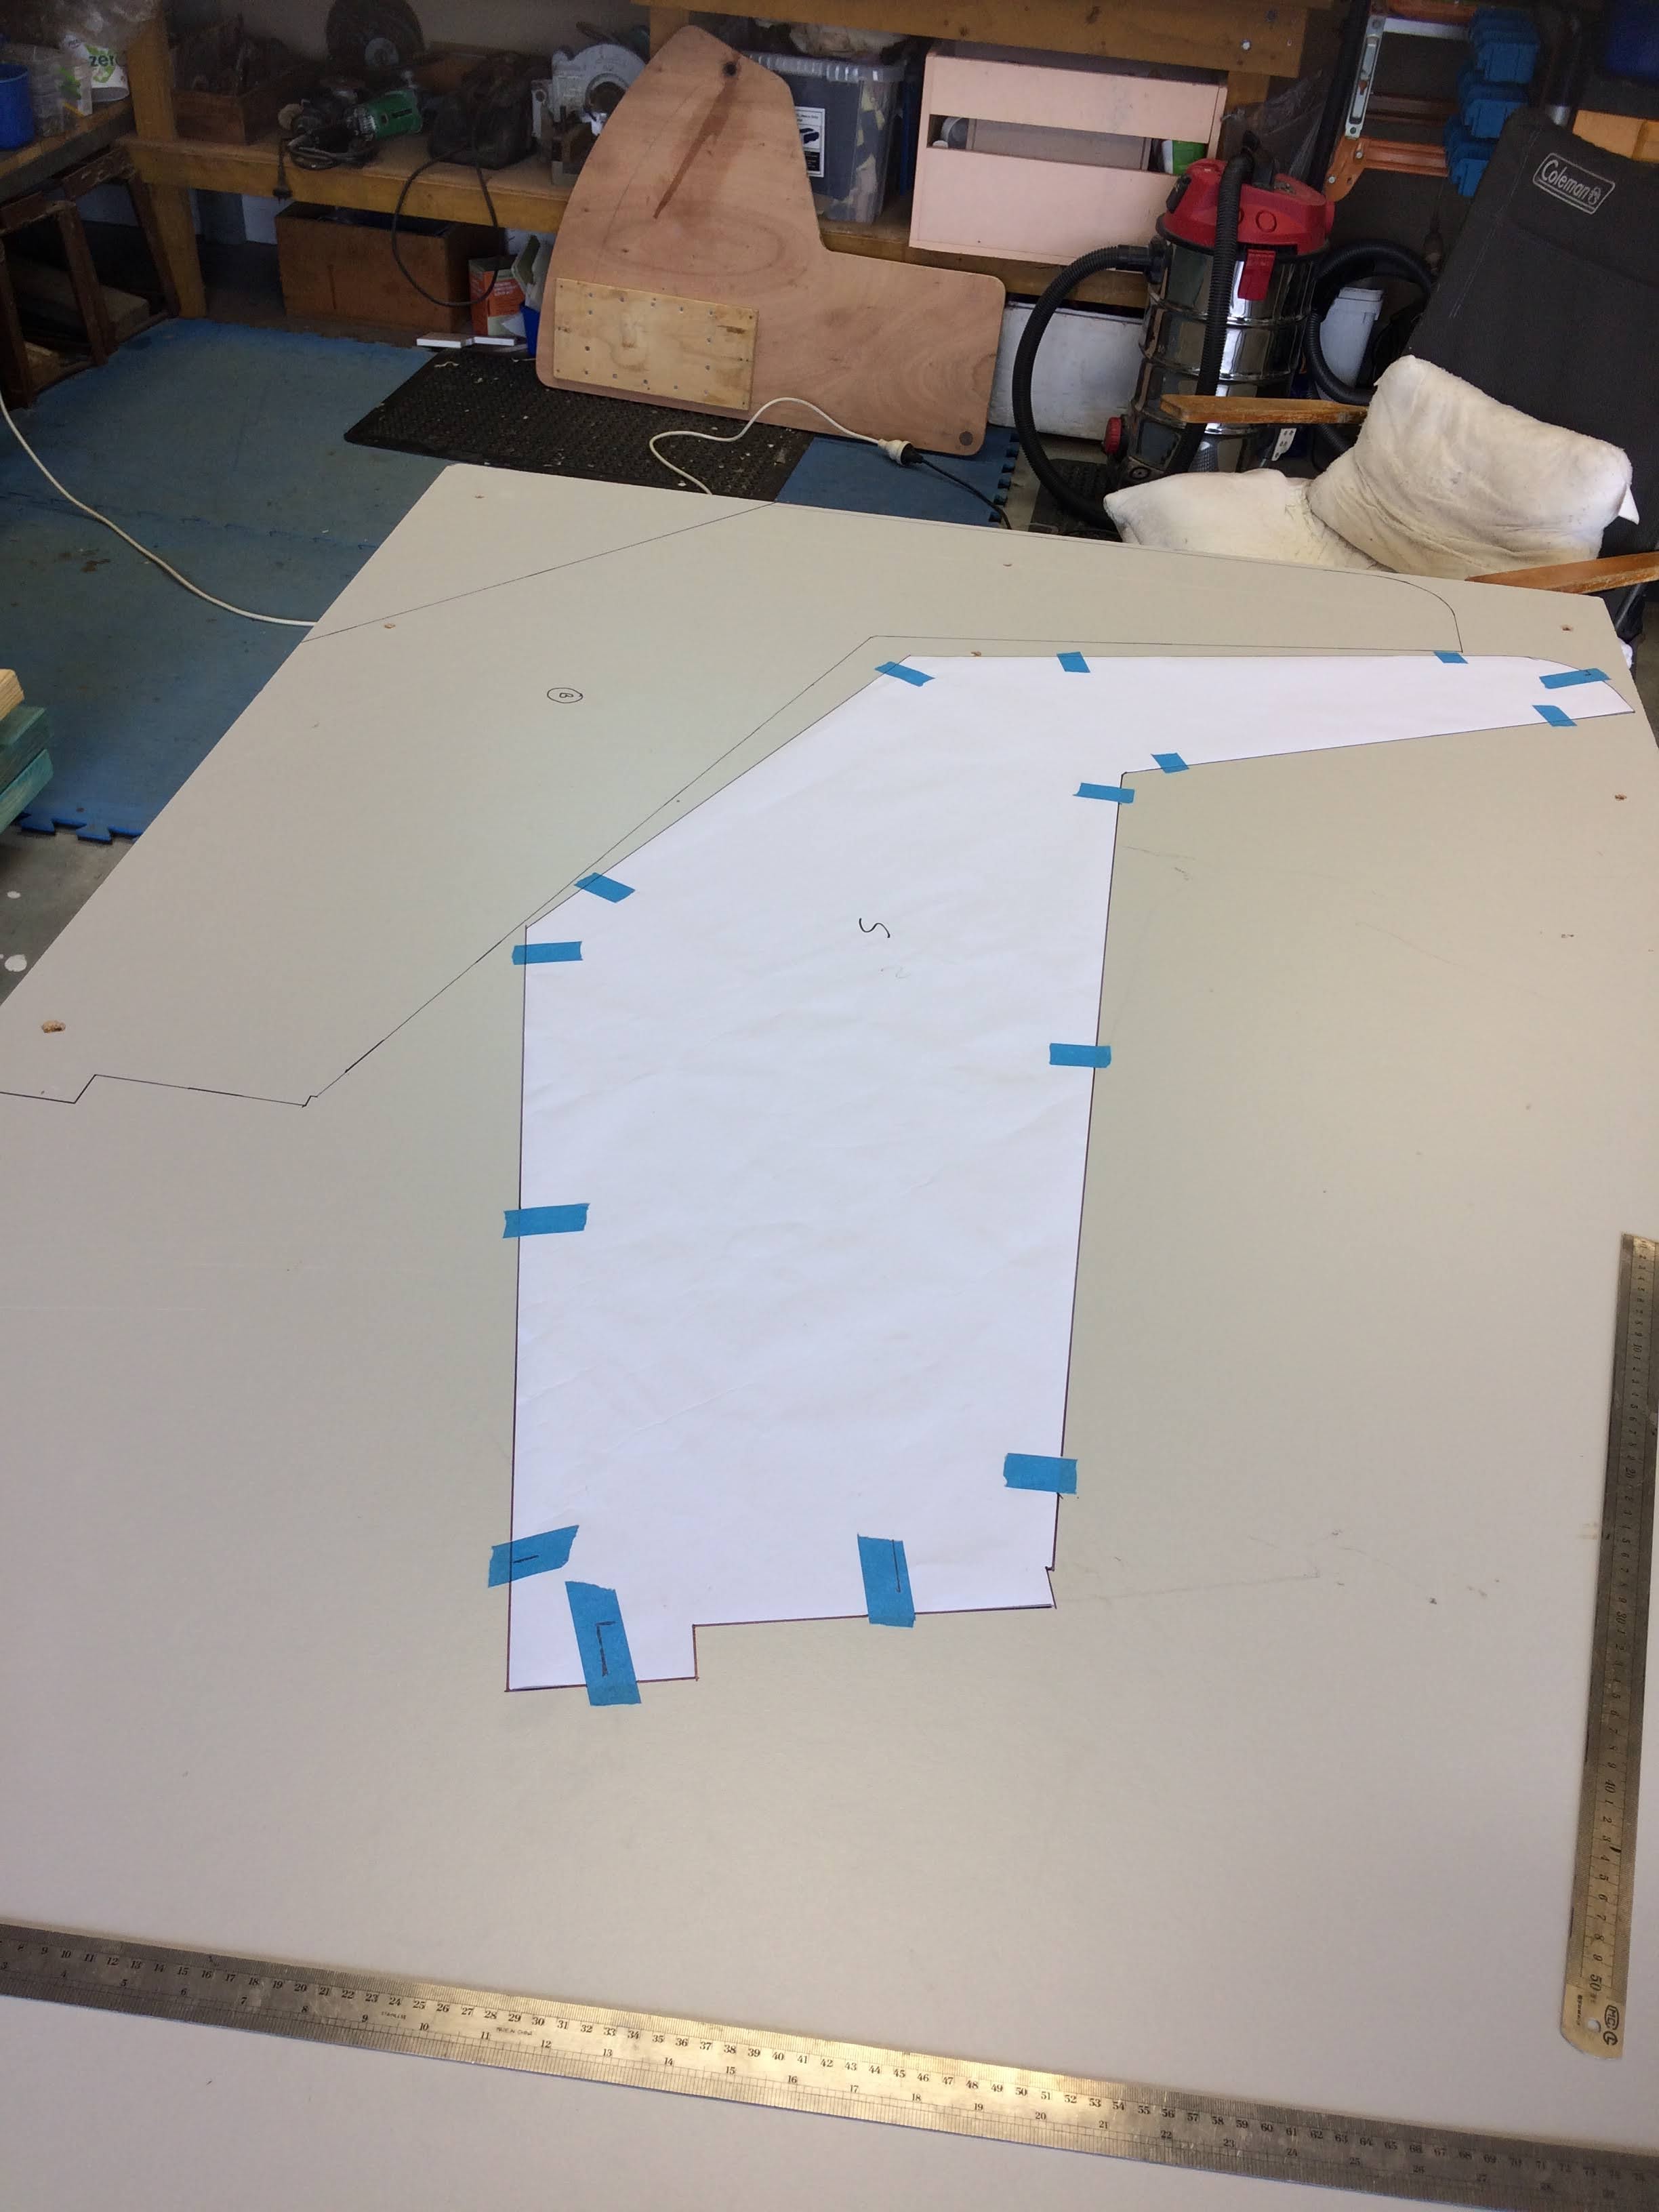
I cut out the cradle plans and traced them onto the chipboard.
The cradle sections are cut out with a forty-tooth blade in a circular saw, lots of dust and noise when cutting chipboard.
The cradles are joined together and lined up with a large 90 deg. square.
Wheels are screwed under the cross members to allow the boat to be moved around the workshop. I used fixed wheels aft and rotating wheels forward which can be locked in. Each wheel has a load capacity of 120 kg. The wheels leave a 10mm gap under the cross beams which can be easily chocked if the cradle needs to be made more stable during the build.
To prevent the boat from tipping up when working inside the hull a rotating lockable wheel was constructed to fit under the aft end of the keel.
The wheel is temporarily secured
to the keel with a clamp and is also lockable.
Time to spend some more money, I received a call from the timber supplier advising the 6mm plywood sheets have finally arrived from overseas, however the recent weather conditions in Australia have been severely affected by La Niña resulting in severe flooding and nonstop raining. I will have to wait for a few weeks before I can pick them up, in the meantime I will do some more work on the centerboard and build the frames and bulkheads from the 9mm stock of plywood.
Lead Smelting The Centerboard.
Time to fire up the gas stove and melt 9kg of lead into the centerboard. A scrap piece of ply screwed under the slotted opening and the board was levelled.
The plywood scrap removed, and the lead cleaned up. The centerboard is ready to shape, glass and paint.
This picture shows the stainless-steel centerboard pivot. I used a long bolt and cut off the threaded end. After reading posts re issues lowering the centerboard, I will drill the centerboard hole a little larger than indicated on the plan.
More on the centerboard to come later.
The bulkheads and frames are cut out and epoxy coating commenced.
There were a number of posts on the Pocketship forum where builders suggested strengthening bulkhead two. So, I decided to glass both sides of bulkhead two, much easier when flat on the bench. I also coated and sanded the remaining bulkheads and floor frames.
I have to say that while transferring paper plans to plywood, cutting and trimming all the pieces is an enjoyable challenge it is very, very time consuming. Its fortunate that I am retired and time is not an issue but if you are time poor it would be much quicker to build from a kit. (just my opinion/suggestion).
That's the end of the Second month of construction.