After 6 coats of polyurethane the underside of the cabin top looks great (check out that shine)
The polyurethane has really brought out the beautiful grain in the plywood.
I'm glad I decided to keep it bright.
It took almost an hour to remove the masking tape, I had to heat it up slightly to remove it in one piece. Then I had to clean off the glue left behind from the masking tape and sand the areas that will adhere to the cabin carlins, cleats and BH's.
A lesson learnt here, not to leave the masking tape on too long.
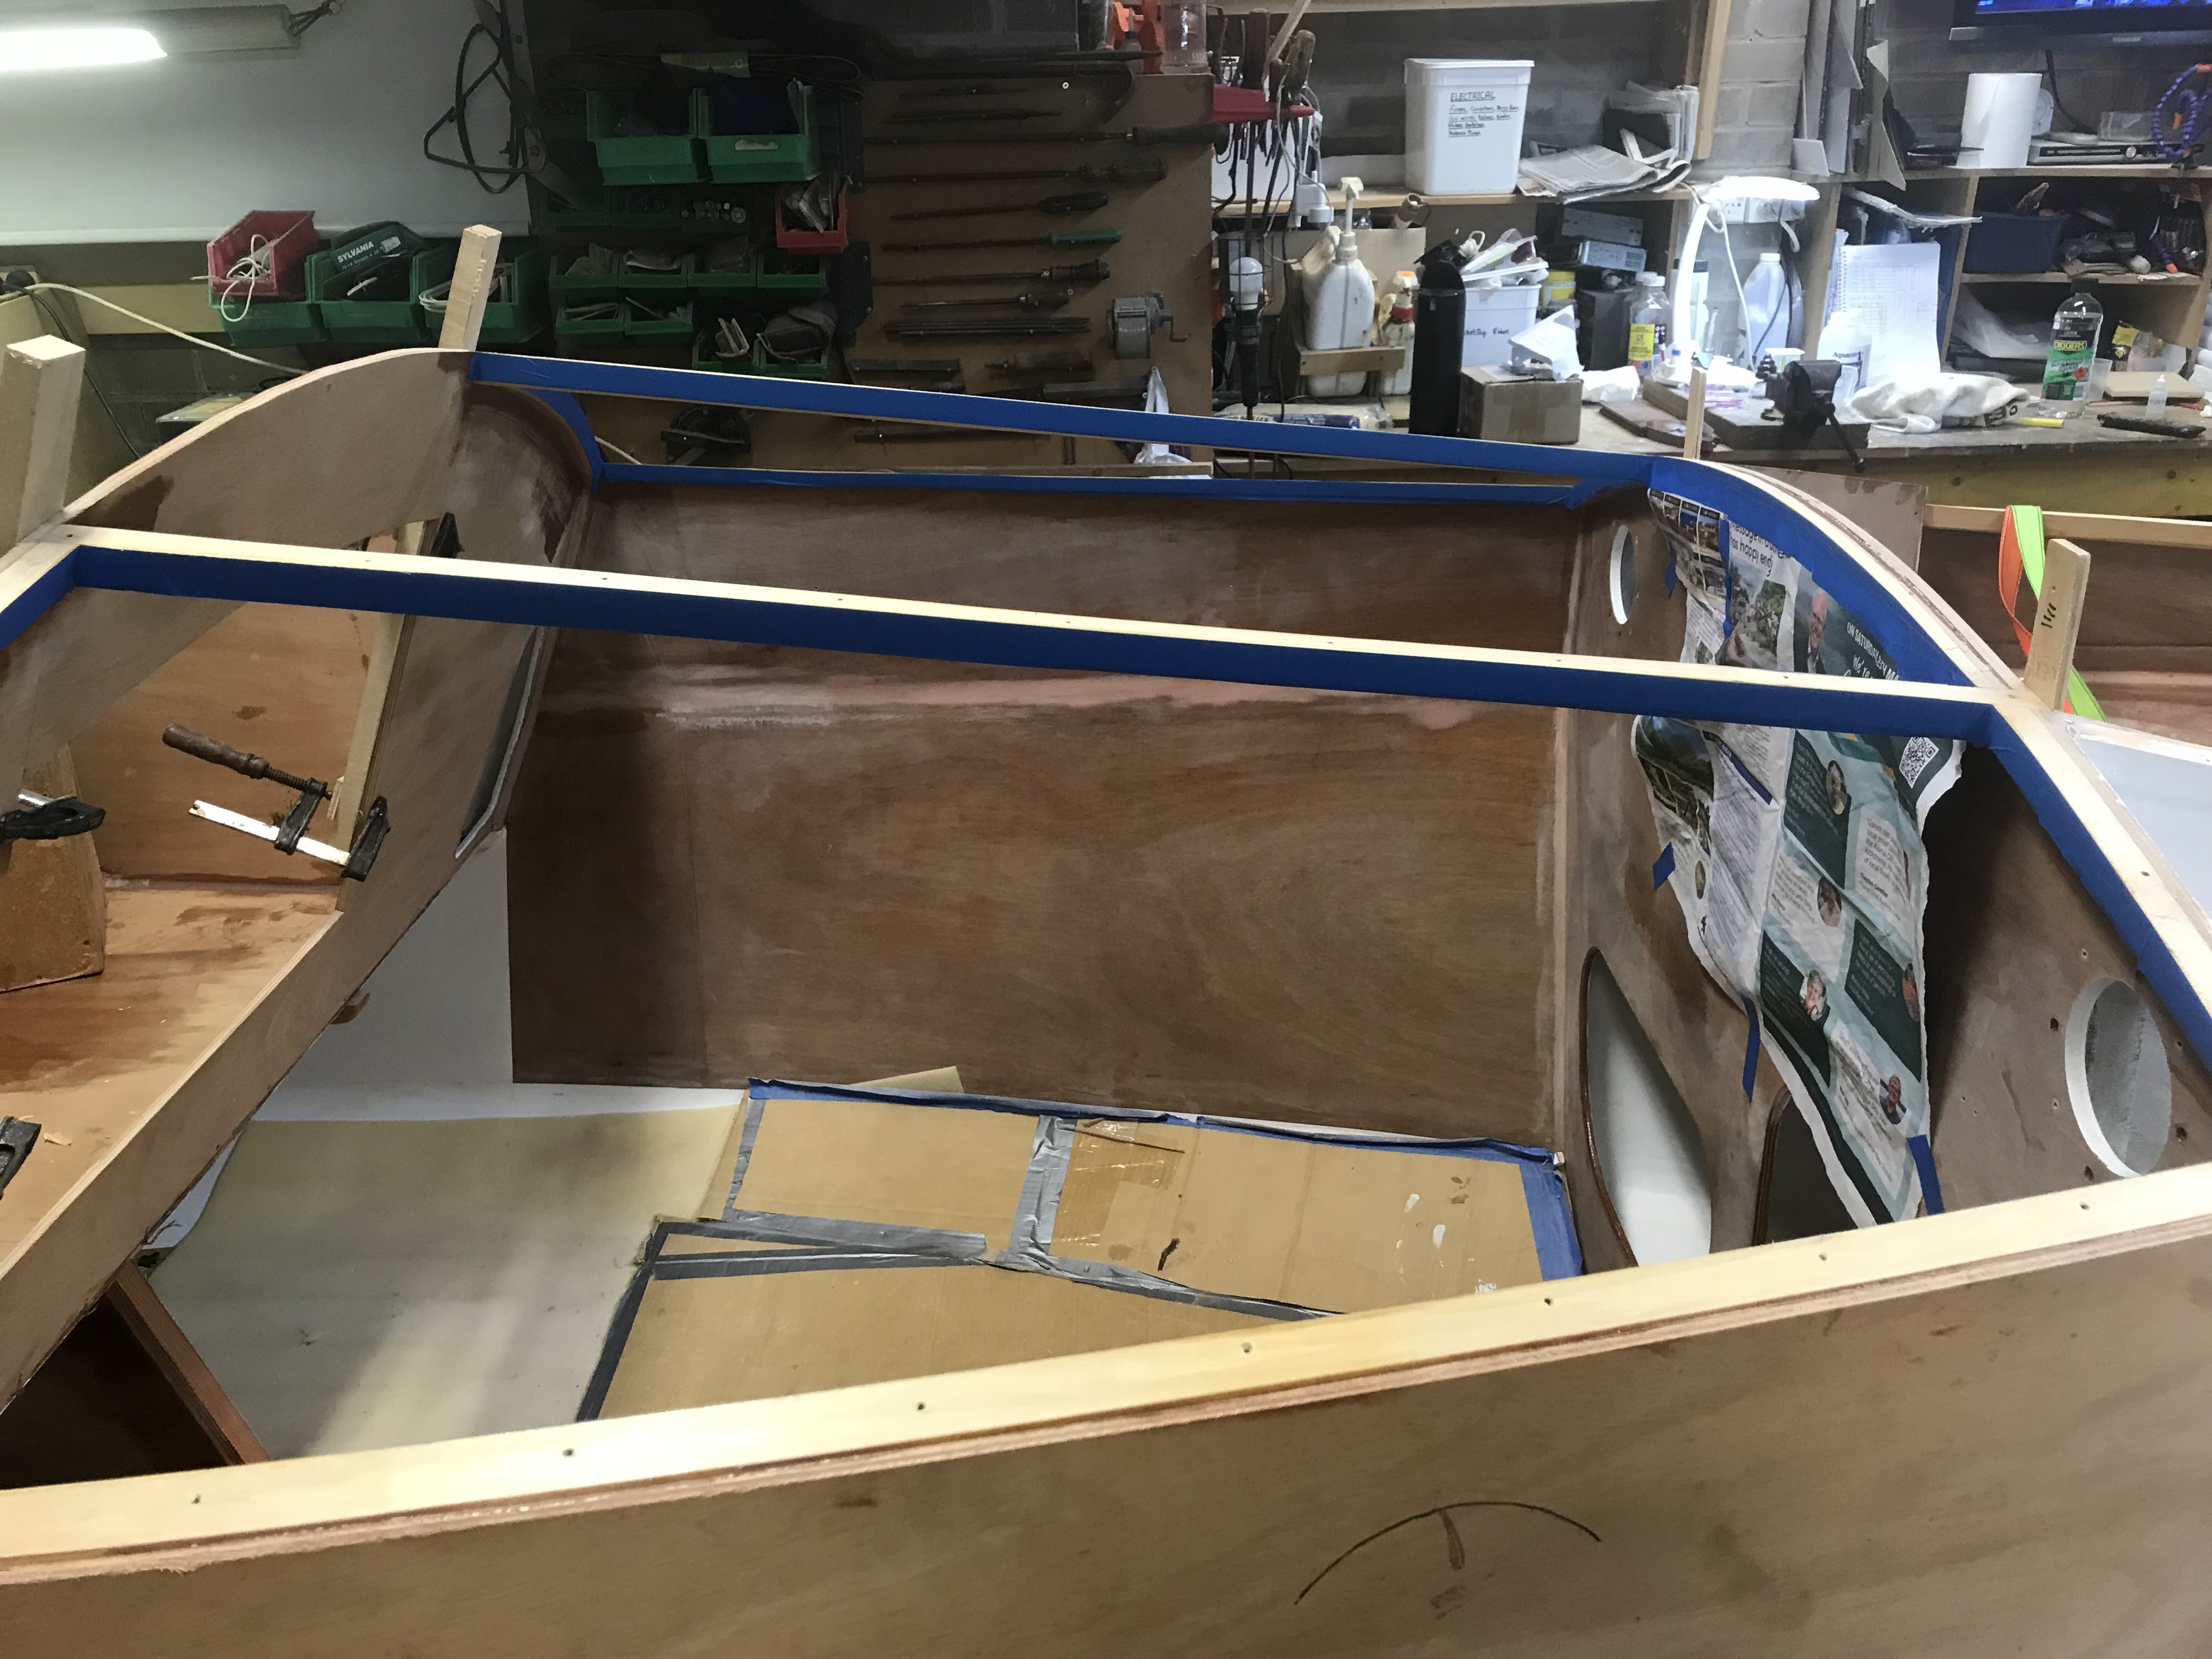
Now it's time to mask up again, firstly the cabin carlins, cleats and BH's.
Then the underside of the cabin top. I thought I would try green (Frogger) masking tape this time ......and remove it before the epoxy squeeze out sets.
Wiring for the Port & Starboard Navigation lights are secured inside the Dorade Boxes.
All contacting surfaces on both the boat and the underside of the cabin top are coated with epoxy. Then a glue mixture is quickly applied to all contacting surfaces on the boat.
Now it's time to lower the cabin top into place. Standing on the cockpit floor I gently lowered the cabin top over the aligning posts and pulled it down with ratchet straps.
Starting from the center, I evenly screwed the cabin top into place.
It slowly bent into place.
I mentioned in the previous months post that I am glassing the underside of the cabin top for extra strength. I asked fellow builders their opinion, the general consensus was that it would definitely increase strength however some builders were concerned that it may make it difficult to bend into shape.
Well I am happy to report that the top bent into place without any difficulty. Using the location posts and holding the top down with ratchet straps made it a simple process to screw down.
I climbed inside the cabin and cleaned up the epoxy squeeze and removed the masking tape.
I let the epoxy set for 24 hrs. and then removed all the screws.
Time to trim the overhang, I sharpened the blade on my old renovator tool.
It took about 30 mins to trim the overhangs. The temporary rear cabin BH section was removed providing easy access to the cabin. I did the final clean up with an orbital sander and filled all the screw holes and any voids with thickened epoxy.
I also cut out the holes for the Dorade vents, but I could not fit my hand inside the hole.
So, I cut another 6mm around the circumference, leaving enough to securely fit the Dorade vent base.
The larger holes enable access to the navigation wires, the nuts holding the mooring cleats and the insect screen.
Many builders regard this as a milestone in the build, I totally agree, standing back I admired the lovely curves and bends.
Now the cabin deck is installed, all the screw holes and voids are filled it's time for some heavy-duty sanding. Where the deck meets the hull and BH's require a nice curve.
Firstly, I used a small block plane followed by an orbital sander and finished off with a flexible sanding pad to produce pleasing edges. I spent a lot of time and effort on these curves. (pics to follow)
Now it's time to lay some fillets.
I commenced with the Dorade Boxes.
Before fillets.
After watching other builder's ideas for sanding fillets on YouTube, I built the following devise for my renovator tool. I simply shaped a piece of ply and screwed it to the scraper attachment, then I folded sandpaper over the ply and held it in place with screws. Worked a treat.