Contact Email

My contact email: 1tgoding@gmail.com

Tuesday, December 20, 2022

Floorboard Construction complete almost.


Now it's time to put a smooth curve on the outer floorboard edges and ends. A thin timber off cut is used to trace a nice sweeping pencil line. I started with the small outermost floorboard and gently pulled the thin timber off cut in towards BH 2 forward and BH 8 Aft. I used 3mm thick nails in the gaps between the floorboards to hold the thin timber in place.


Each board is removed and planed down to the line, trial fitted, edges routed round and fully sanded.
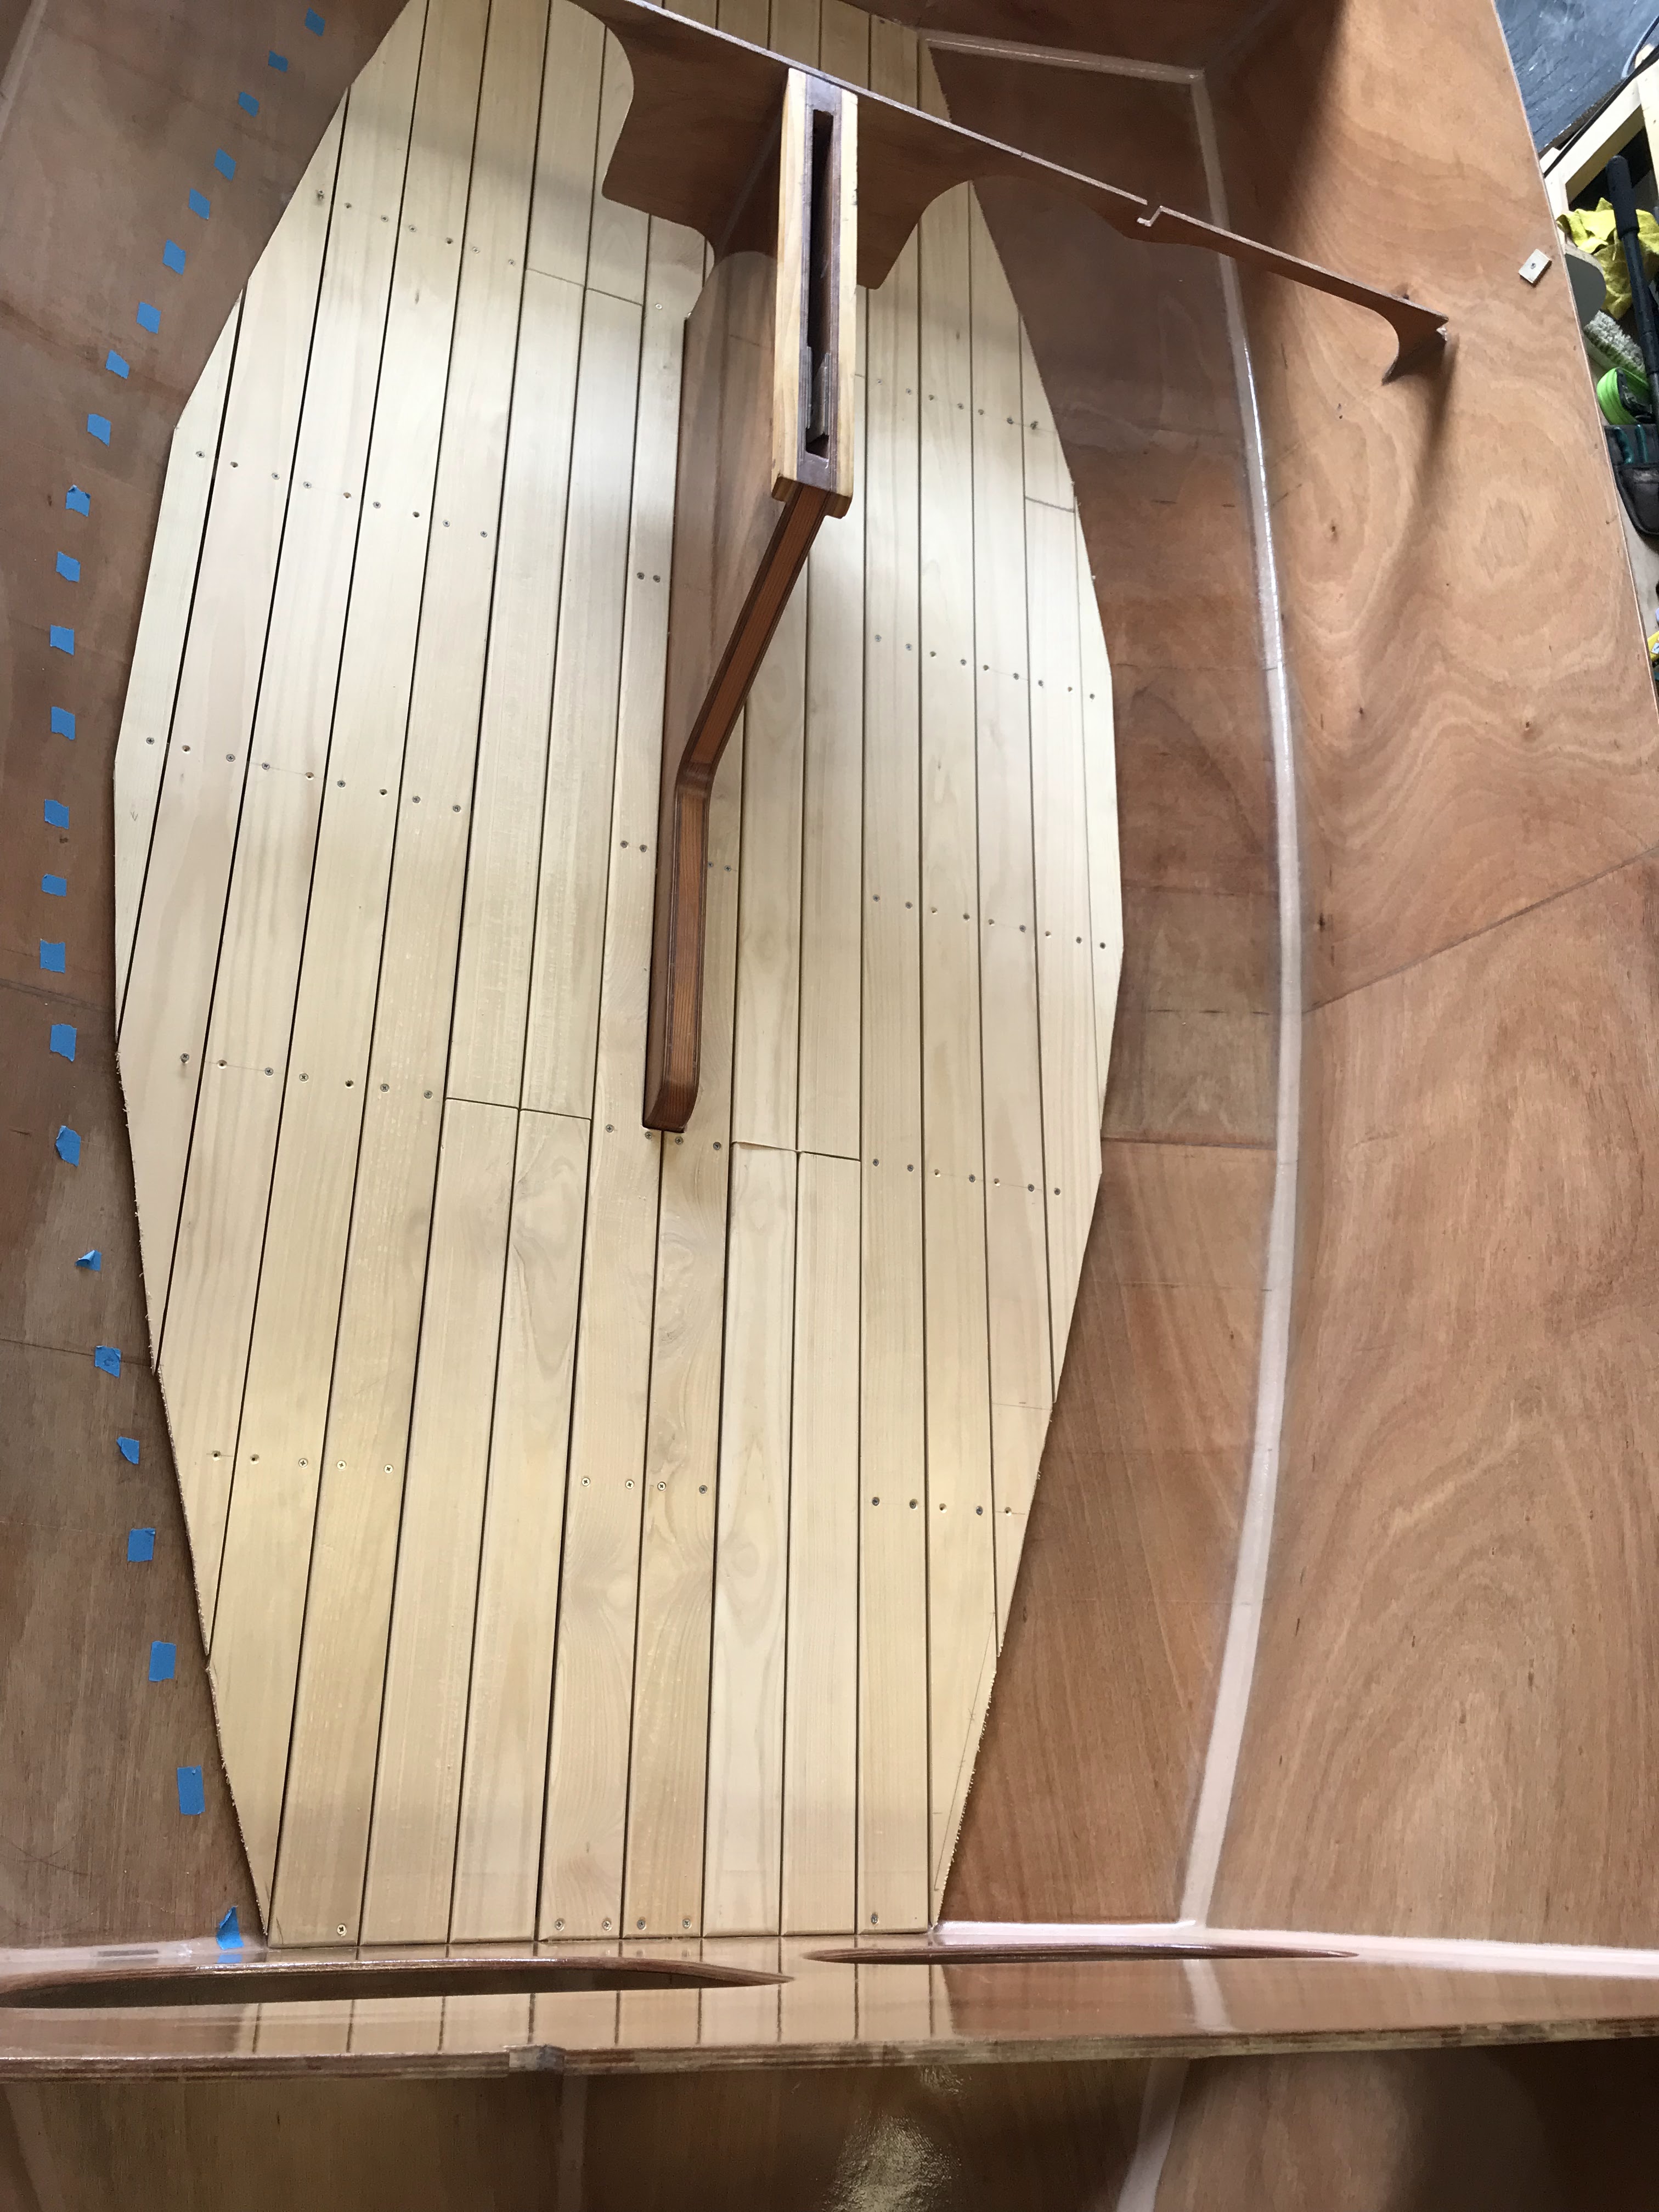
This is really nice timber to work with, I can't wait to see how the grain looks after the final finish.


Here are the finished floorboards with six access hatches cut in.


The six access hatches require some hardware so it's off to Whitworths (An Aussie ship Chandlery store).
Armed with 14 Butt hinges, 56 
countersunk screws and 6 Teak
finger rings it's time to do some fitting out.


The hatches required a routed section to ensure the butt hinges are flush with the floorboards. I clamped a template made from scrap 7mm thick ply to each access hatch and routed the exact external size of the butt hinge.


Holes are drilled to secure the decorative teak finger rings and all the parts screwed together to form the hinged access hatches. Two down four to go.

Here is a video of the floorboards, next is an all-round coat of epoxy and then several layers of clear gloss finish. That should bring out the beautiful grain of the Queensland Hoop Pine.


FLOORBOARD TIP


If you find the floorboard ends
between BH8 and Floor 7 curl 
up slightly due to the distance,

then...............


Screw a small piece of ply to the underside of the offending floorboard at the end and slide it under the neighboring
secured floorboard.


This will pull the bend down and level with the secured floorboard
resulting in perfect level flooboards.


Thats the end of the eleventh month of construction.......


Saturday, December 10, 2022

Floorboards cont.


The two middle centerboards are clamped in place with spacer jigs to maintain the 3mm gap between each floorboard. The spacer jigs are constructed from strips of ply with two 3mm diam nails either end.


The boards are drilled with a countersinking bit using the location template and then screwed into place.
I used 178 X 30 mm long SS countersunk screws to secure all the floorboards. I shortened some of the screws to 25mm for the outer floorboards where the floors merge into the hull bottom.


It's time to decide where and how many access sections to build into the floorboards. Personally, I would like to be able access the entire under floor section of the hull.


I made the decision to install six access hatches. Two between BH 2 and floor 4, Two between floor 4 and floor 7 and two between floor 7 and BH 8. My rationale for this is to provide access to the entire bilge on both sides of the centerboard case. The space will provide limited under floor storage but most importantly allow easy access and relocation of ballast boxes when trimming the boat.


Each access hatch was set up on two raised pieces of timber and separated by two spacer jigs from below. They are held together with clamps and cleats are drilled and screwed into place.


Time to rough fit the outer curved floorboards, I used the same method as Stephen on the "Eynsham PocketShip Blog" to mark the cuts where the boards meet the hull bottom, thanks Stephen. I used a plywood template that was the same width and thickness as the floorboards and long enough to sit on at least two floor frames. The 3mm gap template was placed between the template and the adjacent fixed board. 


Then the template was moved up until it hit the hull, a cross was marked and then the triangular measurement was transferred onto the end of the floorboard. 

For a more detailed explanation of this process check out Stephen's blog:

http://www.theeynshampocketship.co.uk/