After a small break travelling to New Zealand and the southern parts of Australia, it's time to get back to the build.
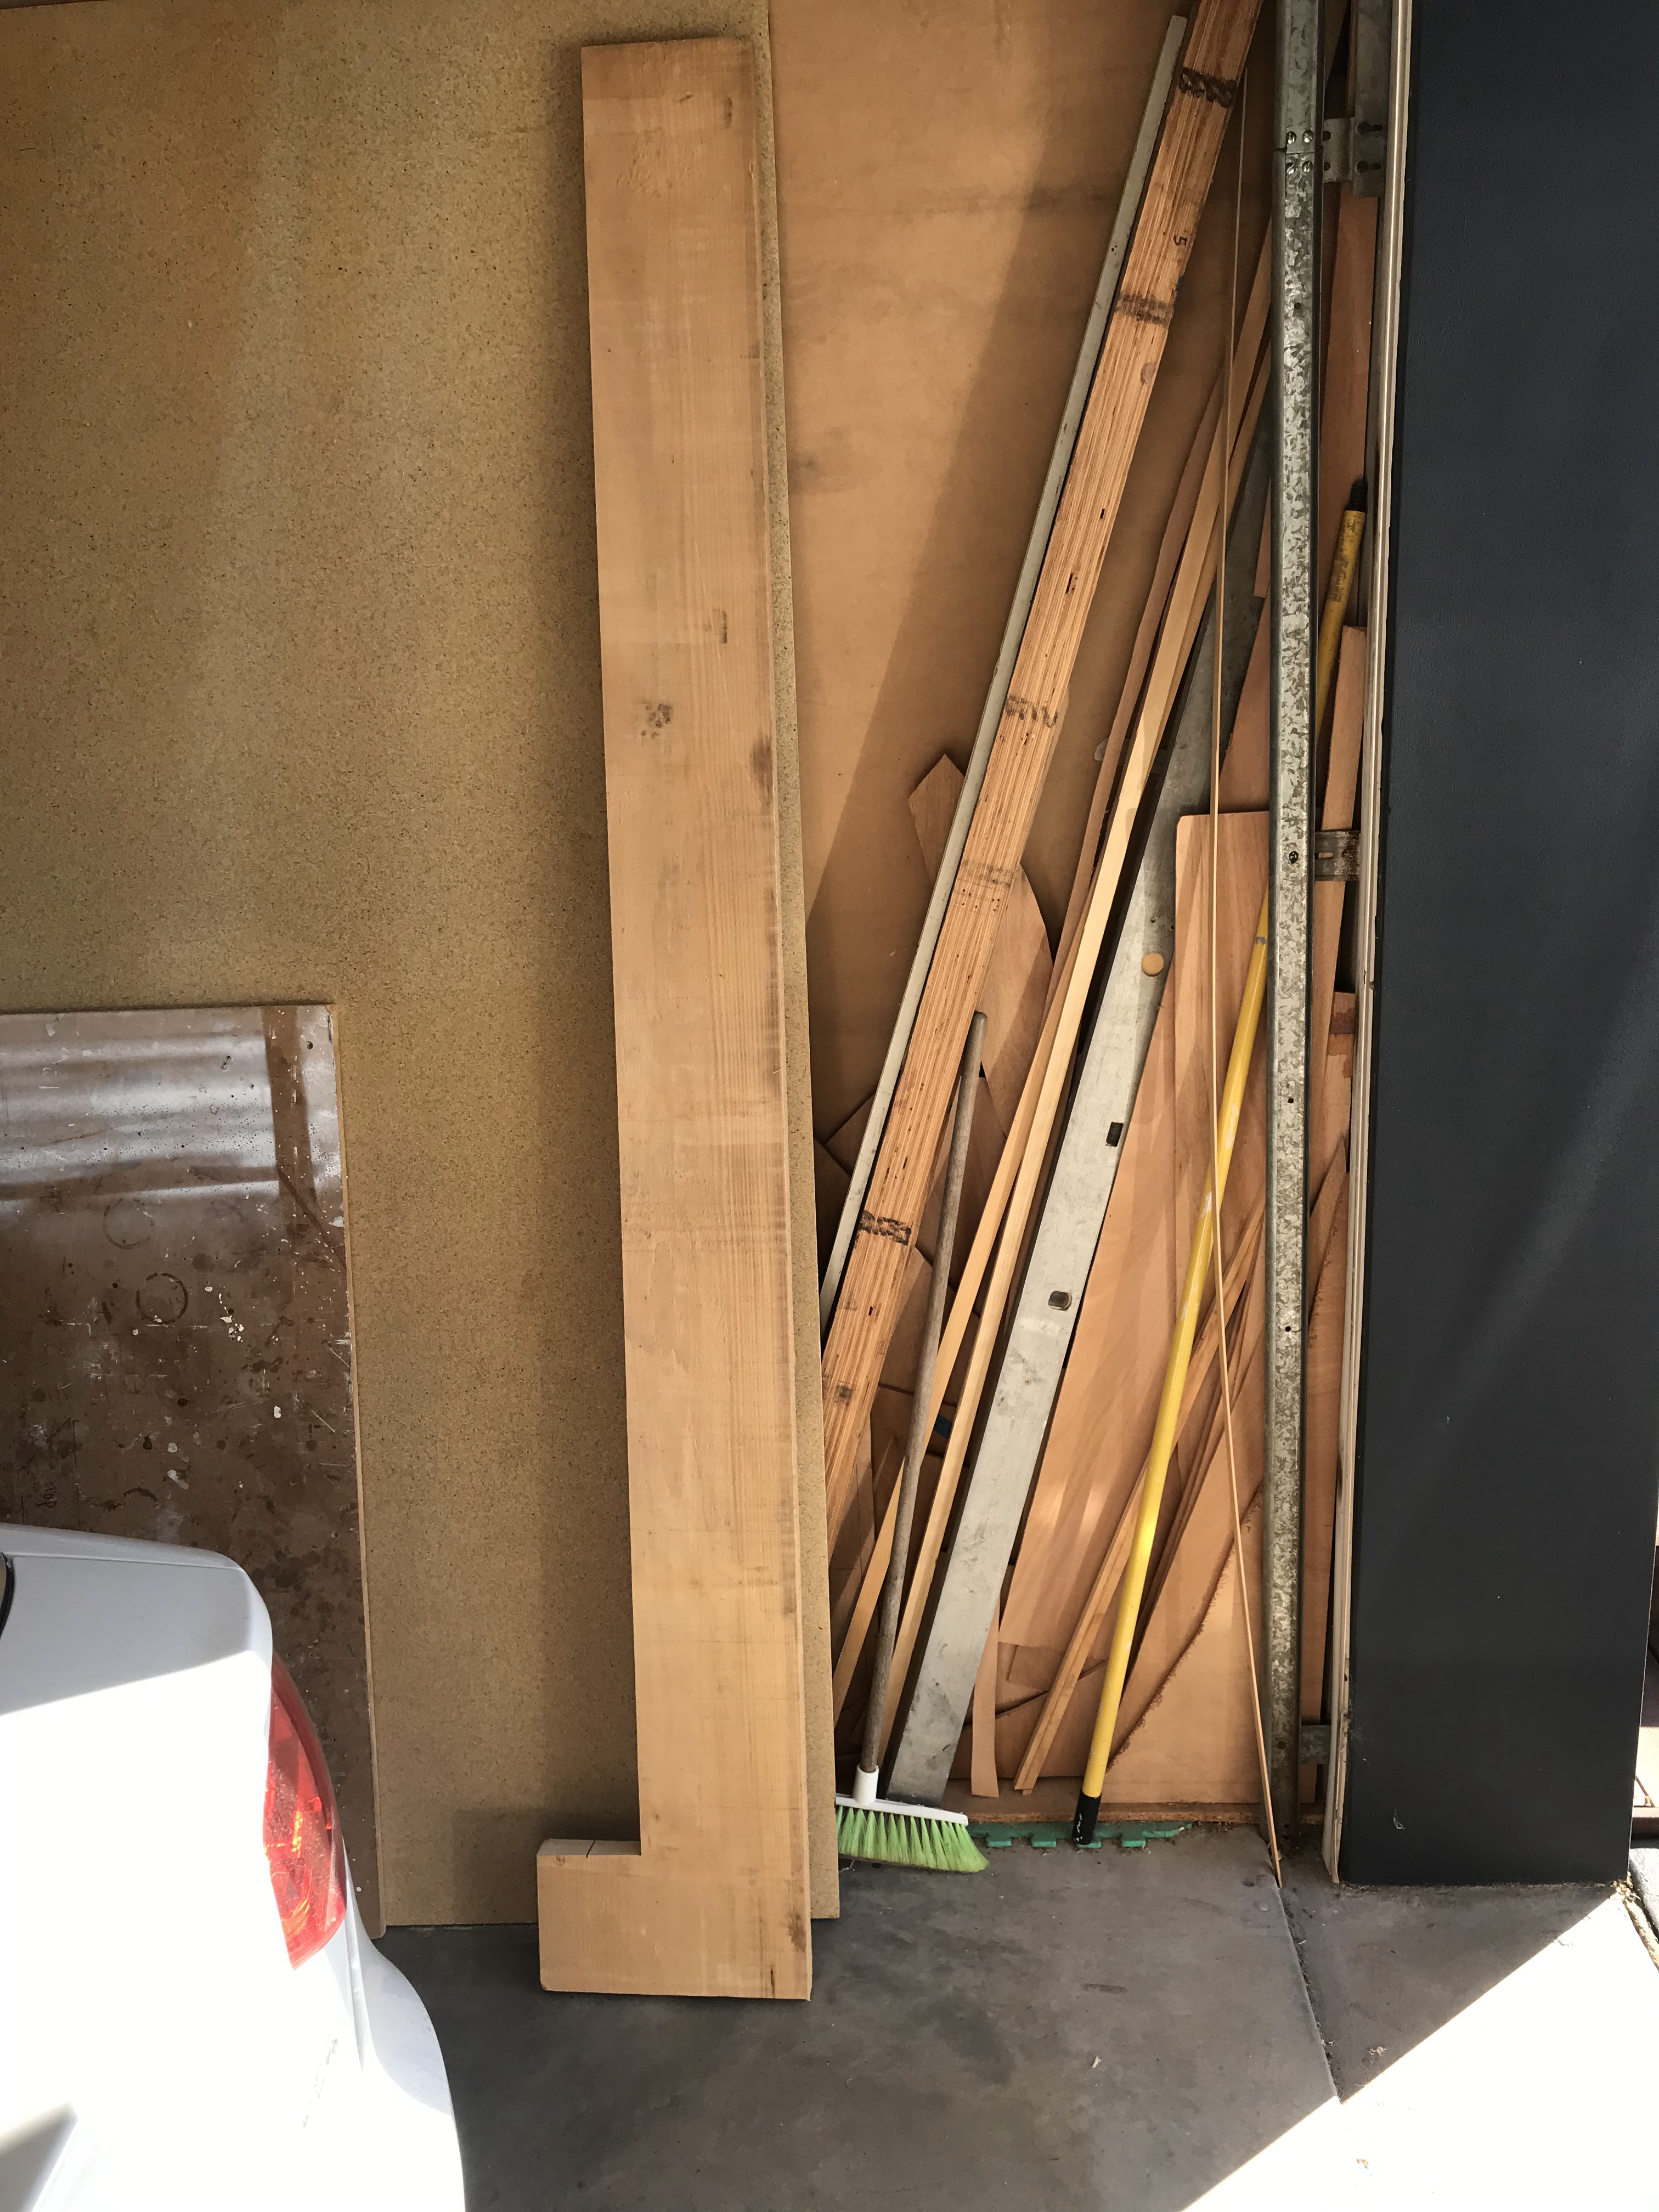
I felt like a bit of a change and decided to build the Bowsprit. I am using Queensland Hoop Pine which is a straight grained, knot free timber and looks a treat when coated with many layers of "Aquacoat".
My stock timber for the Bowsprit was not thick enough so I had to laminate two pieces together.

Using my trusty Triton table saw I cut the two pieces of Hoop Pine.
This left over piece should go towards the Gallows and Tiller.
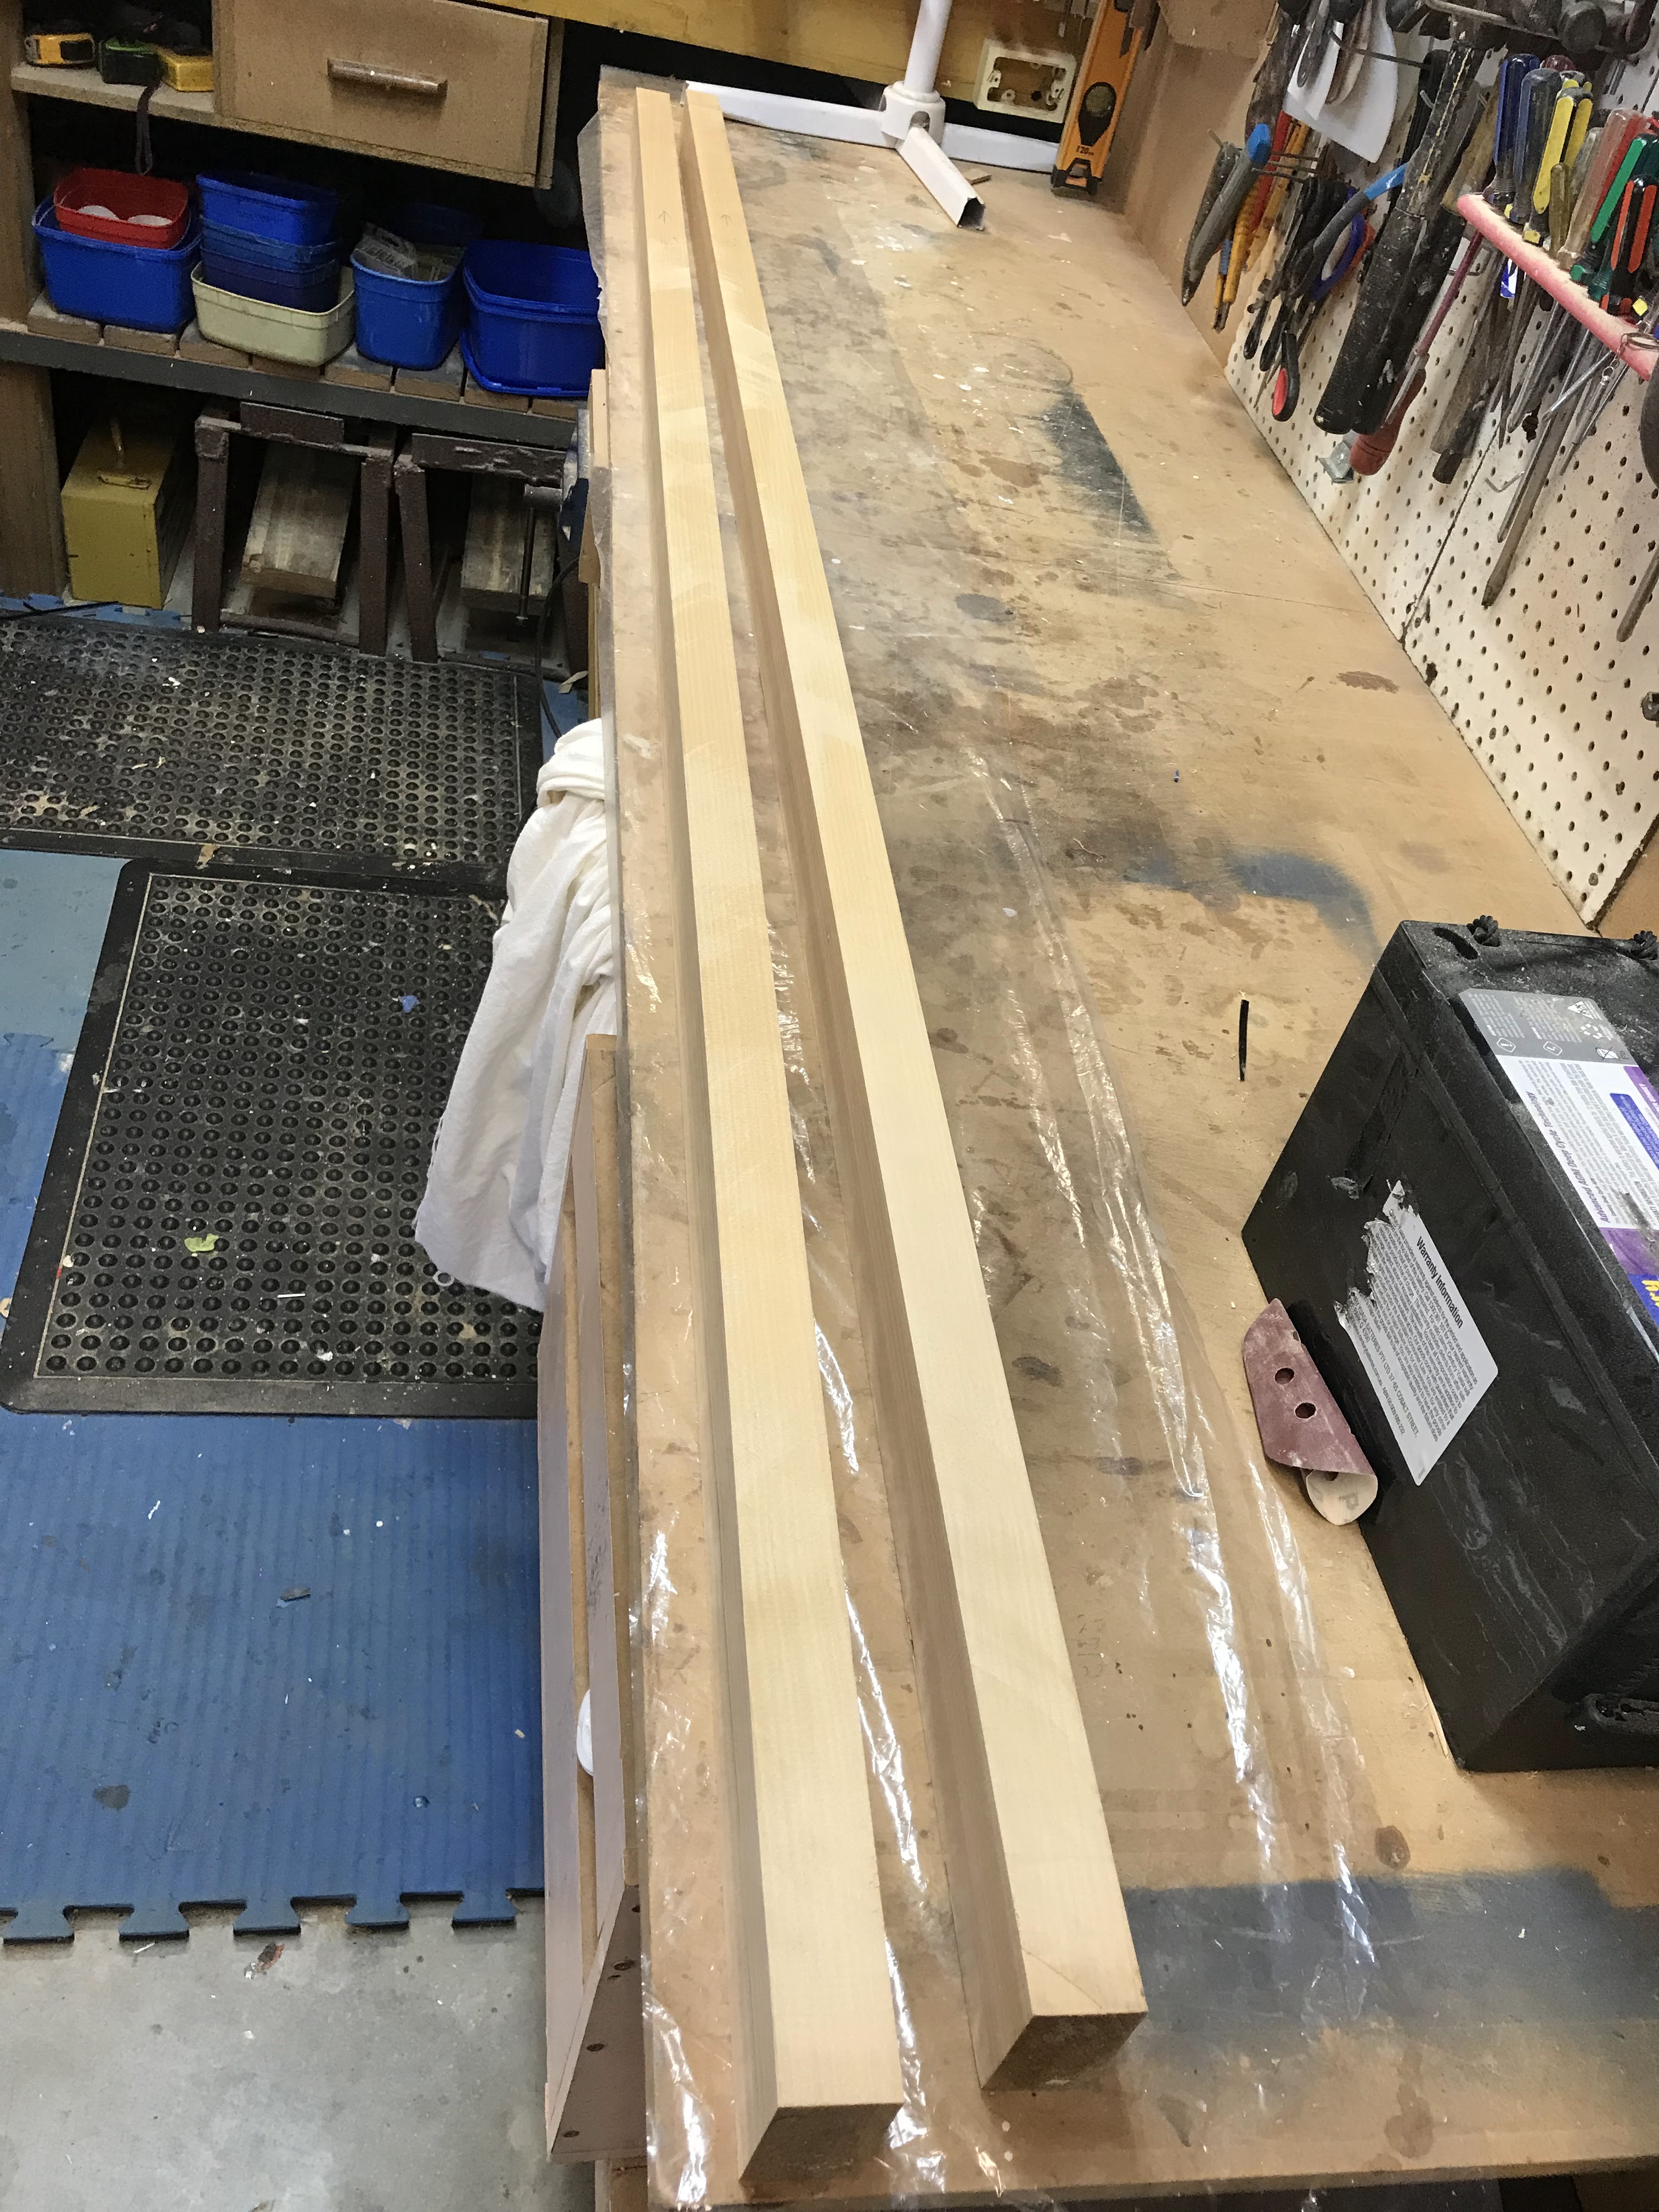
I tidied up the two sections by running them through a thicknesser.
I always wondered why it's called a thicknesser when it makes timber thinner, go figure.
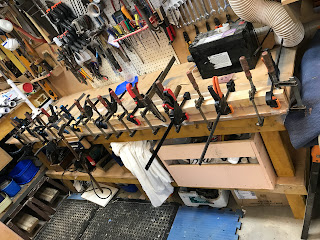
The two sections are glued with epoxy and held together with lots of clamps.
While waiting for the epoxy to cure I started thinking about a decorative mod for the Bowsprit.
Yes, I can't help myself!
so, stay tuned.

After removing all the clamps and sanding the excess epoxy I marked the shape on the top and sides.

I used a handheld circular saw with a new ripping blade to cut the tapers. I made the cut approximately 2mm wider than the pencil mark.

The circular saw blade didn't quite cut all the way through, so I finished the cut with a Japanese saw.

I tidied up the cuts down to the pencil marks with an electric plane and orbital sander before routing the edges.

An oversize hole is drilled and filled with thicken epoxy where the Bowsprit bolts to the Tabernacle. When set I drilled the holes for the securing bolt. The bowsprit is levelled fore and aft to ensure the hole is at exactly 90 deg.
As I indicated earlier, I wanted to decorate the Bowsprit. I had to be mindful not to do anything that would reduce its strength. I had thin strips of Blue Gum hardwood (which is red in color) left over from the BH 2 mod, they measured 5mm wide x 4mm thick.

I routed grooves 5mm wide and 2mm deep on the center line along the top of the Bowsprit.
In this pic you can see the Blue Gum strip sitting on the bench to the right.

The Blue Gum strip fits neatly into the slot.

To ensure I kept the routed groove on the center line of the tapered forward section of the Bowsprit I added a piece of timber as a fence for the router. The pic also shows the timber stops clamped at the ends to ensure the router stops in the correct position.

The strips are glued and clamped into the slots.

The unit is flipped on its sides to enable the port & Starboard strips to be inserted.

After Doug's comment on the forum re the possibility of the Bowsprit tip being easily damaged, I decided to add a small hardwood block.
So, I cut off a small section of Blue Gum and glued and screwed it to the Bowsprit tip.

To further enhance the tip of the Bowsprit I decided to laminate the hardwood nose section and add a shorter thin strip.
This pic shows how I held the pieces in place until the epoxy set.
Time to cut the opening in the Bow under the breasthook. As indicated in the manual I used a foam block to mark the cutout. I used a piece of florist's foam, it's very easy to cut and shape with a Stanley knife.

I shaped the foam template to the same size as the trunk of the Bowsprit and then cut out the "V" of the bow.

Here is a top view of the template taped to the bow.

A pencil line is scribed on the Bow around the template.

Time to cut out the slot, made easy using a renovator tool.

With the slot cut out its time to trial fit the Bowsprit.
The slot required some minor trimming to allow the Bowsprit to slide into place.
Wow you don't realize how far the Bowsprit extends from the front of the boat, looks pretty cool.

I decided to strengthen the very forward top side panels just below the upper breast hook where the bowsprit slides in.
Two blocks are shaped to fit neatly between the cockpit deck and the sheer clamps.

A trial fit to ensure the blocks fit.

After routing the ends the blocks are epoxied and clamped in place.

Views from the front


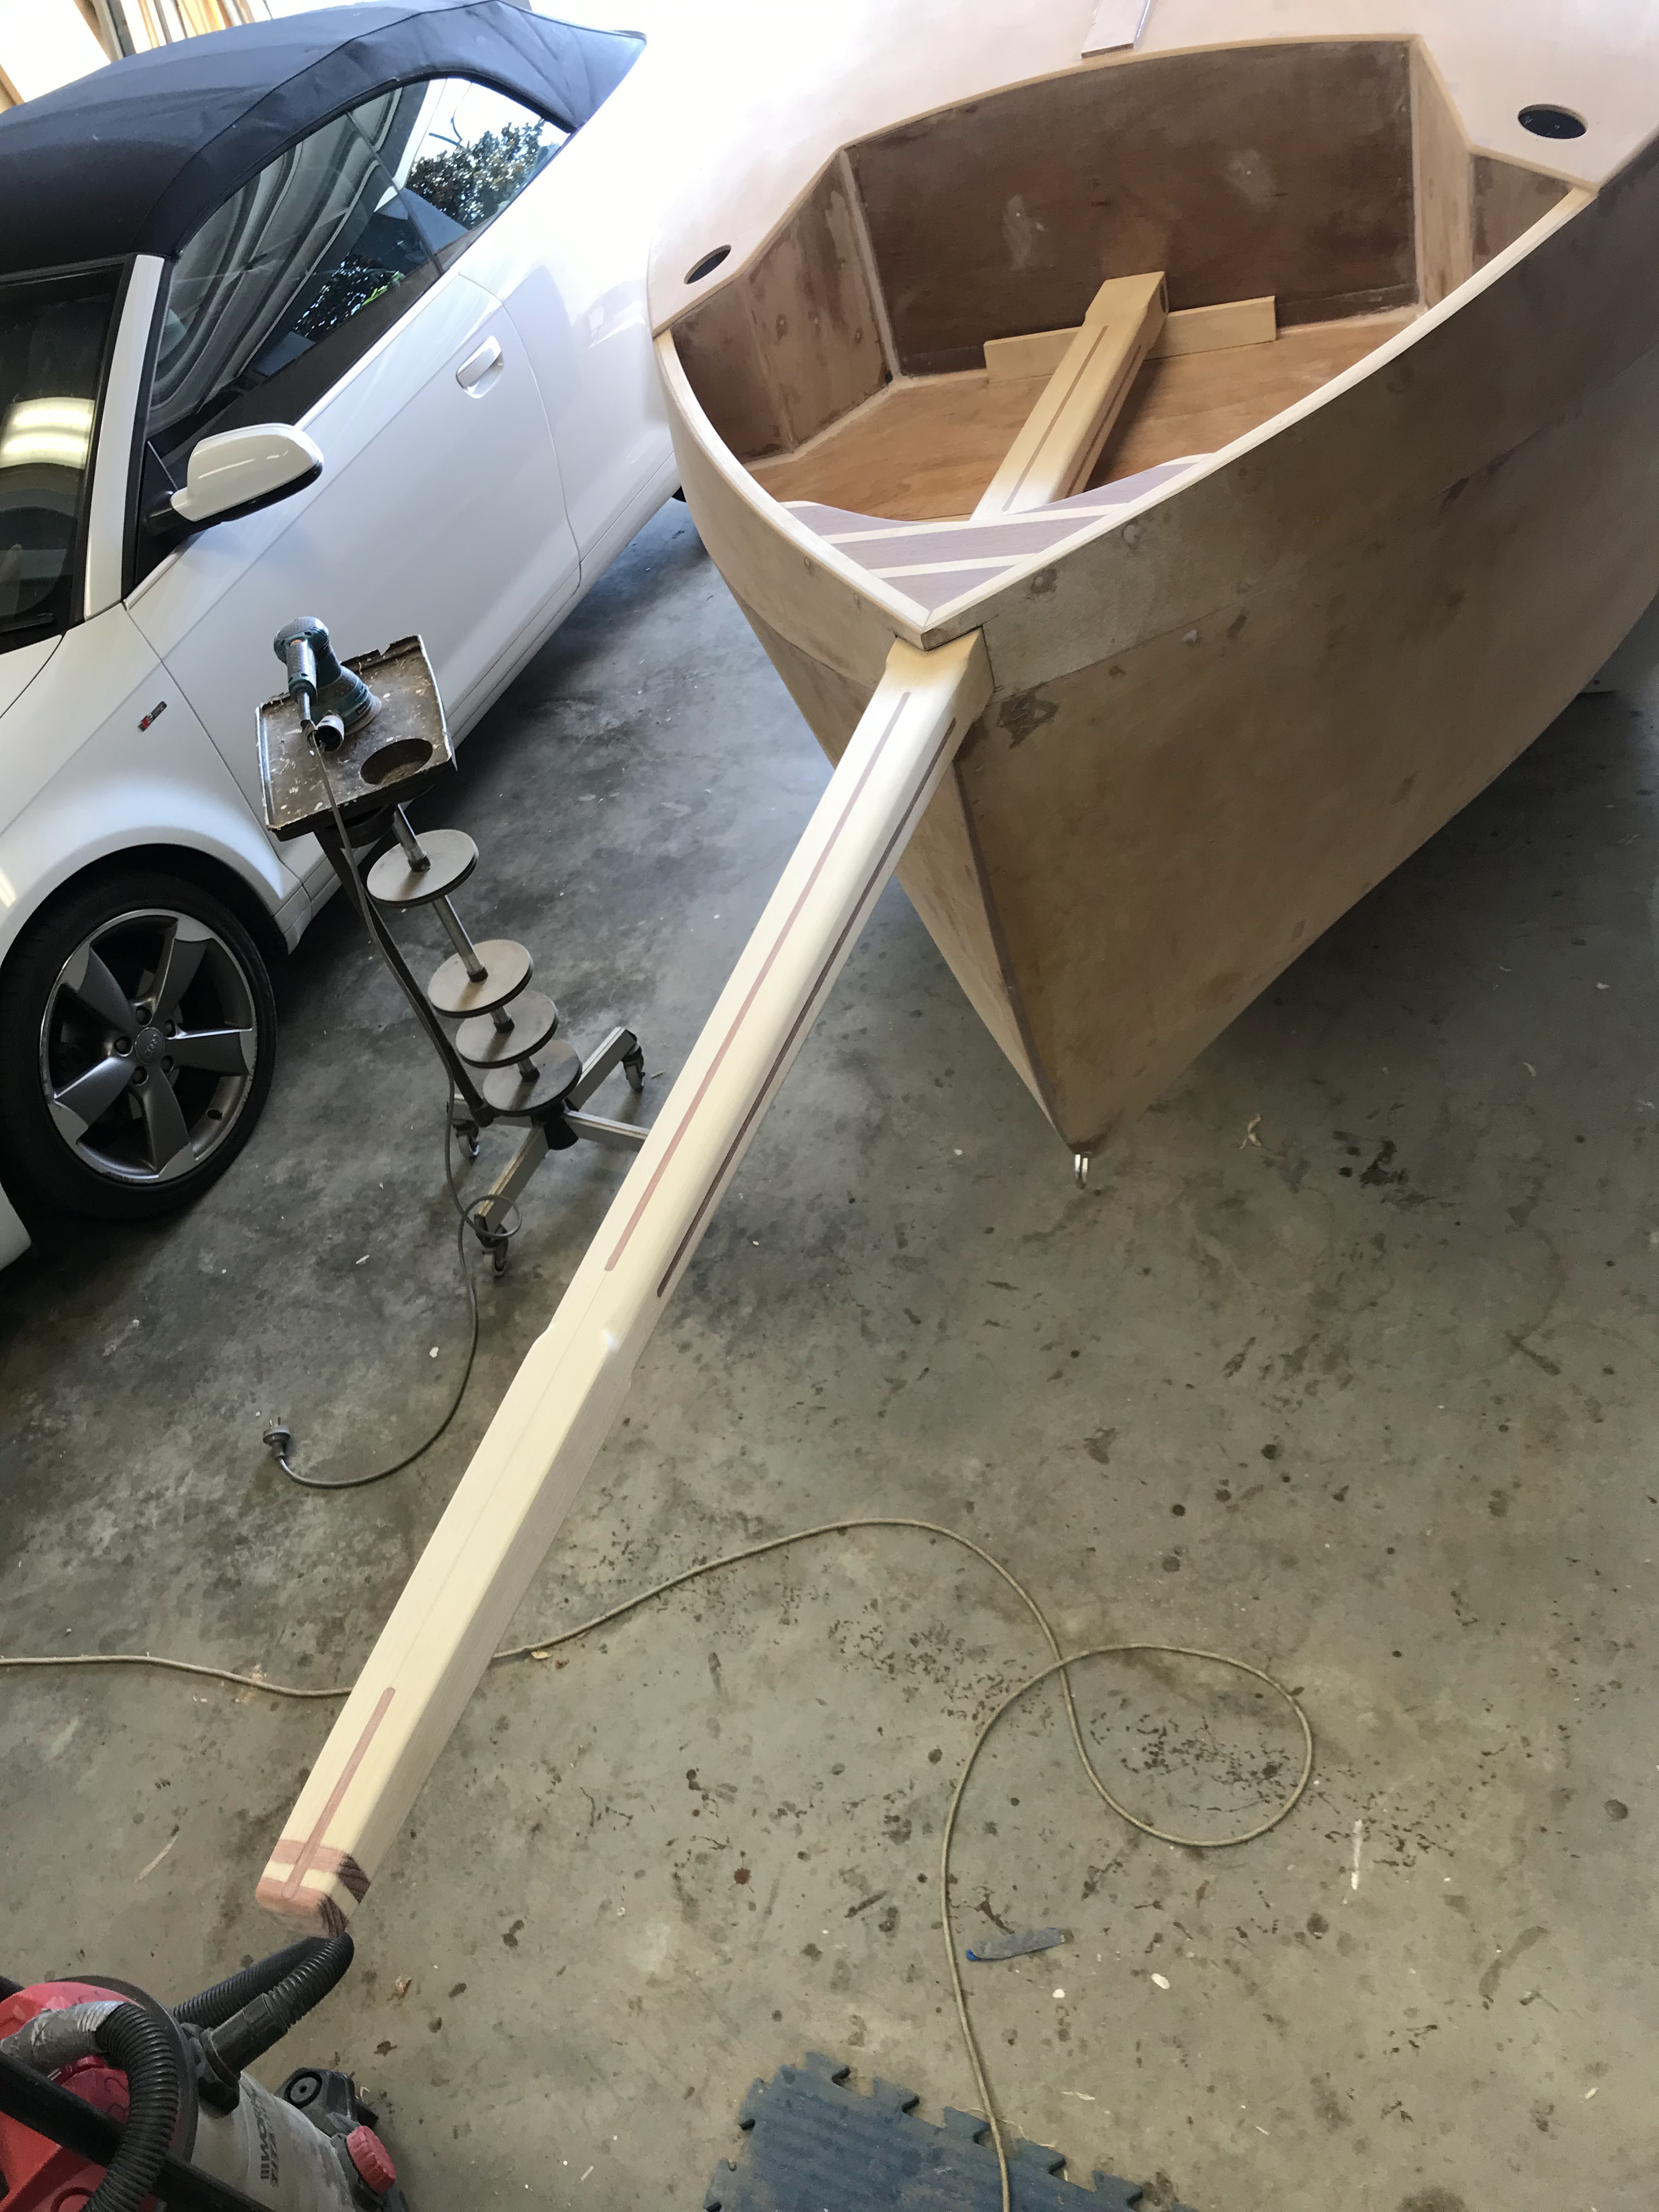
Now it's time to seal and lacquer the Bowsprit. The first coat of diluted epoxy with TPRDA (Timber Preservative and Reactive Diluent Additive) is applied. I will apply a total of three coats of epoxy with a light sanding between before applying the polyurethane finish.
Even after this first epoxy coat the red colored Blue Gum strips look great against the light-colored Hoop Pine.

I applied six coats of polyurethane with a light 1200 grit wet & dry paper sand between all but the last two coats.
I was very pleased with the end result. After a couple of days, the high gloss UV polyurethane finish set to a very hard finish.
Here is a video of the Bowsprit
Time to install some hardware

I drilled oversized holes for the jib tack, bobstay and spinnaker tack, filled with epoxy and redrilled for the bolts and screws.

The pad eyes for the jib and bobstay are secured with bolts and pad eye for the spinnaker tack is screwed in place.