Back to Boat Building after a Holiday Road Trip.
After a couple of weeks holidaying around the southern state of Victoria with renewed energy it's back to the workshop and boat building.

The blanks for the hull bottom and sides are scarfed.

Here is a close up of the scarfing tool attachment screwed to the bottom of my 30 year old Black & Decker circular saw (still going strong) On thin ply I find this scarfer attachment very quick, easy and accurate to use, The saw is fitted with a forty tooth blade which leaves a perfect finish that does not require any further clean up.

The blanks are aligned by clamping to a timber straight edge, the scarfs are glued with plastic between and held together with weights until the epoxy is cured.

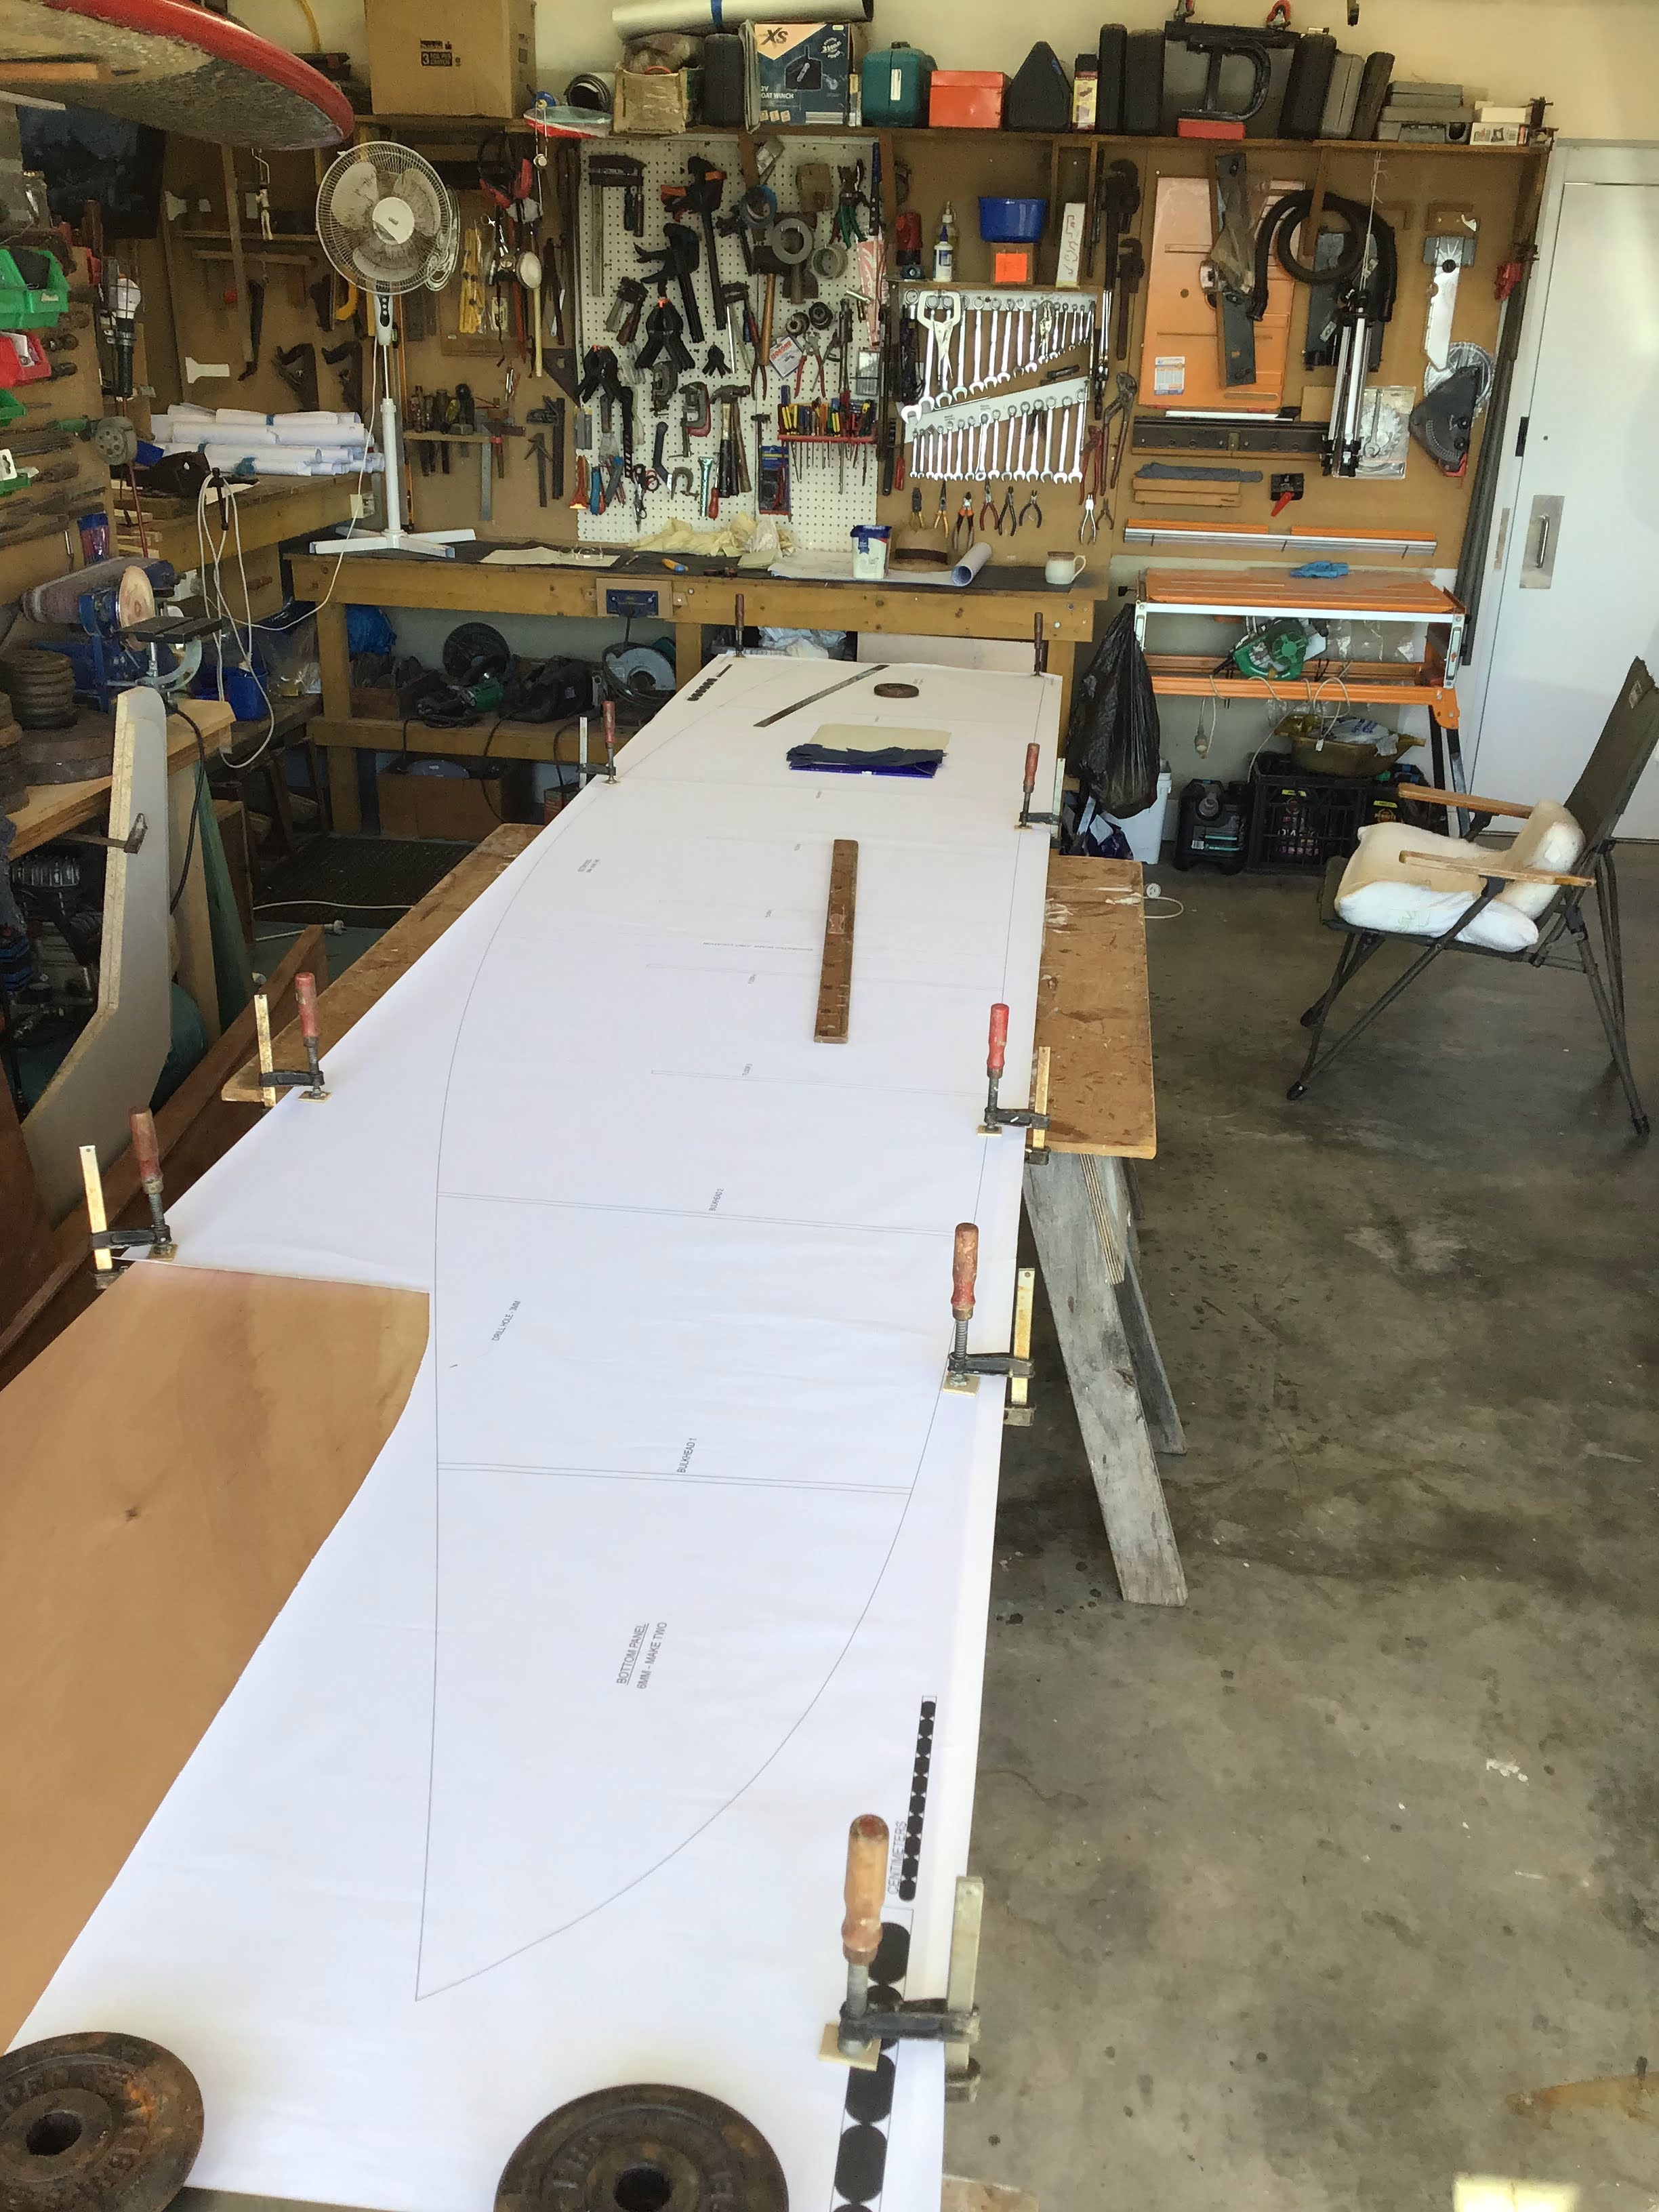
The two bottom blanks are clamped together and the bottom pattern is smoothed over the blanks.

Strips of carbon paper are placed under the plan and I trace the outside outline and the bulkhead locations with a lead pencil. Whilst this is a time consuming process I find it very accurate.

Stitching Time
This is my first experience at the stitch method of boat building and I have to say it works really well. The sections went together nicely and aligned perfectly.

The starboard bottom panel is wired stitched to the keelson.

Now the port bottom is attached.

I found a good method of stitching the bottom panels together was while twisting the wire with vice grip plyers gentle lever the jaws of the vice grip up from the face of the plywood with a small crowbar. Be careful not to go too hard and break the wire or pull the wire through the plywood.

Large clamps were used to pull in the forward section of the bottom panels together. Small "G" clamps were fixed to the edges to prevent the larger clamps from slipping as pressure was applied.
Wire stitches are inserted and slowly tightened while simultaneously pulling the clamps together to slowly pull the nose section together.

It all worked without any problems and the bow section aligned perfectly.


The port and starboard sides are lightly sanded prior to glassing.

Both hull sides are glassed, once cleaned up the sides will be sanded between two more coats of epoxy to a paintable finish, much easier to do on a flat surface prior to installation.

The hull sides are stitched to the bottom.

Another view of the hull sides.
The Transom

Two 9mm pieces are cut for the transom, I picked a section of ply with nice grain formation as I intend to have a highly lacquered timber transom.
After a little research and helpful advice from Dave at "Boatcraft NSW" I decided to apply a light Mahogany color to the transom and rudder cheeks. I purchased some spirit based proof tint. This will be added to the first coating of resin which is diluted with TPRDA (Timber Preservative and Reactive Diluent Additive). This will enable the resin with stain to penetrate more deeply into the timber surface. But this will be done further down the build on some test pieces first to ensure the correct shade of stain color.

The transom pieces are glued together and held with weights.

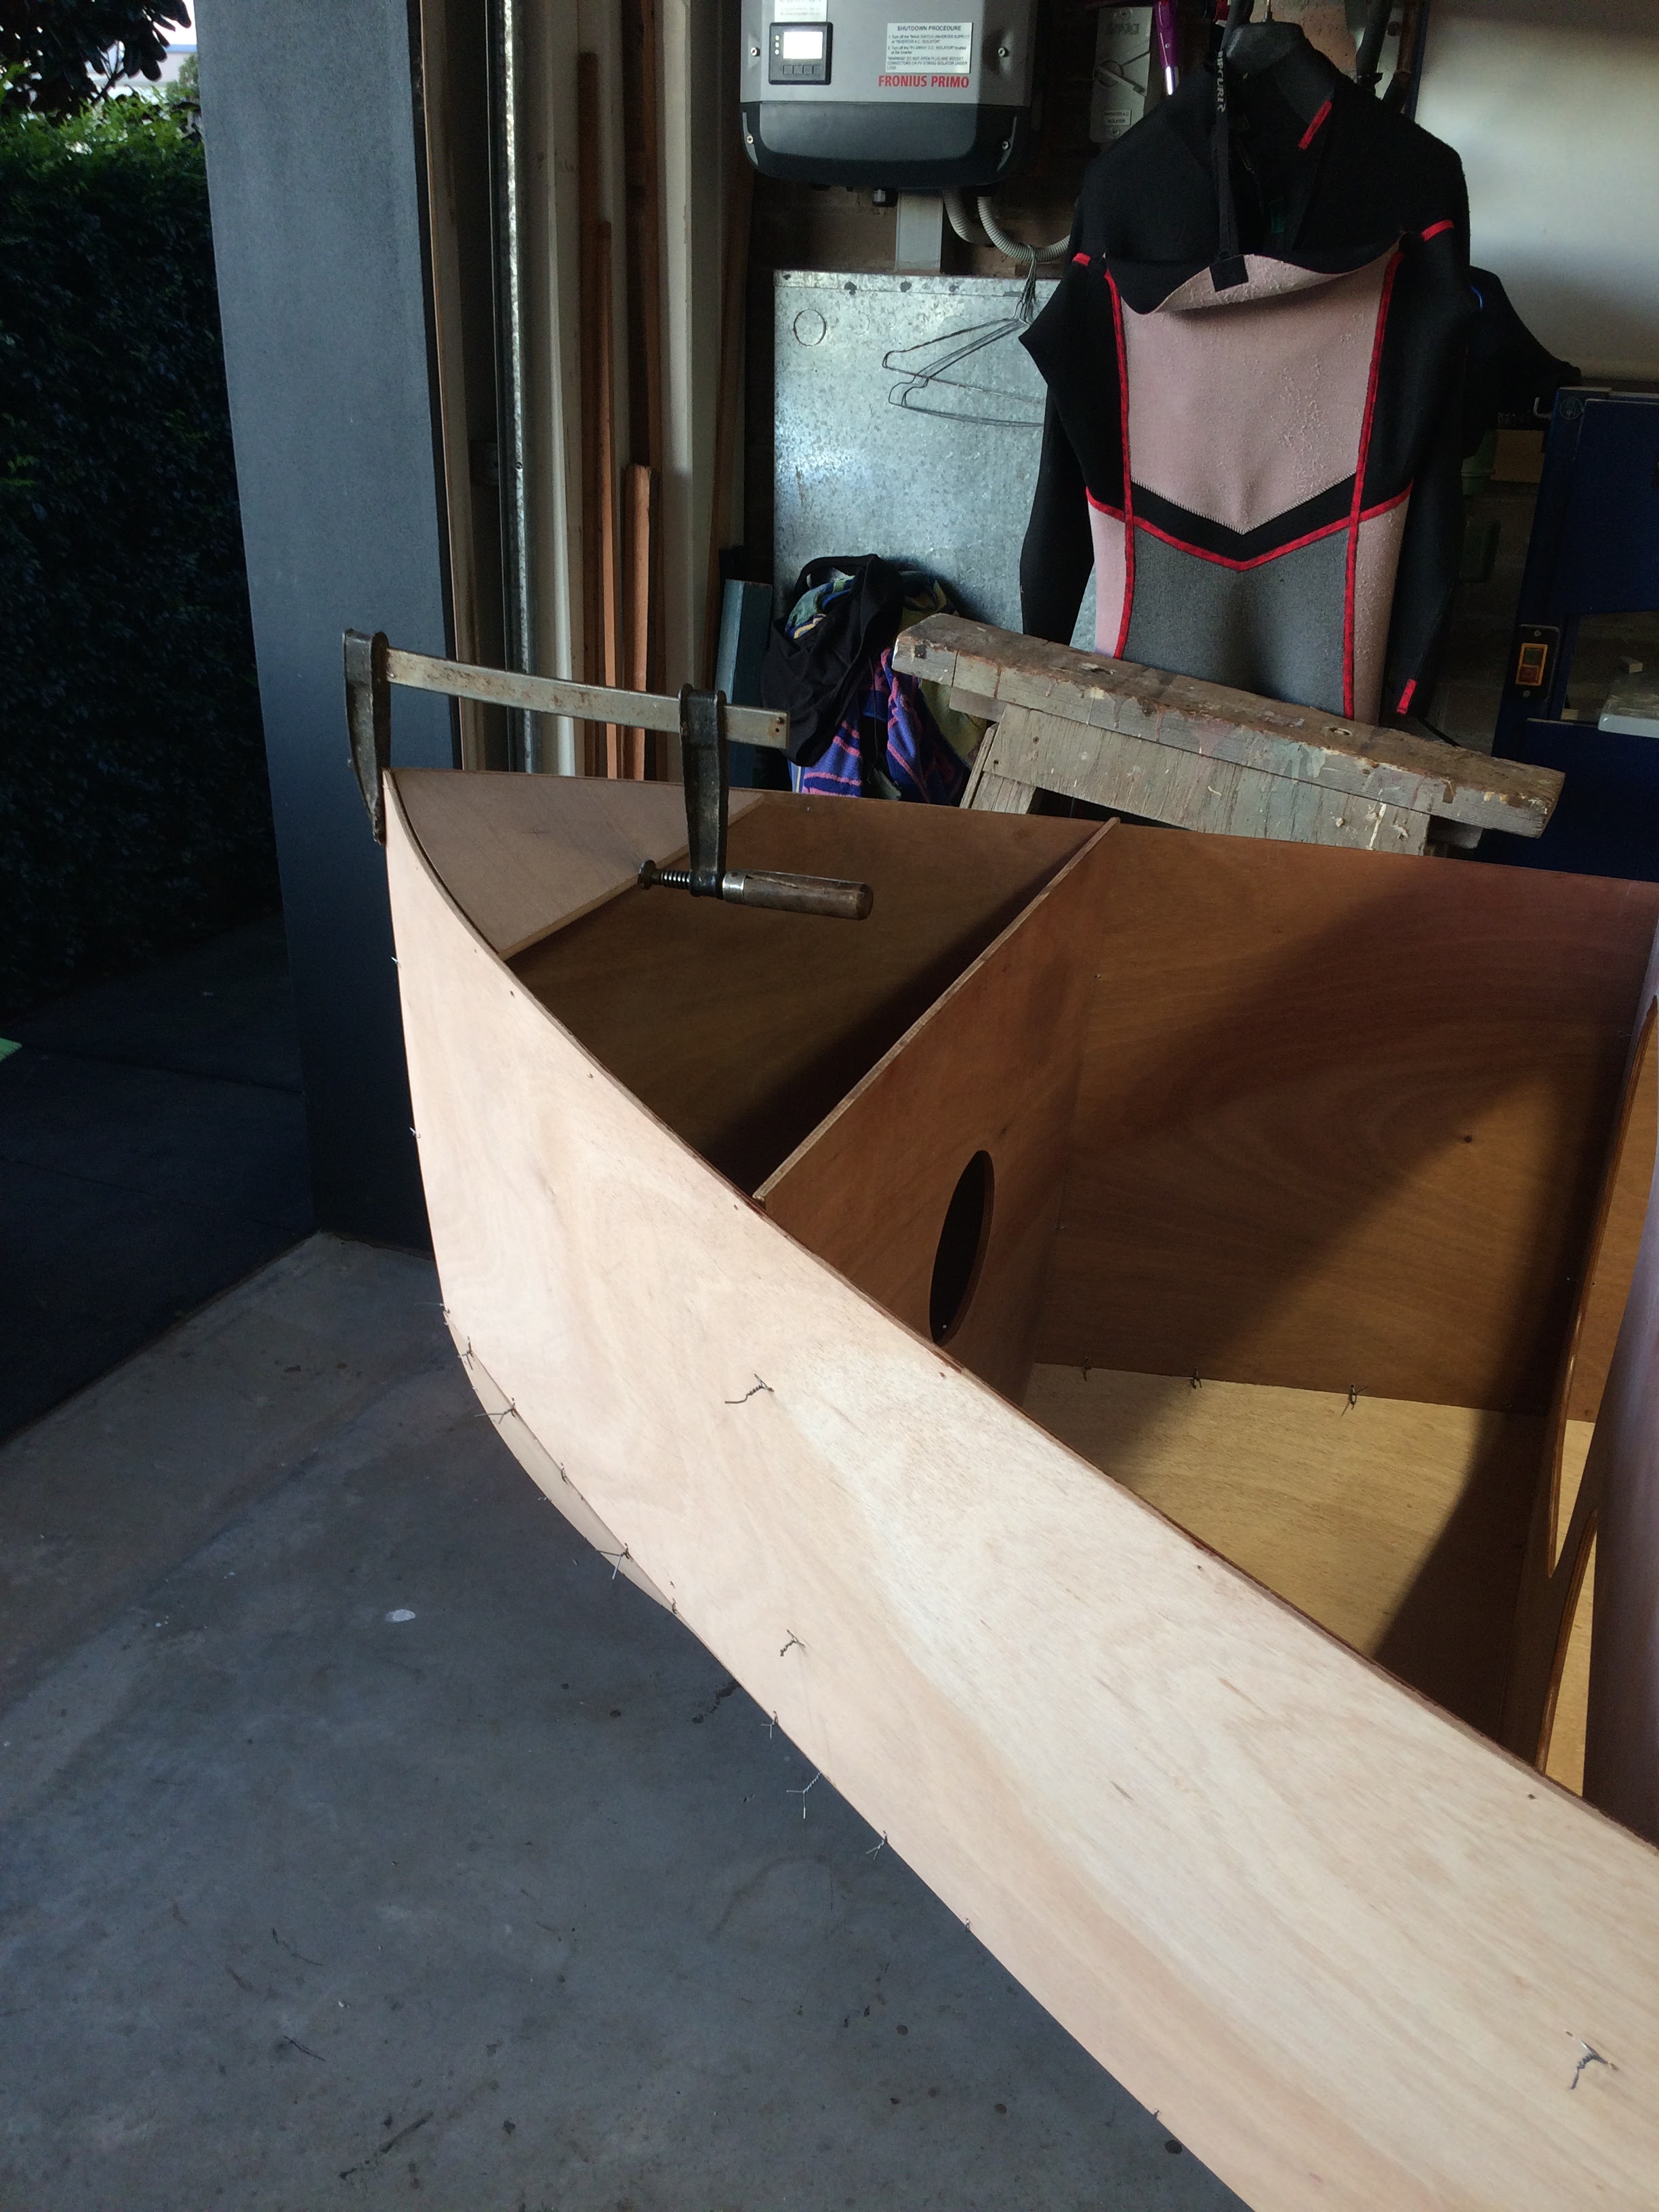
I temporarily clamped the lower breasthook in place to give the bow shape prior to stitching in BH one.

A temporary timber filler piece aft of the breasthook maintained the bow shape and provided access.

The BH's and floors are stitched in place, this is quite a challenge but if you take your time it all fits together quite well. To enable access into the hull I clamped a board onto the floors so I could kneel down and reach the bottom of the hull.
This section of the build is quite the challenge, I think I lost a couple of kilos from climbing in and out of the boat.

Stand back and admire the progress
That's the end of the Fourth month of construction.