Here I go again another Mod.
Laminated Upper Breast Hook
I decided to construct a laminated upper breasthook. Yes, as a retired old man I do have too much time on my hands, but the upper breasthook is a visually appealing section of the bow so let's make it a beautiful feature.
I used a combination of two contrasting-colored timbers, a red hardwood called Blue Gum (yes, a red colored timber called blue gum, go figure!) and a light-colored timber called Queensland Hoop Pine. I am also using the Blue Gum on the rub rails and Hoop Pine for the sheer rails, spars and cabin flooring so the timber types and colors will flow throughout the rest of the build.
I laminated the sections in situ on the build using plastic over the forward sheer clamps to prevent the breast hook from sticking to the sheer rails and the pieces held in place with clamps until the resin hardened.
When cured the breasthook will be shaped, routed and sanded prior to final fixing.
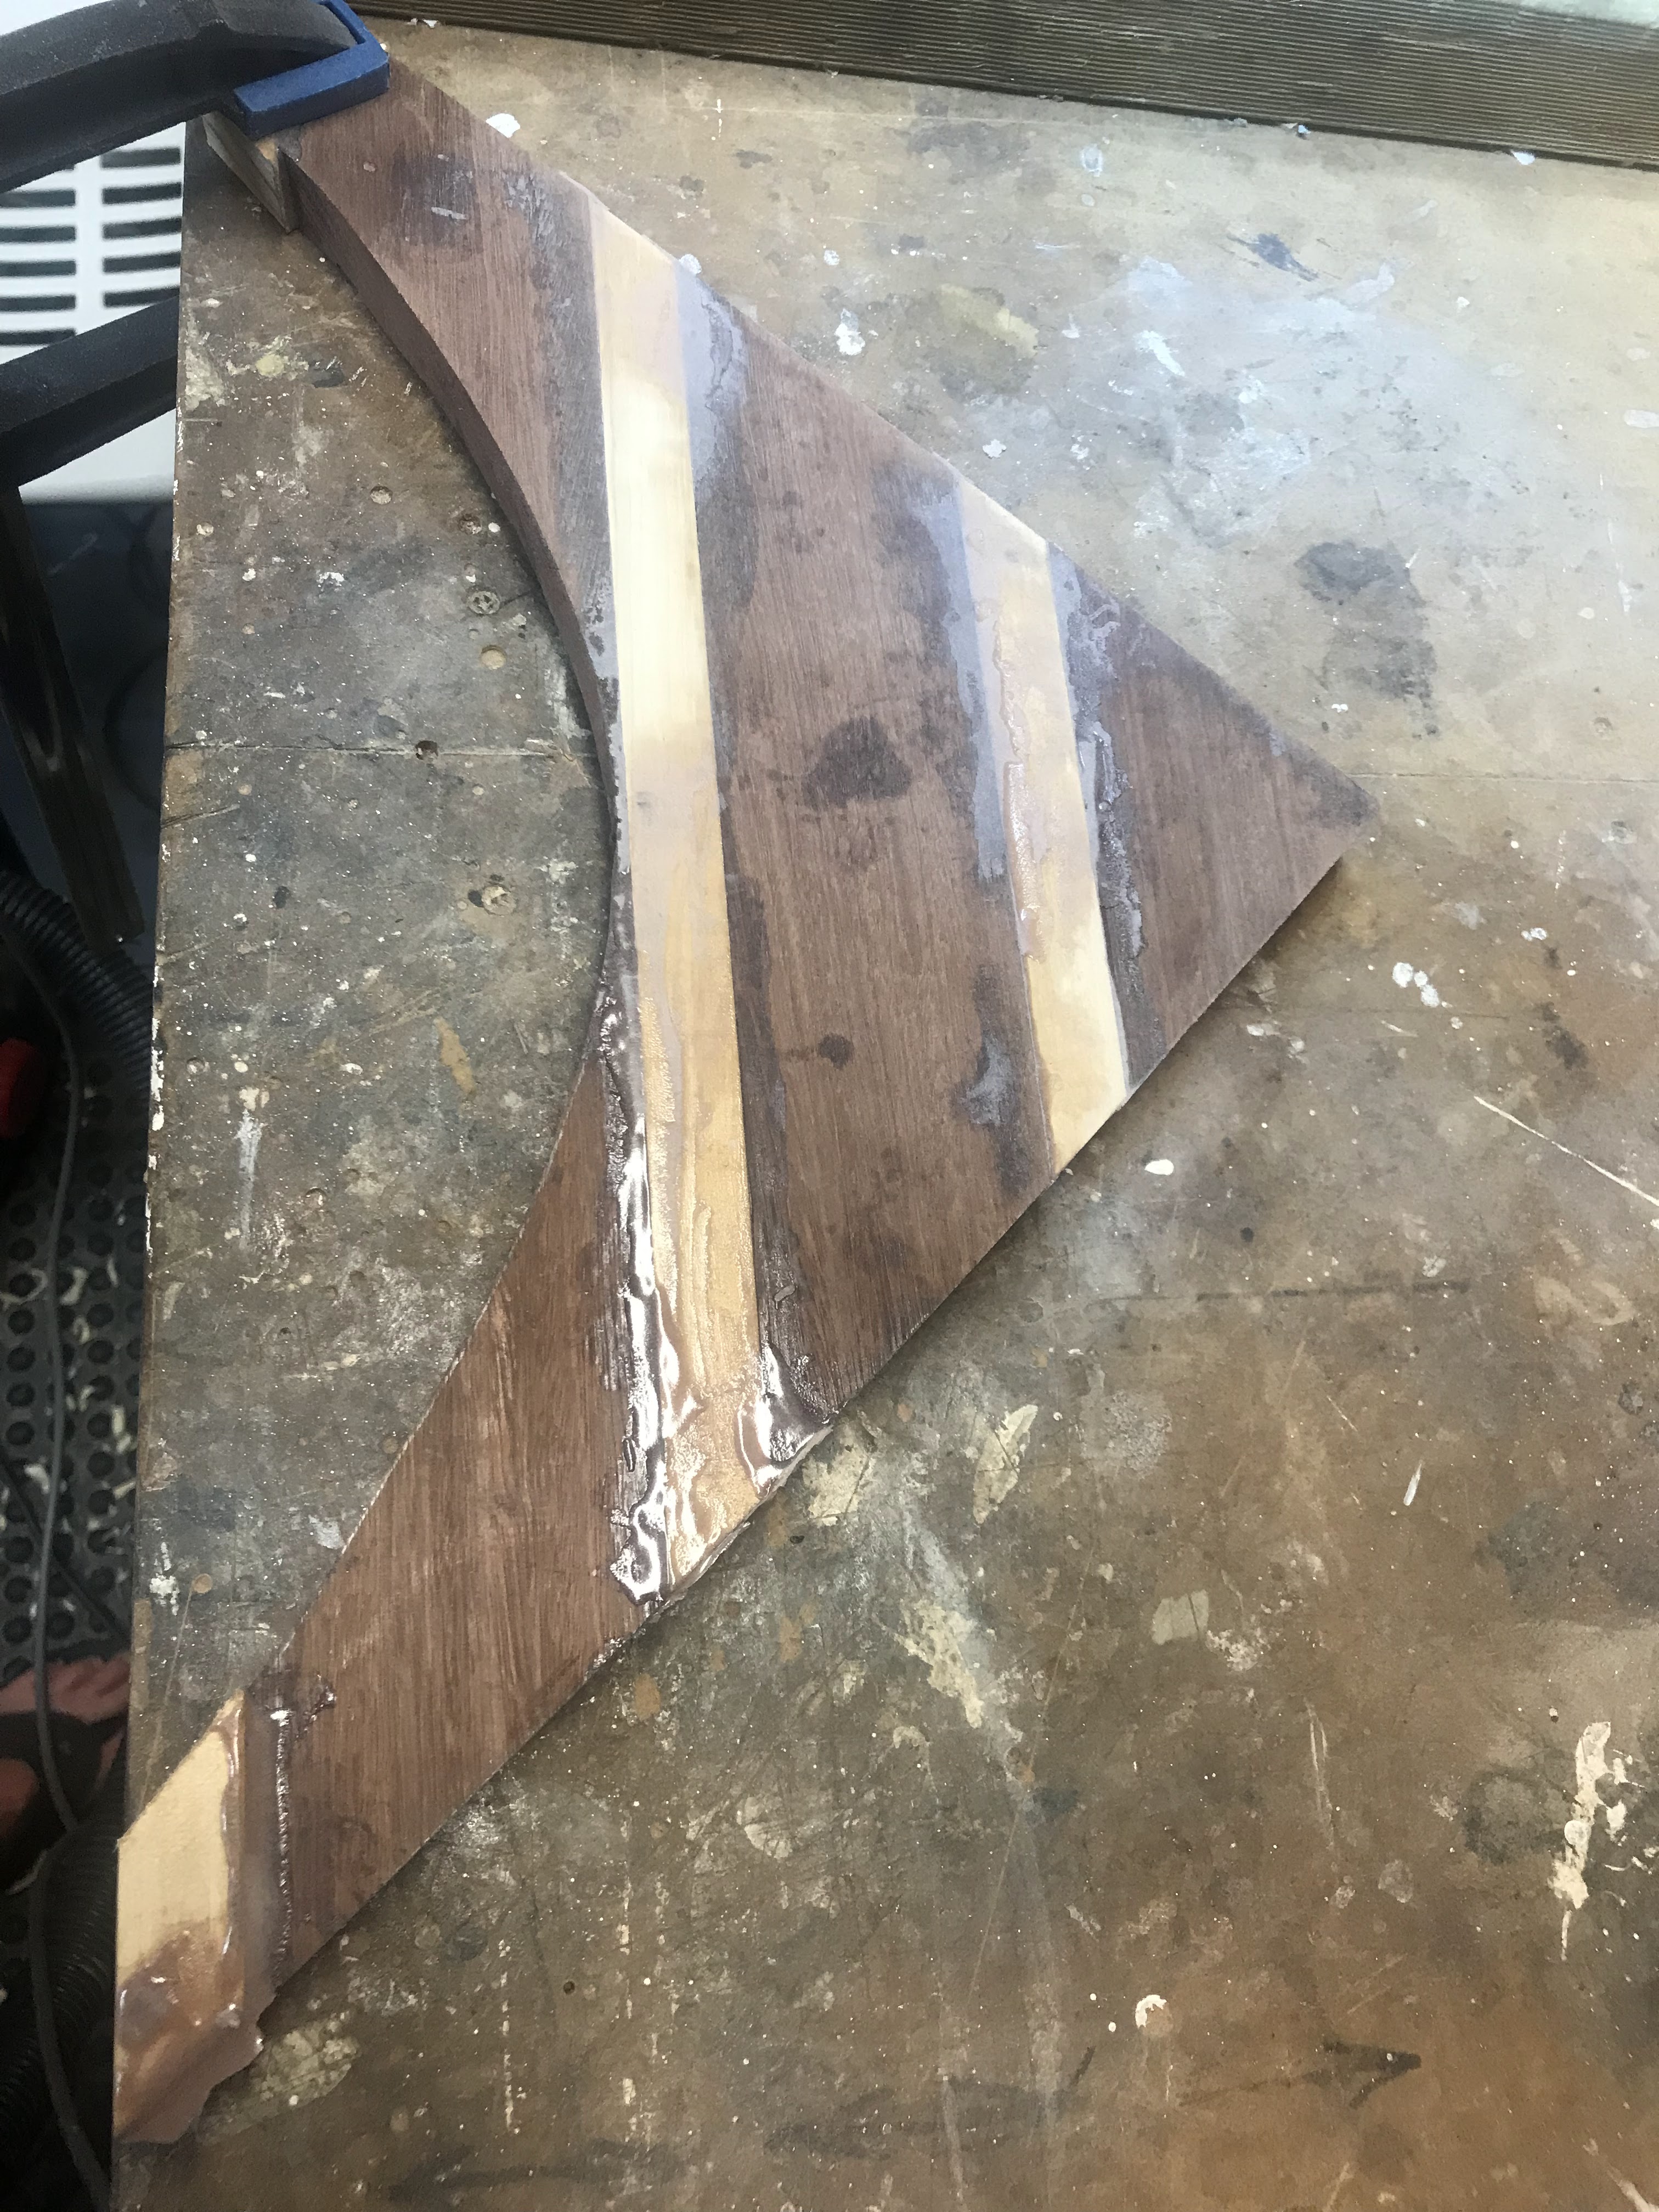
The laminated section is removed ready for sanding.
The breasthook is sanded top and bottom and the aft end is routed, its looking very nice.
The bottom is given a good saturation of epoxy prior to installation. The epoxy brought out the contrasting colors, I can't wait to see the upper surface when several layers of lacquer are applied. The astute may have noticed the groove in the bottom of the blue gum.... yes, what once was a floorboard is now a breasthook.
The unit is temporarily held in place with a single clamp and four 38mm SS screws.
Prior to gluing in place, I inserted 4 wires through the hull side into the screw holes. This is to ensure the holes line up and prevent splitting the timbers if the screw hole is missed.
The epoxied unit is clamped and screwed in place and left for a couple of days to set hard.
The breasthook is sanded down level with the sheer clamps and hull topsides, I think it turned out really nice. I can't wait to see the finished section when lacquered.