Contact Email

My contact email: 1tgoding@gmail.com

Sunday, May 28, 2023

Topside Panels

 Using carbon paper under full size paper plans I traced the topside panels onto the two lengths of 6mm ply scarfed together. I placed the two pieces on top of each other and set to work with the trusty jigsaw.


The inside faces are glassed.


The topsides are stitched in place to the lower hull. She is really taking shape now.


The top sections required some temporary screws to hold in place and the forward point needed shaping to fit neatly together.


Now all the top panels are stitched in place it's time to epoxy tack weld together.


Thats the end of fifteen months of construction

Thursday, May 25, 2023

Forward Deck and Storage Area


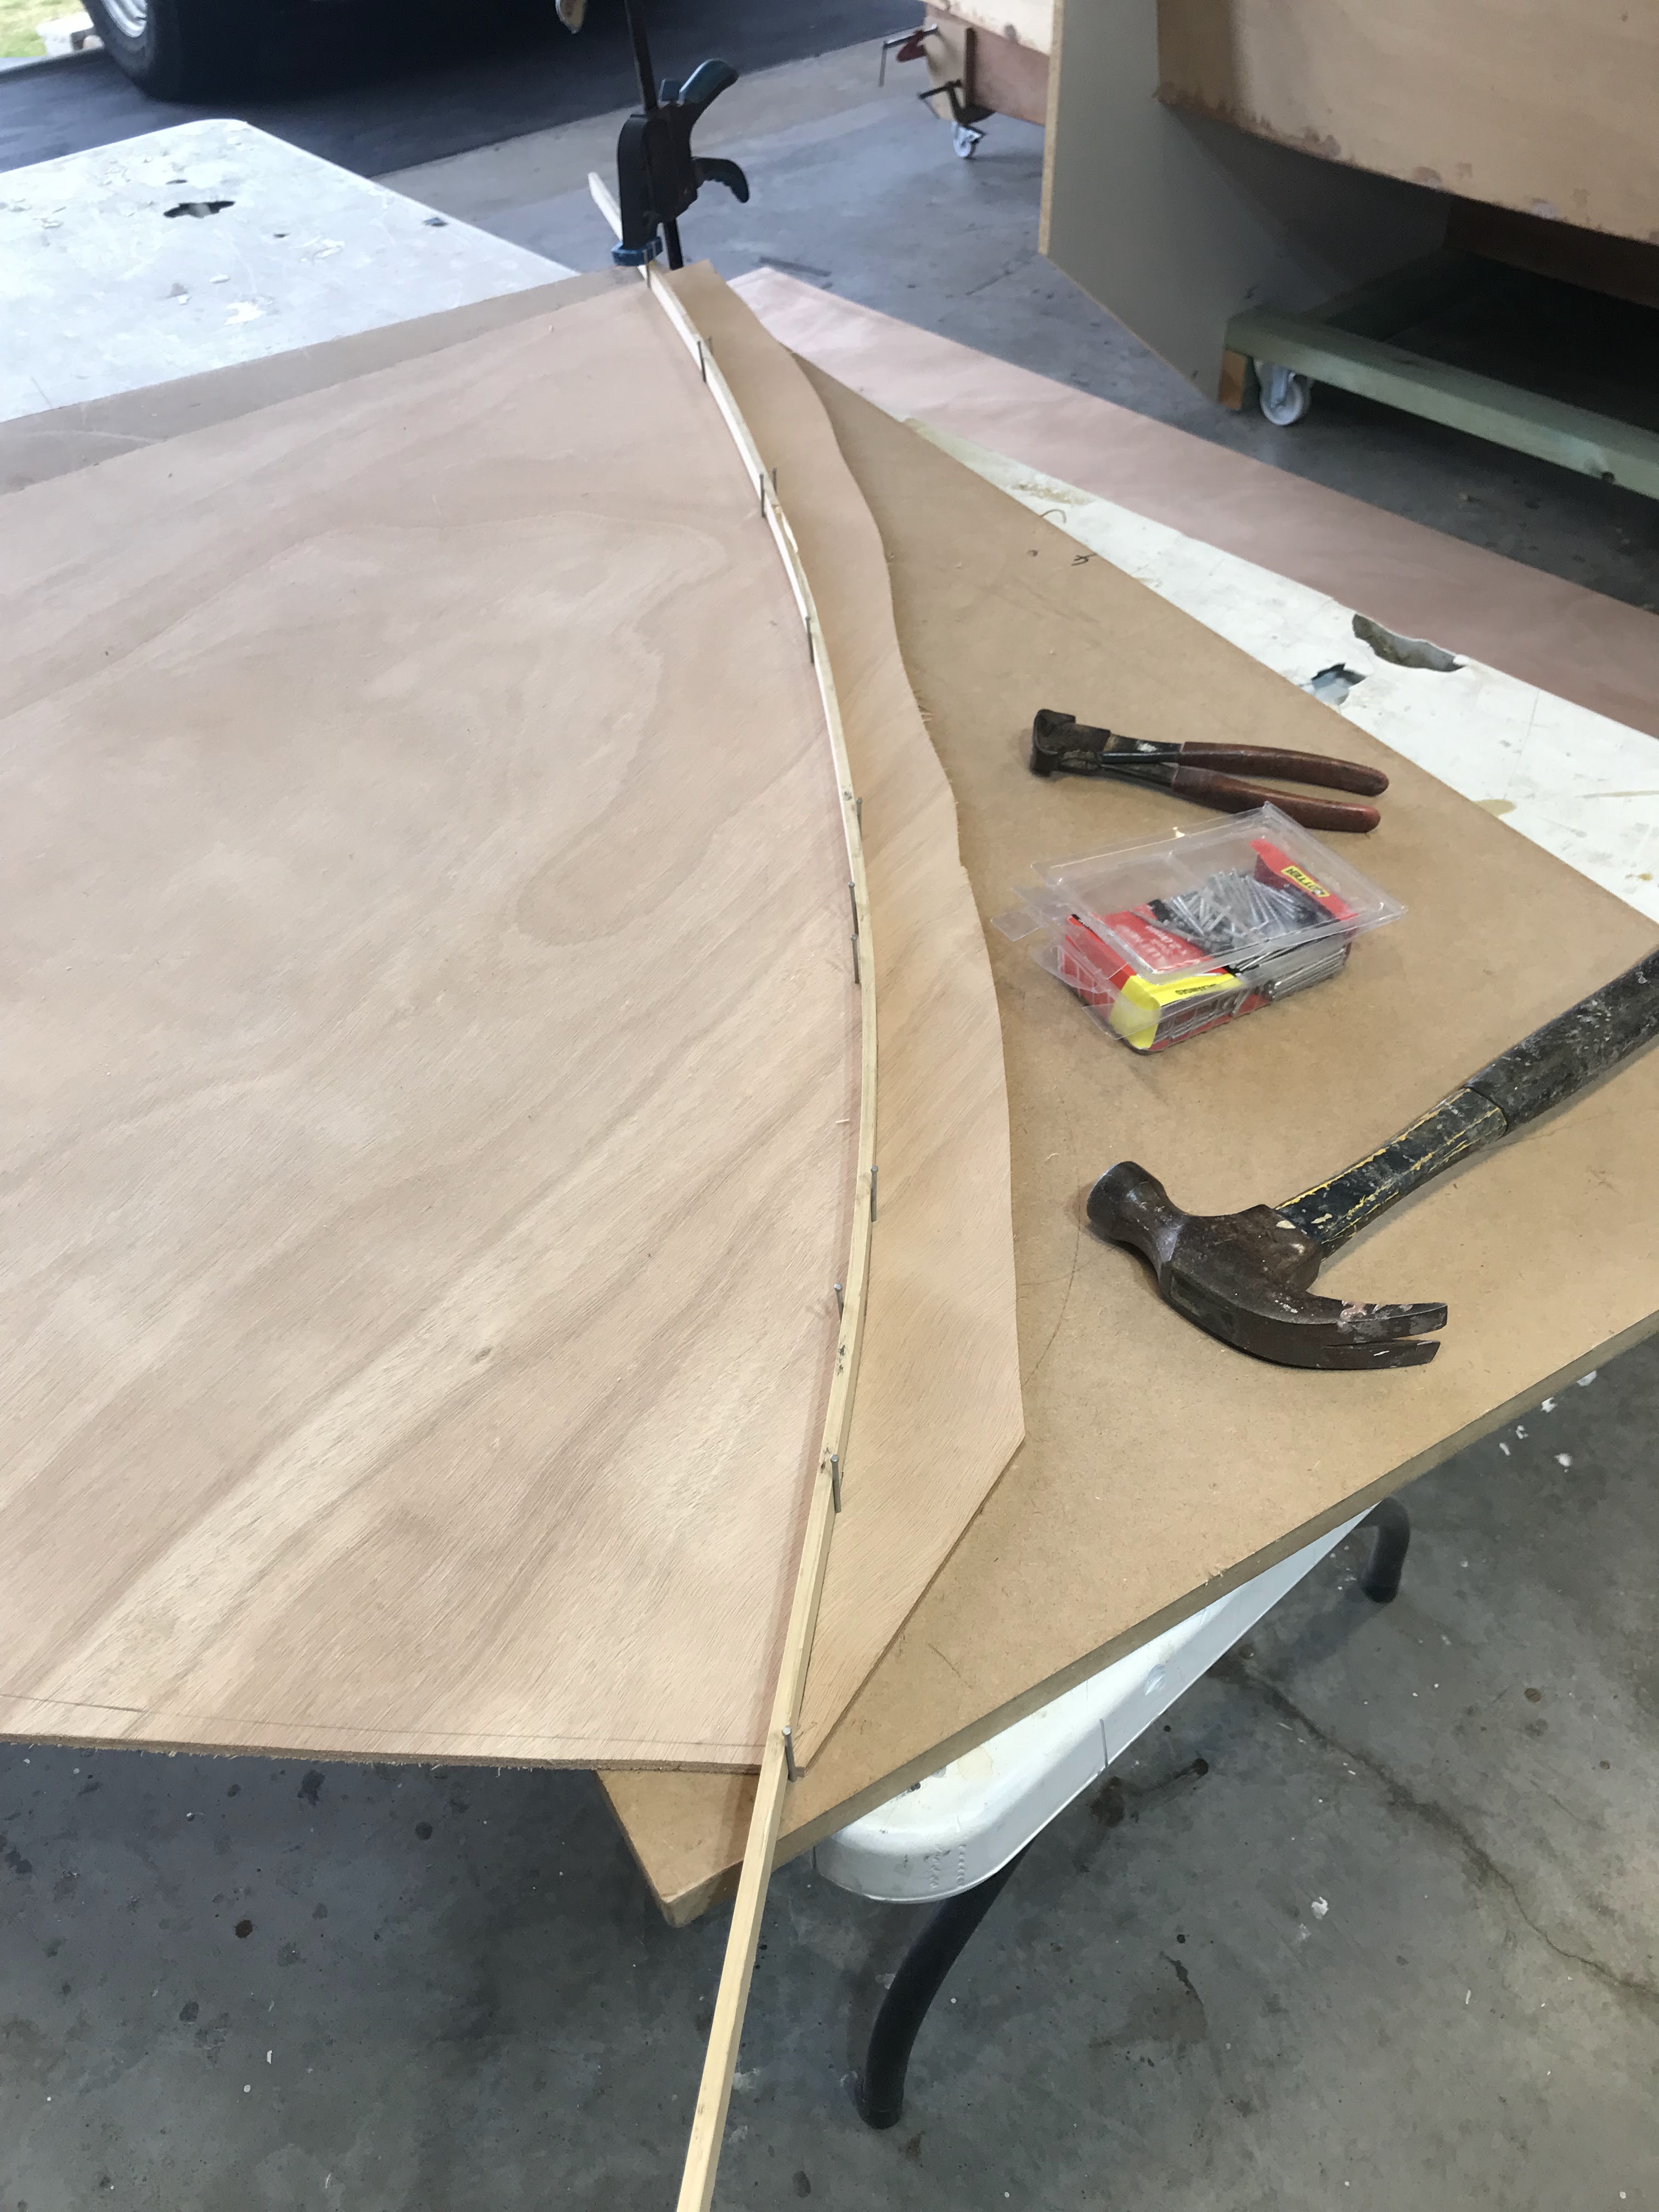
 The forward deck is rough cut larger than the plan. I placed the oversize piece onto the foredeck and traced the exact size.

A 6mm thick stick was secured inside the traced line as shown in pic. and another line drawn inside the original line.

This method provided an exact foredeck shape less 6mm for the foredeck sides.


Before securing the foredeck, I will build and install a platform for the battery and paint the interior of the forward storage area.


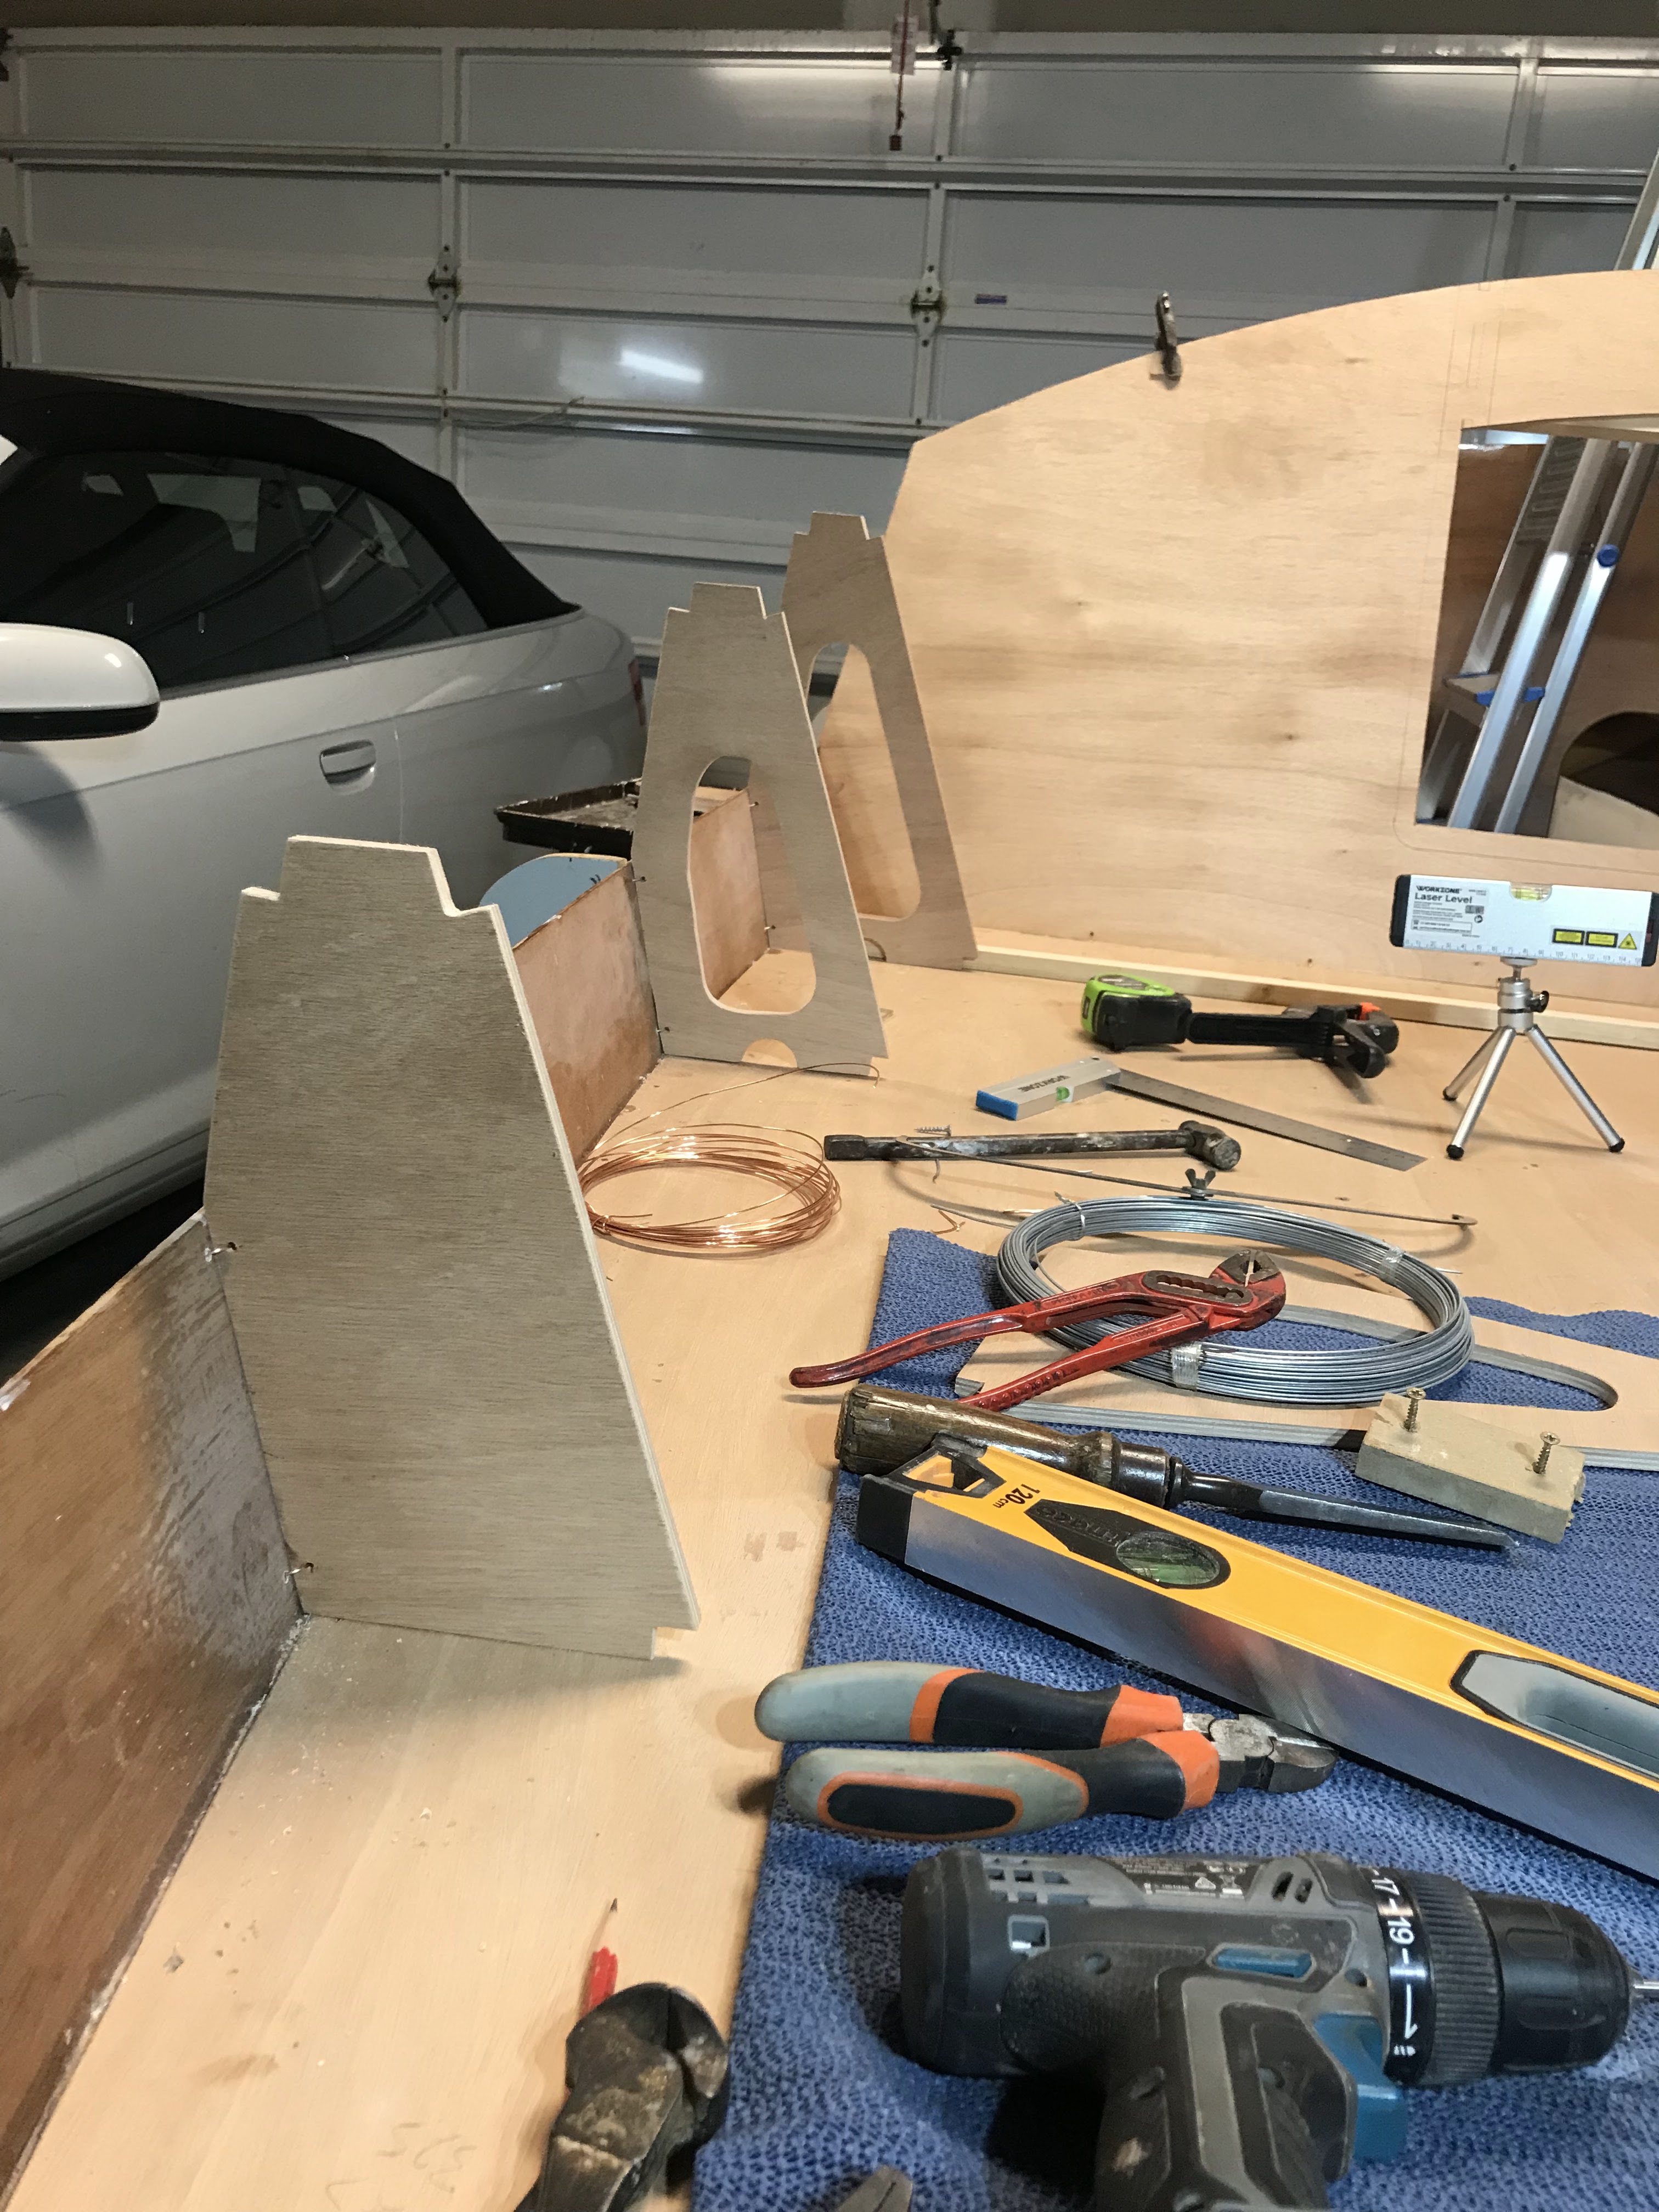
To support the battery, I glued and glassed two small, cleated frames to the hull bottom. A third cleat was secured to BH 2. This cleat has a slot for the electrical wires to pass through to the electrical panel. 


The battery platform sealed with epoxy prior to painting. 


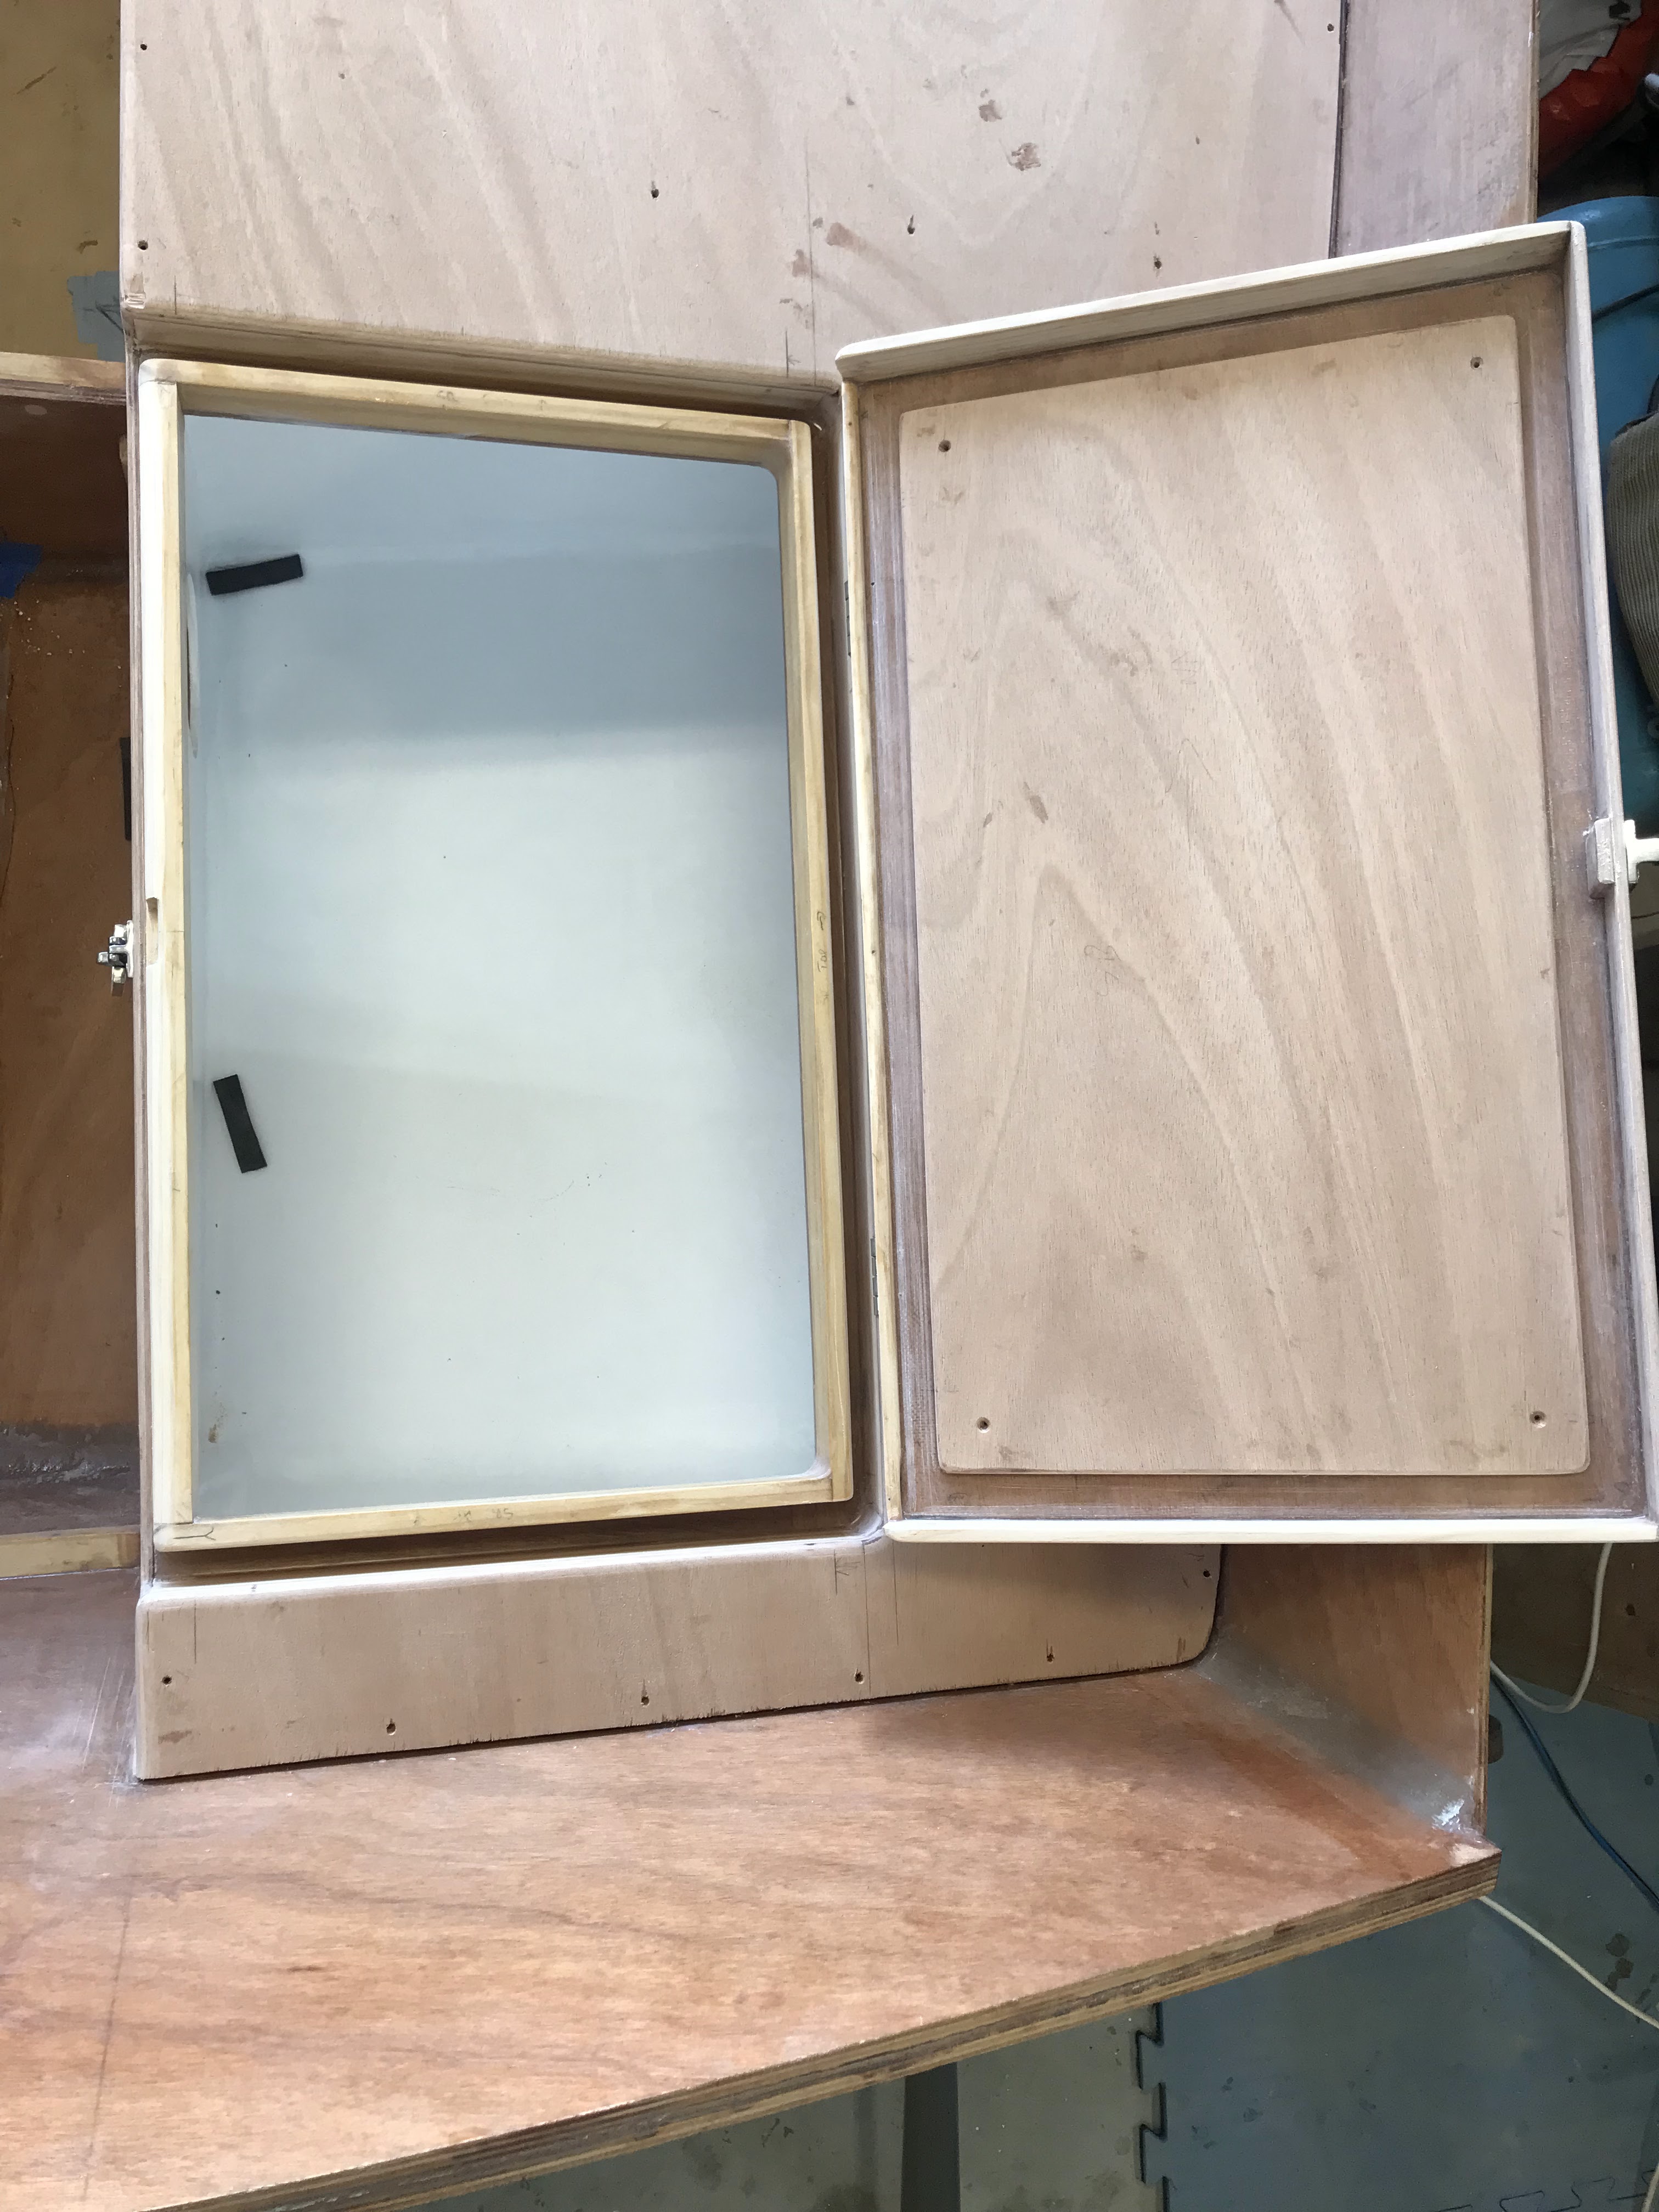
Using a renovator tool, I cut out the access lid for the forward anchor locker. The lid will be hinged to the foredeck.


The underside is glassed for additional strength. 


And the exposed area is coated with polyurethane for a bright finish.


The forward storage area is painted and masked up in preparation for gluing down the foredeck.


The foredeck is glued and held down with temporary screws. The underside is cleaned up and the masking tape removed.


The foredeck is cut slightly larger around the anchor locker to provide a ledge for the lid to sit on.


The upper hull sections are stitched and then tack glued in place, fillets between the upper hull sides and the foredeck are installed and sanded smooth.


The foredeck sides are masked up and glass cloth is smoothed in place. 


Wednesday, May 24, 2023

Foam Flotation in the Bow Compartment


In preparation for the bow compartment buoyancy, I'd collected bags of polystyrene foam. I thought this was a good idea until I had to cut it up. This stuff makes so much mess, it goes everywhere. I even found it in my undies. 


But I persevered and eventually filled the bow area.


On September 1, 2022, I posted a forward anchor mod to the bow area. My intention is to make this compartment watertight so as to not lose any buoyancy. I also installed the round bow eye access port in the floor of this compartment instead of in BH 2.


If you zoom in on this pic, you can see the bow eye nuts through a 90 mm pvc pipe pictured below.


I glued the pipe in place to hold it securely while I installed the polystyrene foam in the bow compartment. 


The polystyrene foam is cleaned up and levelled to the bow area deck.

Thursday, May 18, 2023

Rear Cabin Wall and Seat Back Frames.

 Rear Cabin Wall install.


I spent a couple of hours tracing the rear cabin wall and seat back frames onto 9mm ply. After a bit of jig saw work the rear cabin wall was stitched to the cockpit seat. I used clamps on the hull sides to temporarily hold the cabin wall in place.  


The correct angle was secured by screws through the hull sides and a temporary cleat screwed on top of BH 2 and the rear cabin wall.


Seat Back Frame Install.


To locate the position of floor 6 I used a laser level from the hull bottom and transferred it to the top of the hull sides.


The seat back frames were stitched in place above floor 6, BH 7 and BH 8.


To align the frames athwartships a length of timber was clamped at the base of the frames. 


A carpenter's square ensured the frame was perpendicular to the cockpit prior to stitching the frames to the hull sides.


Friday, May 12, 2023

Flush Timber Hatch Lids

 Now the cockpit floors are installed it's time to work on the hatch lids.


I need to consider the following when constructing the hatch lids:
  • They need to be hinged.
  • They need to be reinforced so they can handle the weight of a person standing on them.
  • They need to be waterproof.
  • They need to be able to be locked.
Firstly, the cockpit floors around the hatches need to be trimmed and the edges rounded over.


I used a "Trimming" router bit to clean up the cockpit floor overhang.


And a 6mm round over router bit for the edges.


A router jig is made for the lid hatch lock.


The routed recess allows the thicker section of the hatch lid to neatly slide down.


Each Hatch lid consists of 15 parts including hardware. The 6mm ply lid is reinforced with a slightly smaller 6mm thick section laminated to the underside resulting in a strong 12mm thick lid. The reinforcing section is smaller so as to provide a gap around its circumference for a 2mm thick rubber seal.
All the components of the lid will be epoxy glued together and temporarily held with screws.
The hardware consists of 2 hinges and a lockable latch. The hinges will be fastened on top of 4mm shims which for decorative purposes will be 3mm larger than the hinges and provide a total of 10mm of ply timber beneath the hinges for fixing screws.

This has been an exciting mod requiring considerable planning, engineering, time and patients.


Gluing and screwing the sections together.


The hatch lid is sanded smooth, the edges rounded, and the hinges and latch are installed.


After some small adjustments the hatch opens and closes smoothly.


Here you can see the gap around the circumference of the lid where a 2mm thick rubber seal will be glued in place.


This pic shows the drainage channel around the hatch opening that will direct water into the footwell and then into the sea.


The shims under the hinges are both decorative and provide a 10mm thick bedding for the screws.


Wednesday, May 10, 2023

Cockpit floor Install

Prior to installing the SB cockpit floor, I threaded the centerboard pull rope into the centerboard case and over the round nylon pully. Cellotape was fixed to the opening at the top of the centerboard case to prevent epoxy running into the centerboard case.


The lower hull area and cleats are masked up.


The underside of the cockpit floor is masked up.


And finally, the SB cockpit floor is glued into place with temporary screws and clamps.


Likewise, the port cockpit floor is glued and clamped in place.


Now I'm qualified to say like many builders have previously:

"I can sit on the cockpit of my boat".

How good is that!


Because the footwell space was widened I added two additional cleats athwartships to provide extra strength for the footwell floor. 


So that's another milestone completed, it's quite exciting how one feels when completing the different build stages.

Now it's time to work on the flush timber hatch lids. I'm excited to complete this mod as it involves hinges, locks, reinforcements and most importantly the lids need to be waterproof to keep the lazarette areas dry.