As it says in the manual ...... time for a bench project.
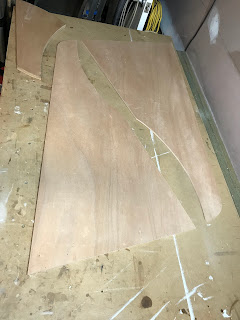
The two sides (6mm ply) and cheeks (9mm ply) are transferred from the plans and cut out with the old trusty jigsaw.
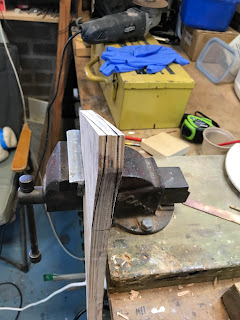
I'm having a bit of a think about the rudder, and I like the look of the edge laminates in the ply cheeks (when lacquered up bright) .......so I'm thinking of making the blocking at the top end of the rudder from ply to match the cheeks ...... it's still a thought at the moment.
The Next Day
Well after a night lying in bed thinking (something I find myself doing a lot during the PocketShip build) I decided to laminate two 9mm pieces of plywood together to make the 18mm thick blocking and framing timbers for the rudder.
Here are all the pieces for the rudder (excluding the tiller) As I mentioned earlier, I wanted the upper section of the rudder bright showing the end grains of the cheeks and the end grain of the blocking timber to match.
Time to create some dust and reduce the blocking pieces to create the airfoil shape.
The bottom and aft edge blocking pieces.
The forward block is glued in place then the complete unit is saturated with undiluted epoxy.
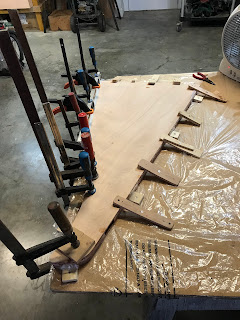
Glue is applied to all parts and assembled on a flat plastic covered bench.
To ensure the rudders airfoil shape and to prevent epoxy slip I clamped an aluminum angle to the bench with a timber spacer beneath it. The thickness of the aluminum and the spacer combined held the trailing edge of the rudder the right height to ensure it is symmetrical. You can see the gap under the aft edge where it sits on the angle.
The trailing edge is clamped down into the aluminum angle, I use a level between the clamps and the timber to ensure it is evenly flat along its edge.
Small blocks are screwed around the circumference of the rudder to hold it in place.
Using ply strips the base and forward part of the rudder are screwed down flat on the bench.
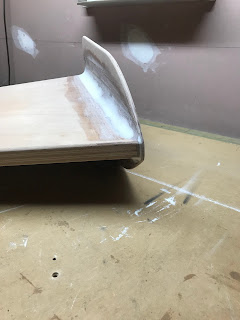
Here the rudder and end plate ready for cleanup.
I sat the rudder and end plate against the transom ensuring the bottom of the end plate is level with the bottom of the keel. Using a pencil through the tiller slot I marked the hole for the tiller.
This pic shows the location of the tiller slot which I used to measure and cut the 3" (76mm) tall and 3-1/4" (82.5mm) wide slot.
I drilled holes in each corner and removed the piece with a jigsaw before rounding the edges with a router.
Using a 25mm diam forstner bit I drilled the two cockpit drainage holes. The holes were treated with undiluted epoxy and then a 25mm electrical conduit was glued into the drainage holes. I use this method to completely seal the transom timber plus it gives the drainage hole a neat finish.
This pic shows the conduit which is yet to be cleaned up flush with the transom.
And here the conduit is cleaned flush with the transom.
Back to the Rudder.
Before fixing the cheeks to the rudder I did the following:
1) I glued the two 9mm cheeks together to form a solid 18mm thick section.
2) I then temporarily screwed the two 18mm thick cheek sections together for shaping.
3) Using a 45 deg. chamfering bit on a router table I knocked the edges off the cheeks.
4) I routed channels for blue gum inserts.
This pic shows clamps holding the inserts in place until the epoxy sets.
The inserts are cleaned up with a spoke shave and sanded down level with the cheeks.
Note: The two cheeks are still screwed together during this whole process. I simply flipped the section over to do the other side.
And here are the completed cheeks with one coat of diluted epoxy, two more to be applied before lacquering bright.
The port side cheek is glued onto the rudder.
The rudder base is squared up and 90 deg. squares are clamped in place.
The rudder foot is glued, screwed and clamped in place on top of the 90 deg. squares.
This pic shows the countersunk screws securely holding the rudder foot in place.
Large fillets laid, cloth tape and peel ply is applied.
The fillets and cloth are sanded, an additional layer of filler applied and sanded smooth ensuring the fillets and cloth are feathered in.


No comments:
Post a Comment