Contact Email

My contact email: 1tgoding@gmail.com

Friday, October 7, 2022

Cleat Router Box

 In preparation for all the upcoming cleats requiring the inside exposed edge routed I knocked up a router table box from old MDF and chipboard. I left the front section open to provide access to my small Makita trimming router which was fastened to the table base. The box easily clamps to any bench and the front opening allows easy height adjustment of the router bit. A rear clamp will hold the vacuum hose for dust extraction. This will make routing the thin strips and small pieces of timber much safer, easier and quicker.


Thats the end of the nineth month of construction..........

Saturday, October 1, 2022

Forward Laminated Cleats

 Laminated Cleats Between BH 1 and BH 2.


I wasn't keen on laying fillets along the join of the foredeck and hull sides between BH 1 and BH 2. The area is small and would require some gymnastic style moves whilst laying on my back, so I decided to install cleats. 


To maintain the fair curve of the sides of the hull, I cut 2 strips of 6mm ply to form the cleat.


Plastic is taped to the inside of the hull for easy removal of the cleats. 


The two strips are glued together and held in position by clamps until dry.


Once the epoxy has set the cleats are removed and cleaned up, notice the lamination maintains a smooth curve that will follow the side of the hull.


Monday, September 5, 2022

Forward Anchor Locker Mod.

 Anchor Chain & Rope Locker Mod,


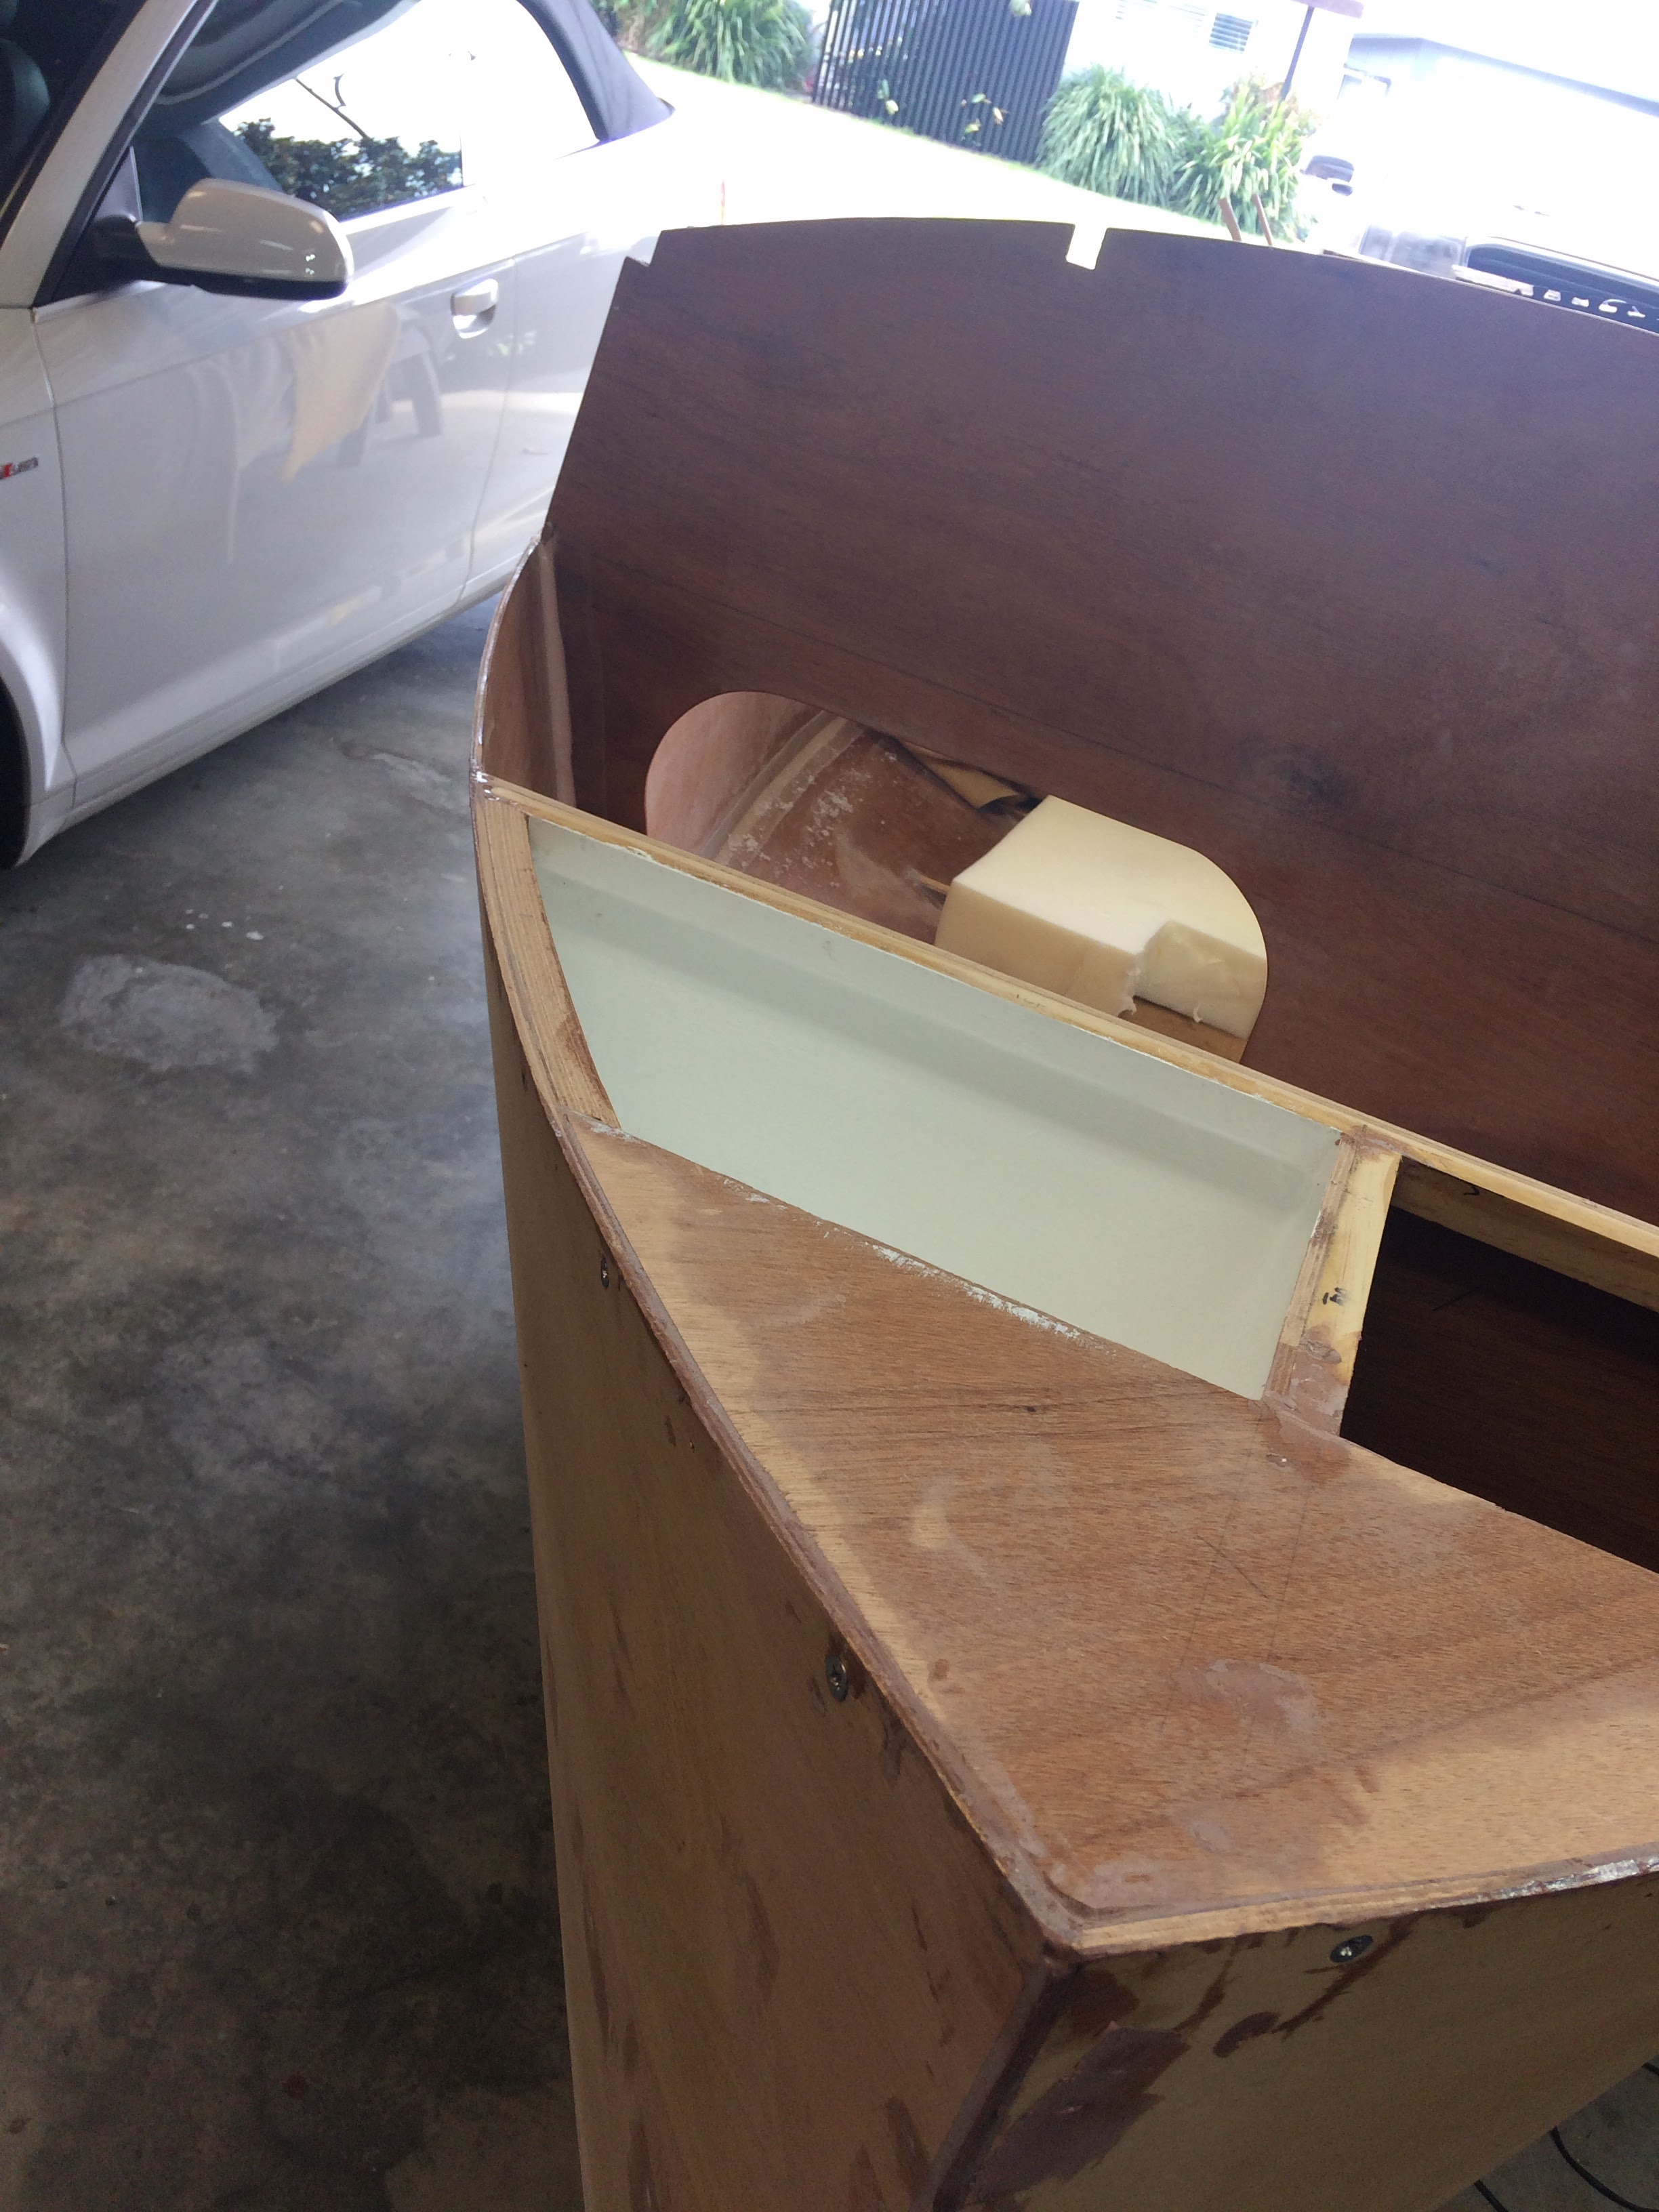
I decided to add a compartment in the upper starboard bow section between BH 1 and the stem. The compartment will be used to store the anchor rope. The anchor will still be stored on the Port side of the foredeck, this should even the weight distribution. The mod will reduce the buoyancy by approximately a quarter but if I make it watertight and sealed it should still provide some buoyancy. The locker will have a small, hinged sealed access hatch on the foredeck in the area next to the bow sprit forward of BH 1. It will also have a round inspection port in its base to provide access to the bow eye nuts if required which eliminates the access inspection port in BH 1. A simple frame is constructed with cleat timbers and installed at an angle so water can drain from the locker back into the sea. I will add a transom plug to the drain hole to make the locker airtight when sailing.

Cleats are fitted with screws. The centerline cleats run forward to the stem and will sit beneath the lower breast hook.


Cardboard templates are made

for the plywood floor and side.


An inspection port hole in the floor bottom to provide easy access to the bow eye nuts. 


Here the inspection port is trial fitted.


The base and side are glued into place and held with timber props.


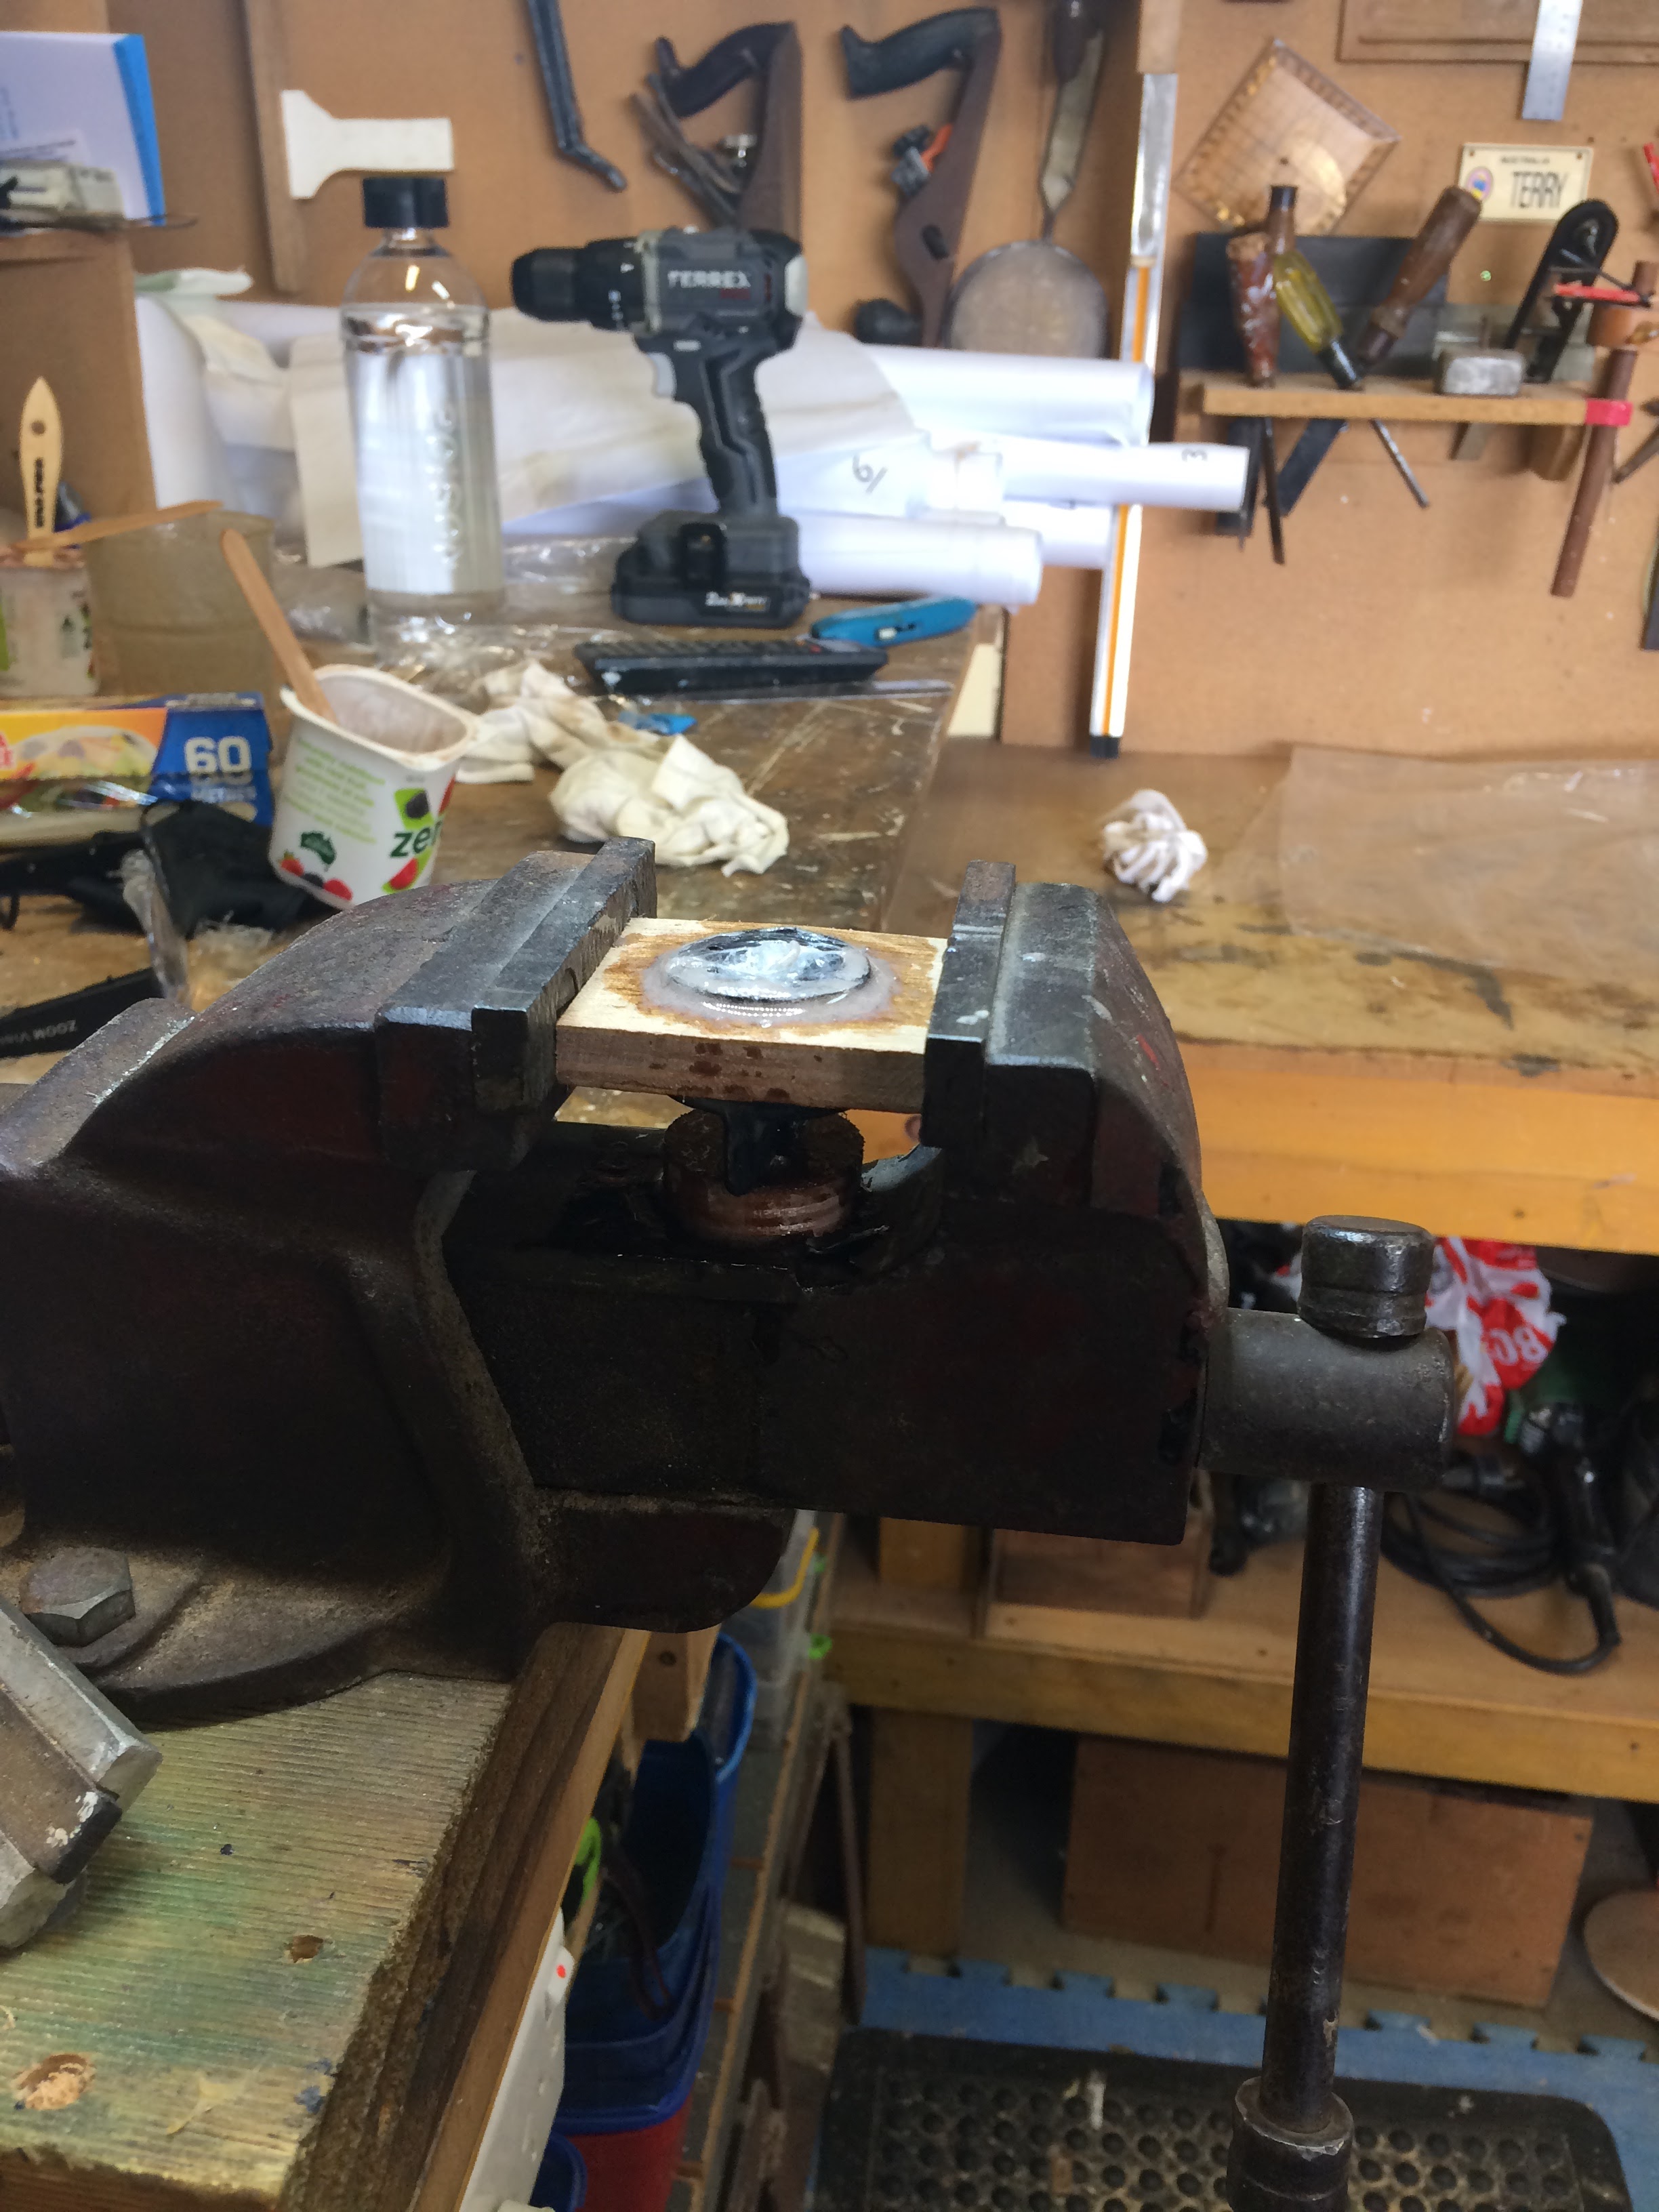
To make the anchor locker airtight and provide buoyancy It needed a screw in plug to seal the chamber when sailing. A 9mm plywood block was cut. The plug was covered with glad wrap.


The plywood block is secured in a vice and epoxy poured around the plug.


Once the epoxy has cured the plug is unscrewed and cleaned up. The block is trial fitted to the inside of the locker.


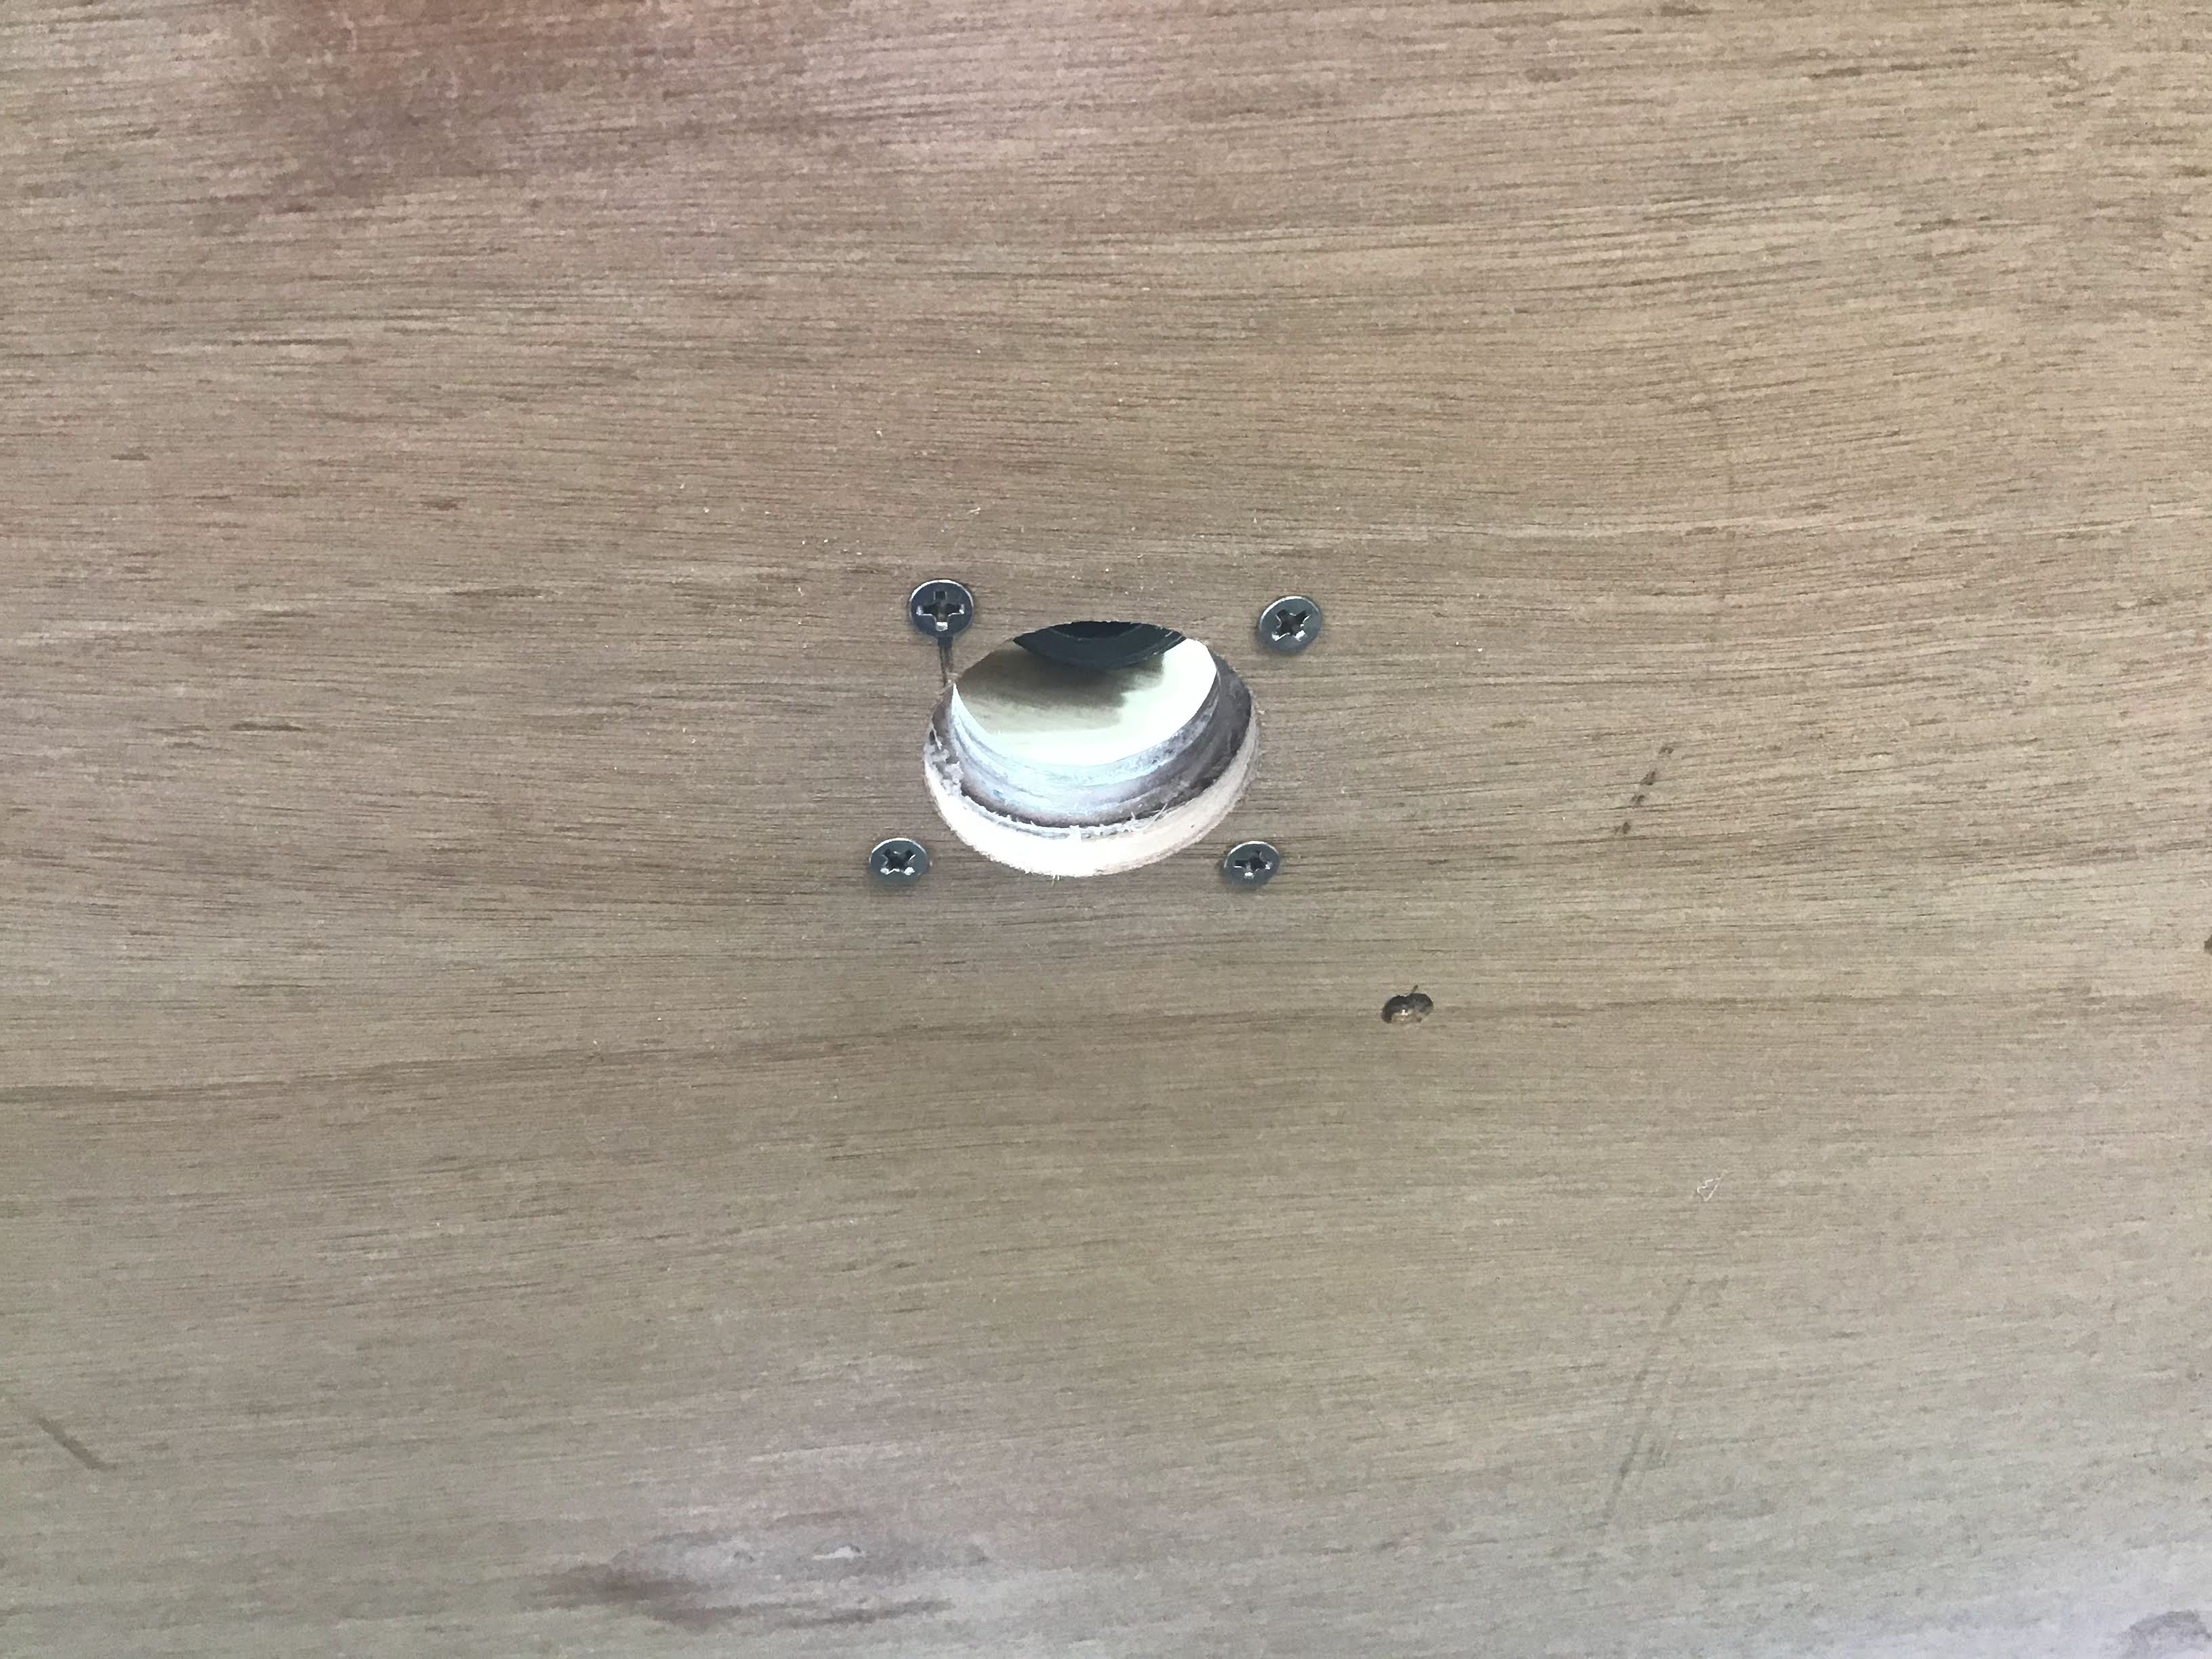
A drainage hole is drilled through the SB hull, the block is glued into place and held with screws.


I didn't like the size of the drainage hole it aesthetically looked too large, so I formed up a plug from 6mm ply with a smaller hole and glued it into place. It will still allow the locker to drain and looks more in scale with the boat.


The locker receives two layers of undercoat, a 3 to 1, two pack mix.


To maintain the fair curve of the side between BH 1 and the lower breasthook I cut three pieces of 6mm ply that will laminate together to form the cleat.


The laminated pieces are glued and clamped into place on the port and starboard sides between BH 1 and the lower breast hook.


The cleats are cleaned up, the locker is given its final coats of paint and the inspection port that provides access to the bow eye nuts is glued in place.


The lower section of the anchor locker mod is now complete. 

Thats the end of the eighth month of construction.......


Thursday, September 1, 2022

Lower Hull Glassing, Bow Eye Installation.

 Lower Hull Glassing Almost Finished.


August was the month of glassing. In total there are 19 sections in the port and starboard lower hull sections. As stated by many previous builders this stage of the project is by far one of the more challenging parts of the build. Be prepared to do a lot of climbing in and out of the boat and working in difficult positions.

The Boweye. 

Preparation and installation of the first piece of hardware.


The boweye has two very important functions, it provides the support link or bobstay to the bow sprit and secures the boat to the trailer. Because this is a highly loaded component, I decided to beef up the bow compartment.


To provide the additional strength and even the load decided to add a timber reinforcing block to the bow compartment. The block was trimmed to fit neatly, and larger holes were drilled and filled with thickened epoxy.


Two small pilot holes are drilled in the center and completely through the epoxy section of the block. This is to ensure the block is lined up in the correct position.


The block is trial fitted with screws through the stem and into the two pilot holes. I located the bow eye 760mm from the top of the breast hook to the top of the bow eye.


The inside area is glassed, sanded and cleaned. 


The block is glued into place with thickened epoxy and held in place with screws through the stem. When the epoxy was set several layers of glass are smoothed over the block and onto the hull sides.


An additional stainless-steel plate is shaped to fit the inside bow section and sit against the block.


The stem is shaped to fit the curved bow eye plate. several layers of epoxy are applied to waterproof and densify the area. 


Sikaflex is applied to the bow eye shafts and the bow eye is pushed through the stem.


The plate is glued into place with Sikaflex and secured with nylock nuts.


Thursday, August 4, 2022

The Last of the Lower Fillets

 Finally, the last of the lower fillets are laid and sanded.

Masking up.........


The area is wetted out, fillets laid, and peel ply applied over the wet fillet. A dry foam roller is used over the peel ply to make a smooth even finish.


Removal of the peel ply reveals a smooth fillet requiring minimal sanding.
Work has slowed down for a while due to illness.


After a couple of weeks in bed its back to the build........slowly

The area is thoroughly sanded

Glassing Time. A paper template is made, and a pencil line drawn around the outside.


The area is masked up and the glass is smoothed in place,


Resin squeegeed into the glass, when the resin is green set the glass is cut around the masking tape. 
One more down, 15 to go.


Template reversed and port side glassed in.
Two more down, 14 to go.


Another paper templet for the next section.


The next section of glass layed overlapping on the keel and hull bottom.


Two more down, 12 to go.

And so, the glassing goes on & on & on. but it is fun. Definitely recommend using knee pads……

Update from the glassing contortionist, I'm still having fun.....
only six more to go.


Yahoo
, finally all the glassing is complete up to BH 2


Here I'm laying reinforcing fiberglass tape with peel ply to reinforce the hull to BH 2 & BH7.


But being a sucker for punishment I am laying an additional strip of glass tape along the chine fillets. This will be a total of 4 layers on the chines areas that have overlapping glass and 3 between. This extra layer is purely for strength and will require additional fairing and sanding to provide a smooth finish inside the cabin area.
BUT my reason for the additional fiberglass tape is to provide peace of mind when sailing my local coastline which is mostly cliffs causing rough seas.


Now for some fillets in THAT AREA, so with a sturdy box to stand on, a noodle on the hull side, its head down (literally) and Ar.. up. I wish my arms were about nine inches longer.


That's the end of the seventh month of construction............