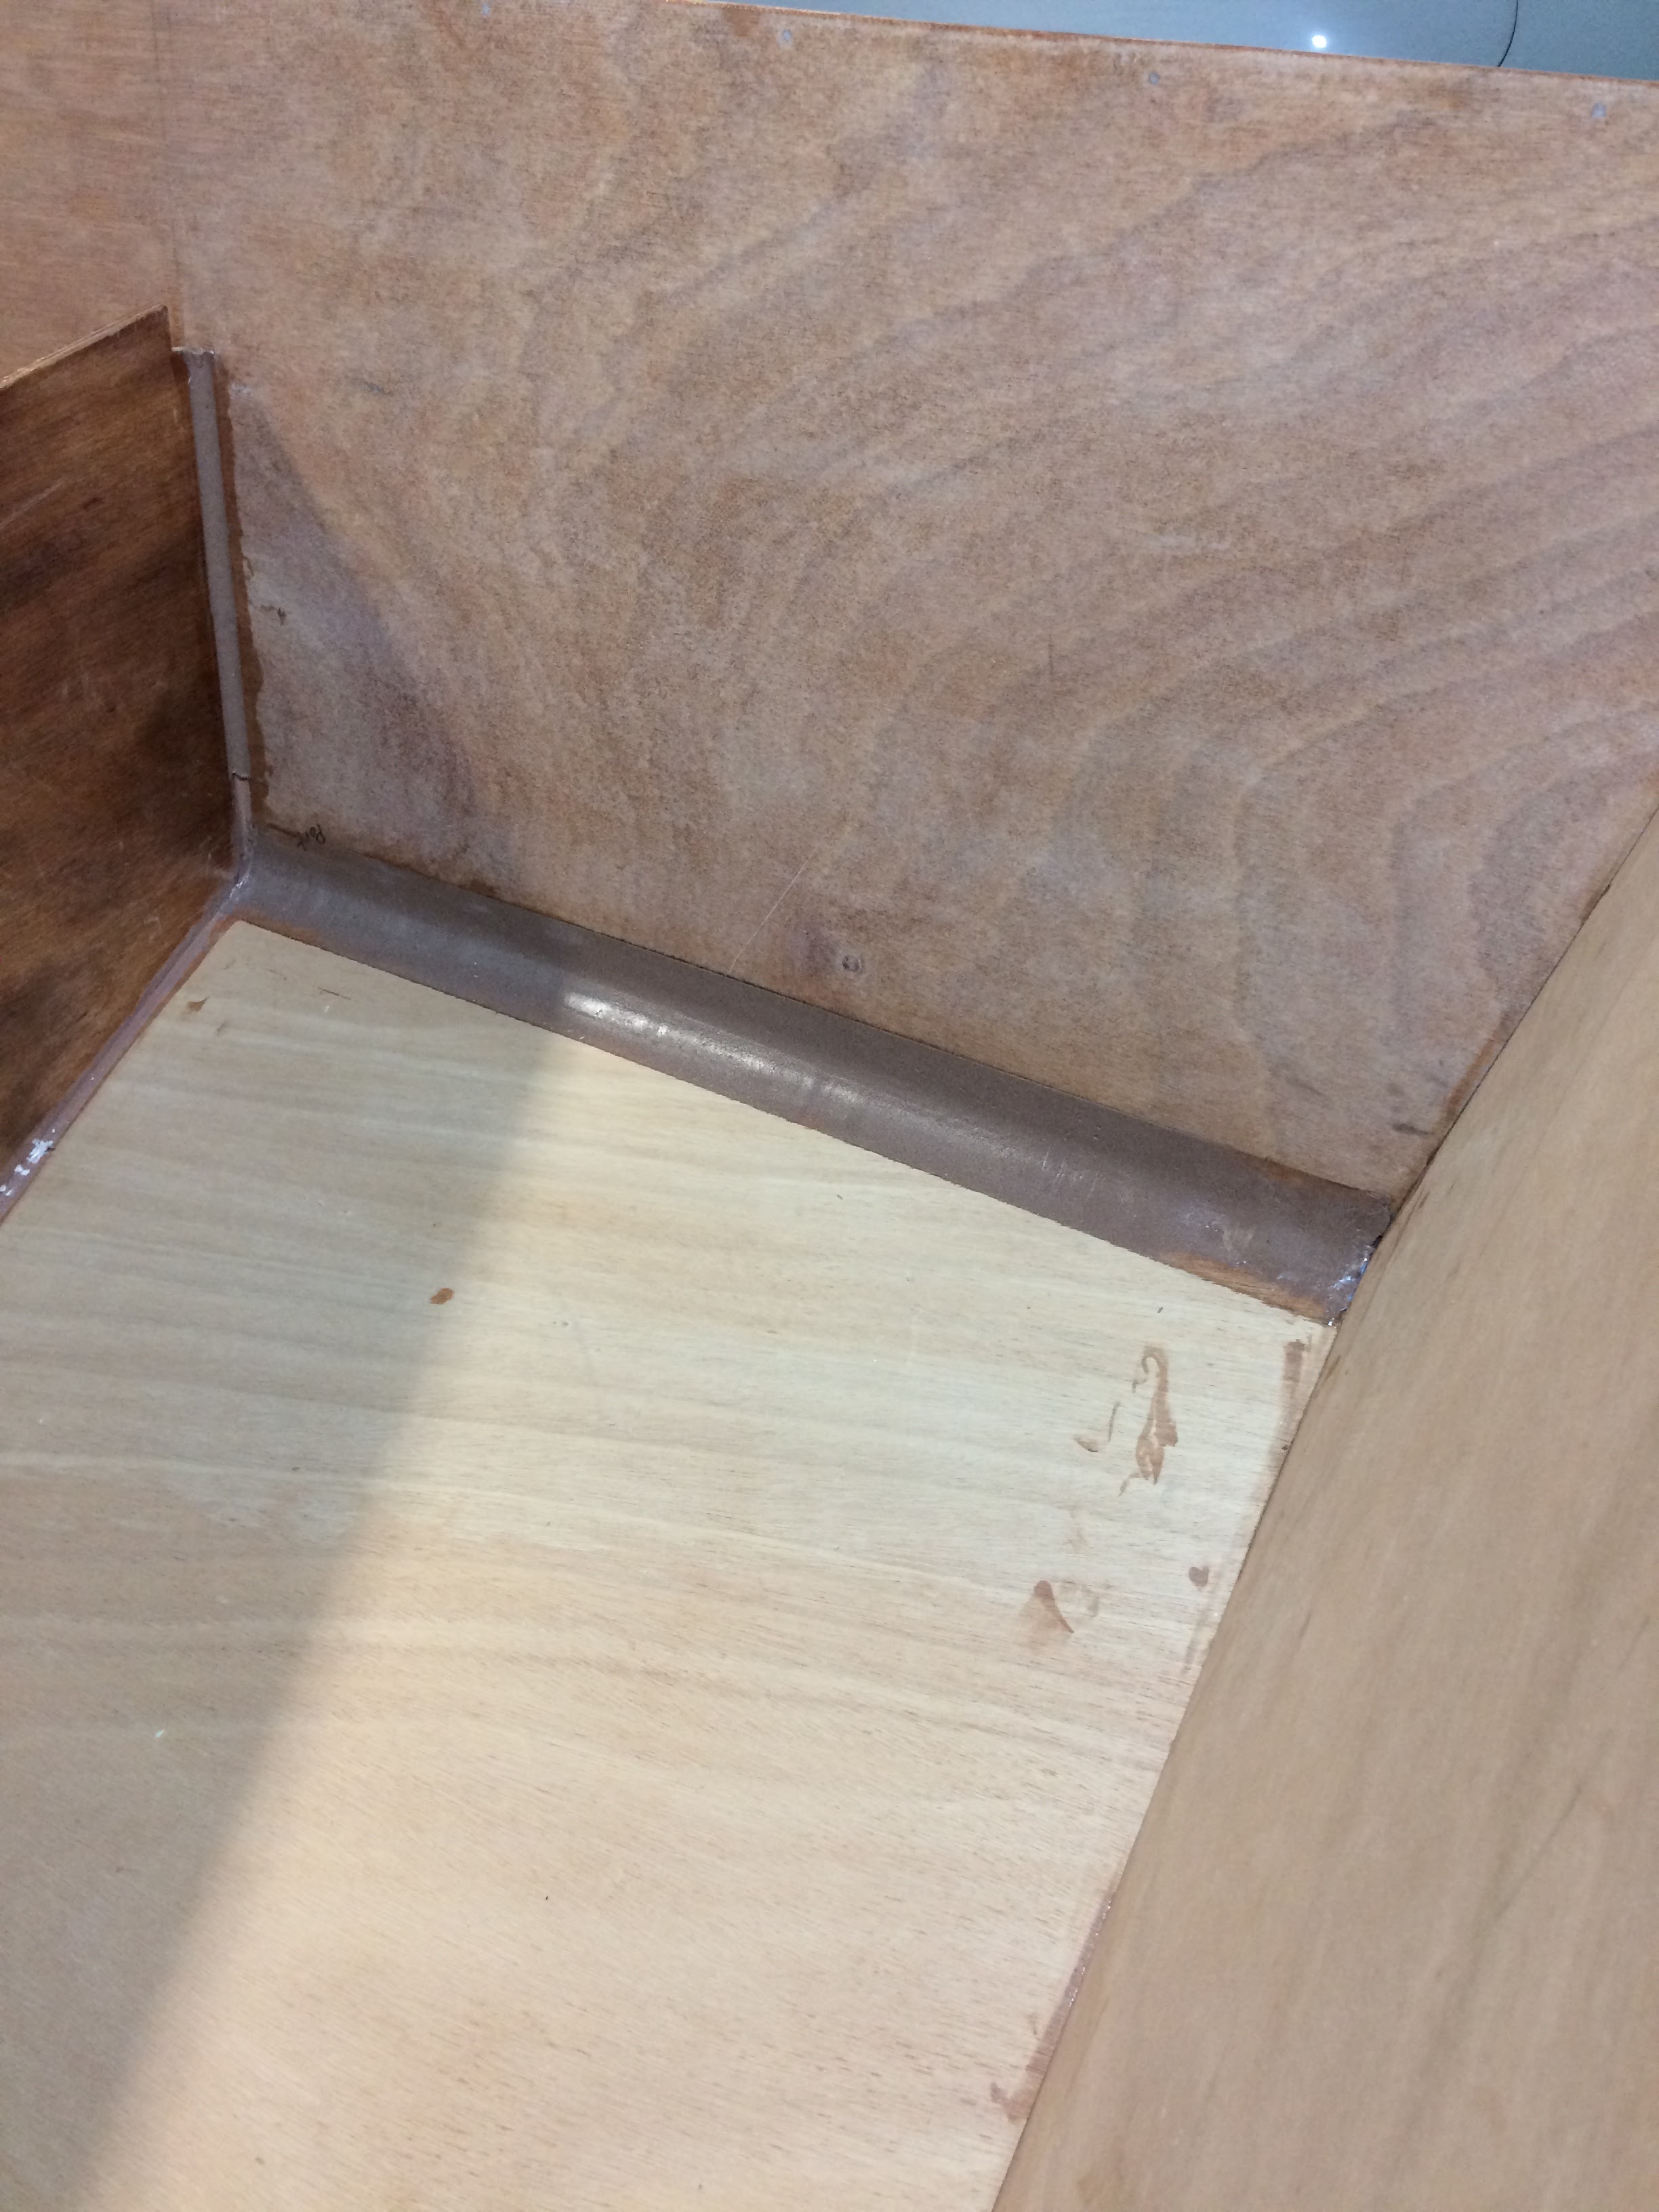
Finally, the last of the lower fillets are laid and sanded.
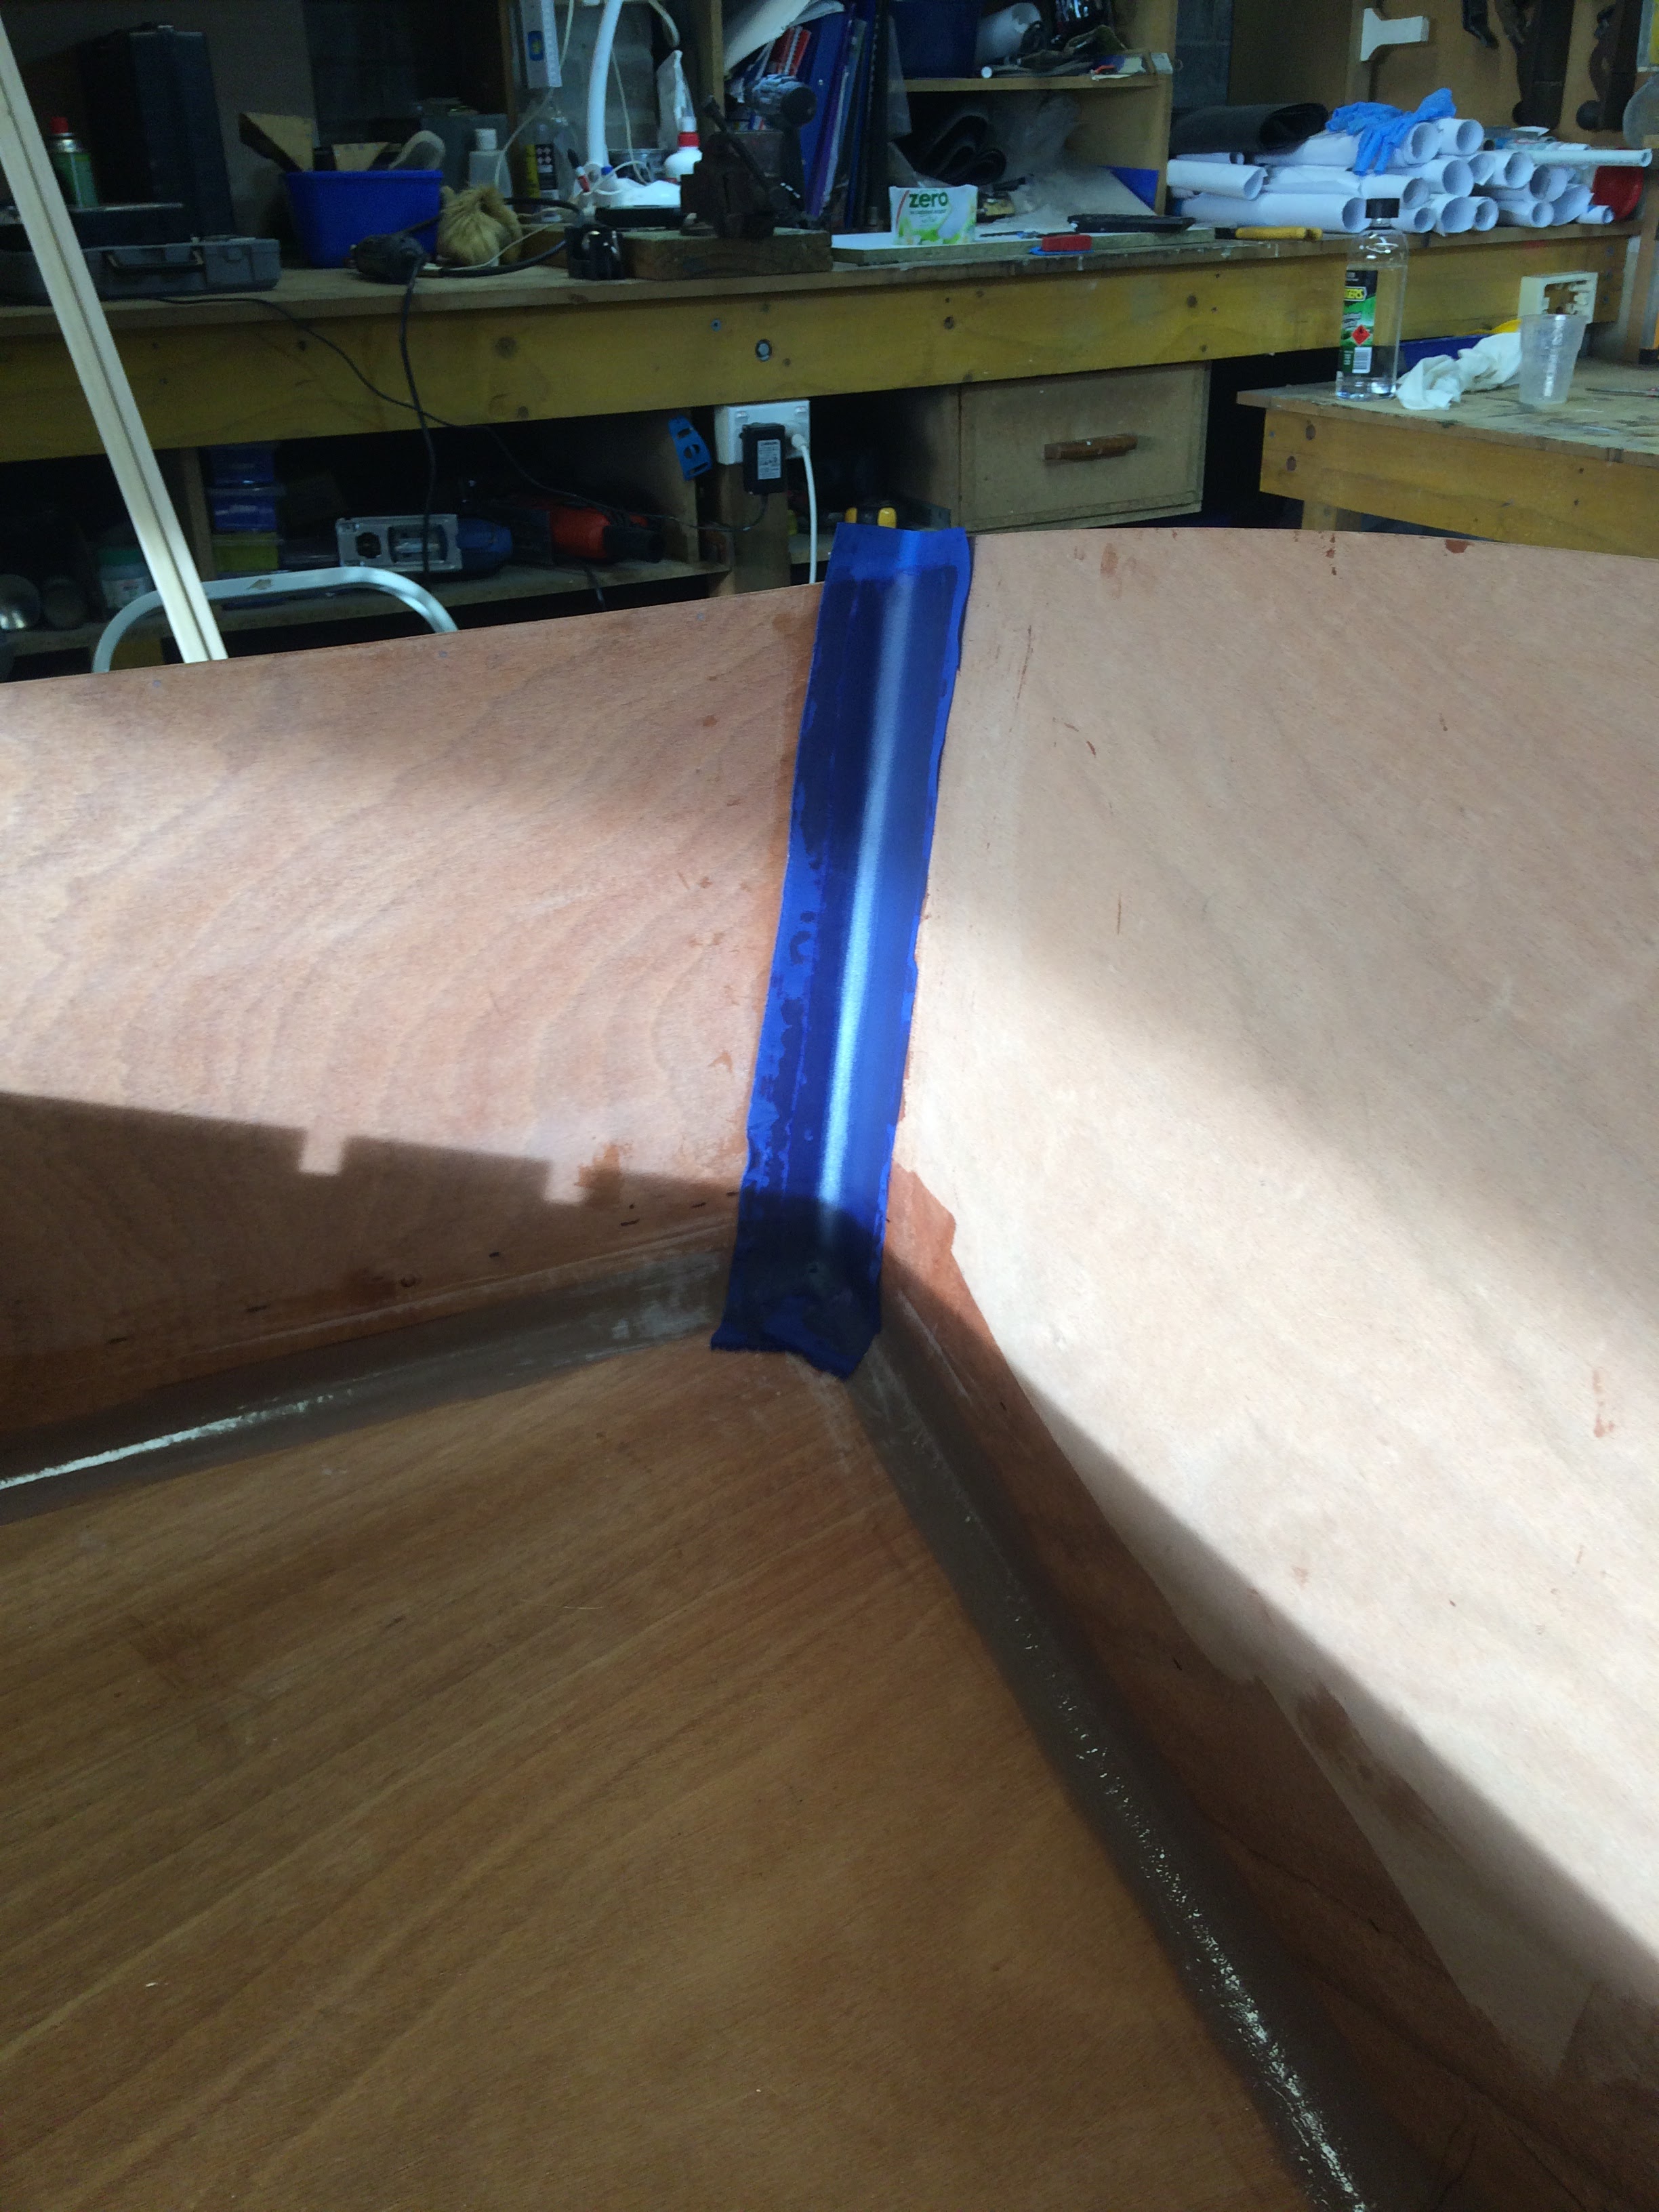
Masking up.........


Work has slowed down for a while due to illness.
After a couple of weeks in bed its back to the build........slowly
The area is thoroughly sanded


The area is masked up and the glass is smoothed in place,

Resin squeegeed into the glass, when the resin is green set the glass is cut around the masking tape.
One more down, 15 to go.

Template reversed and port side glassed in.
Two more down, 14 to go.

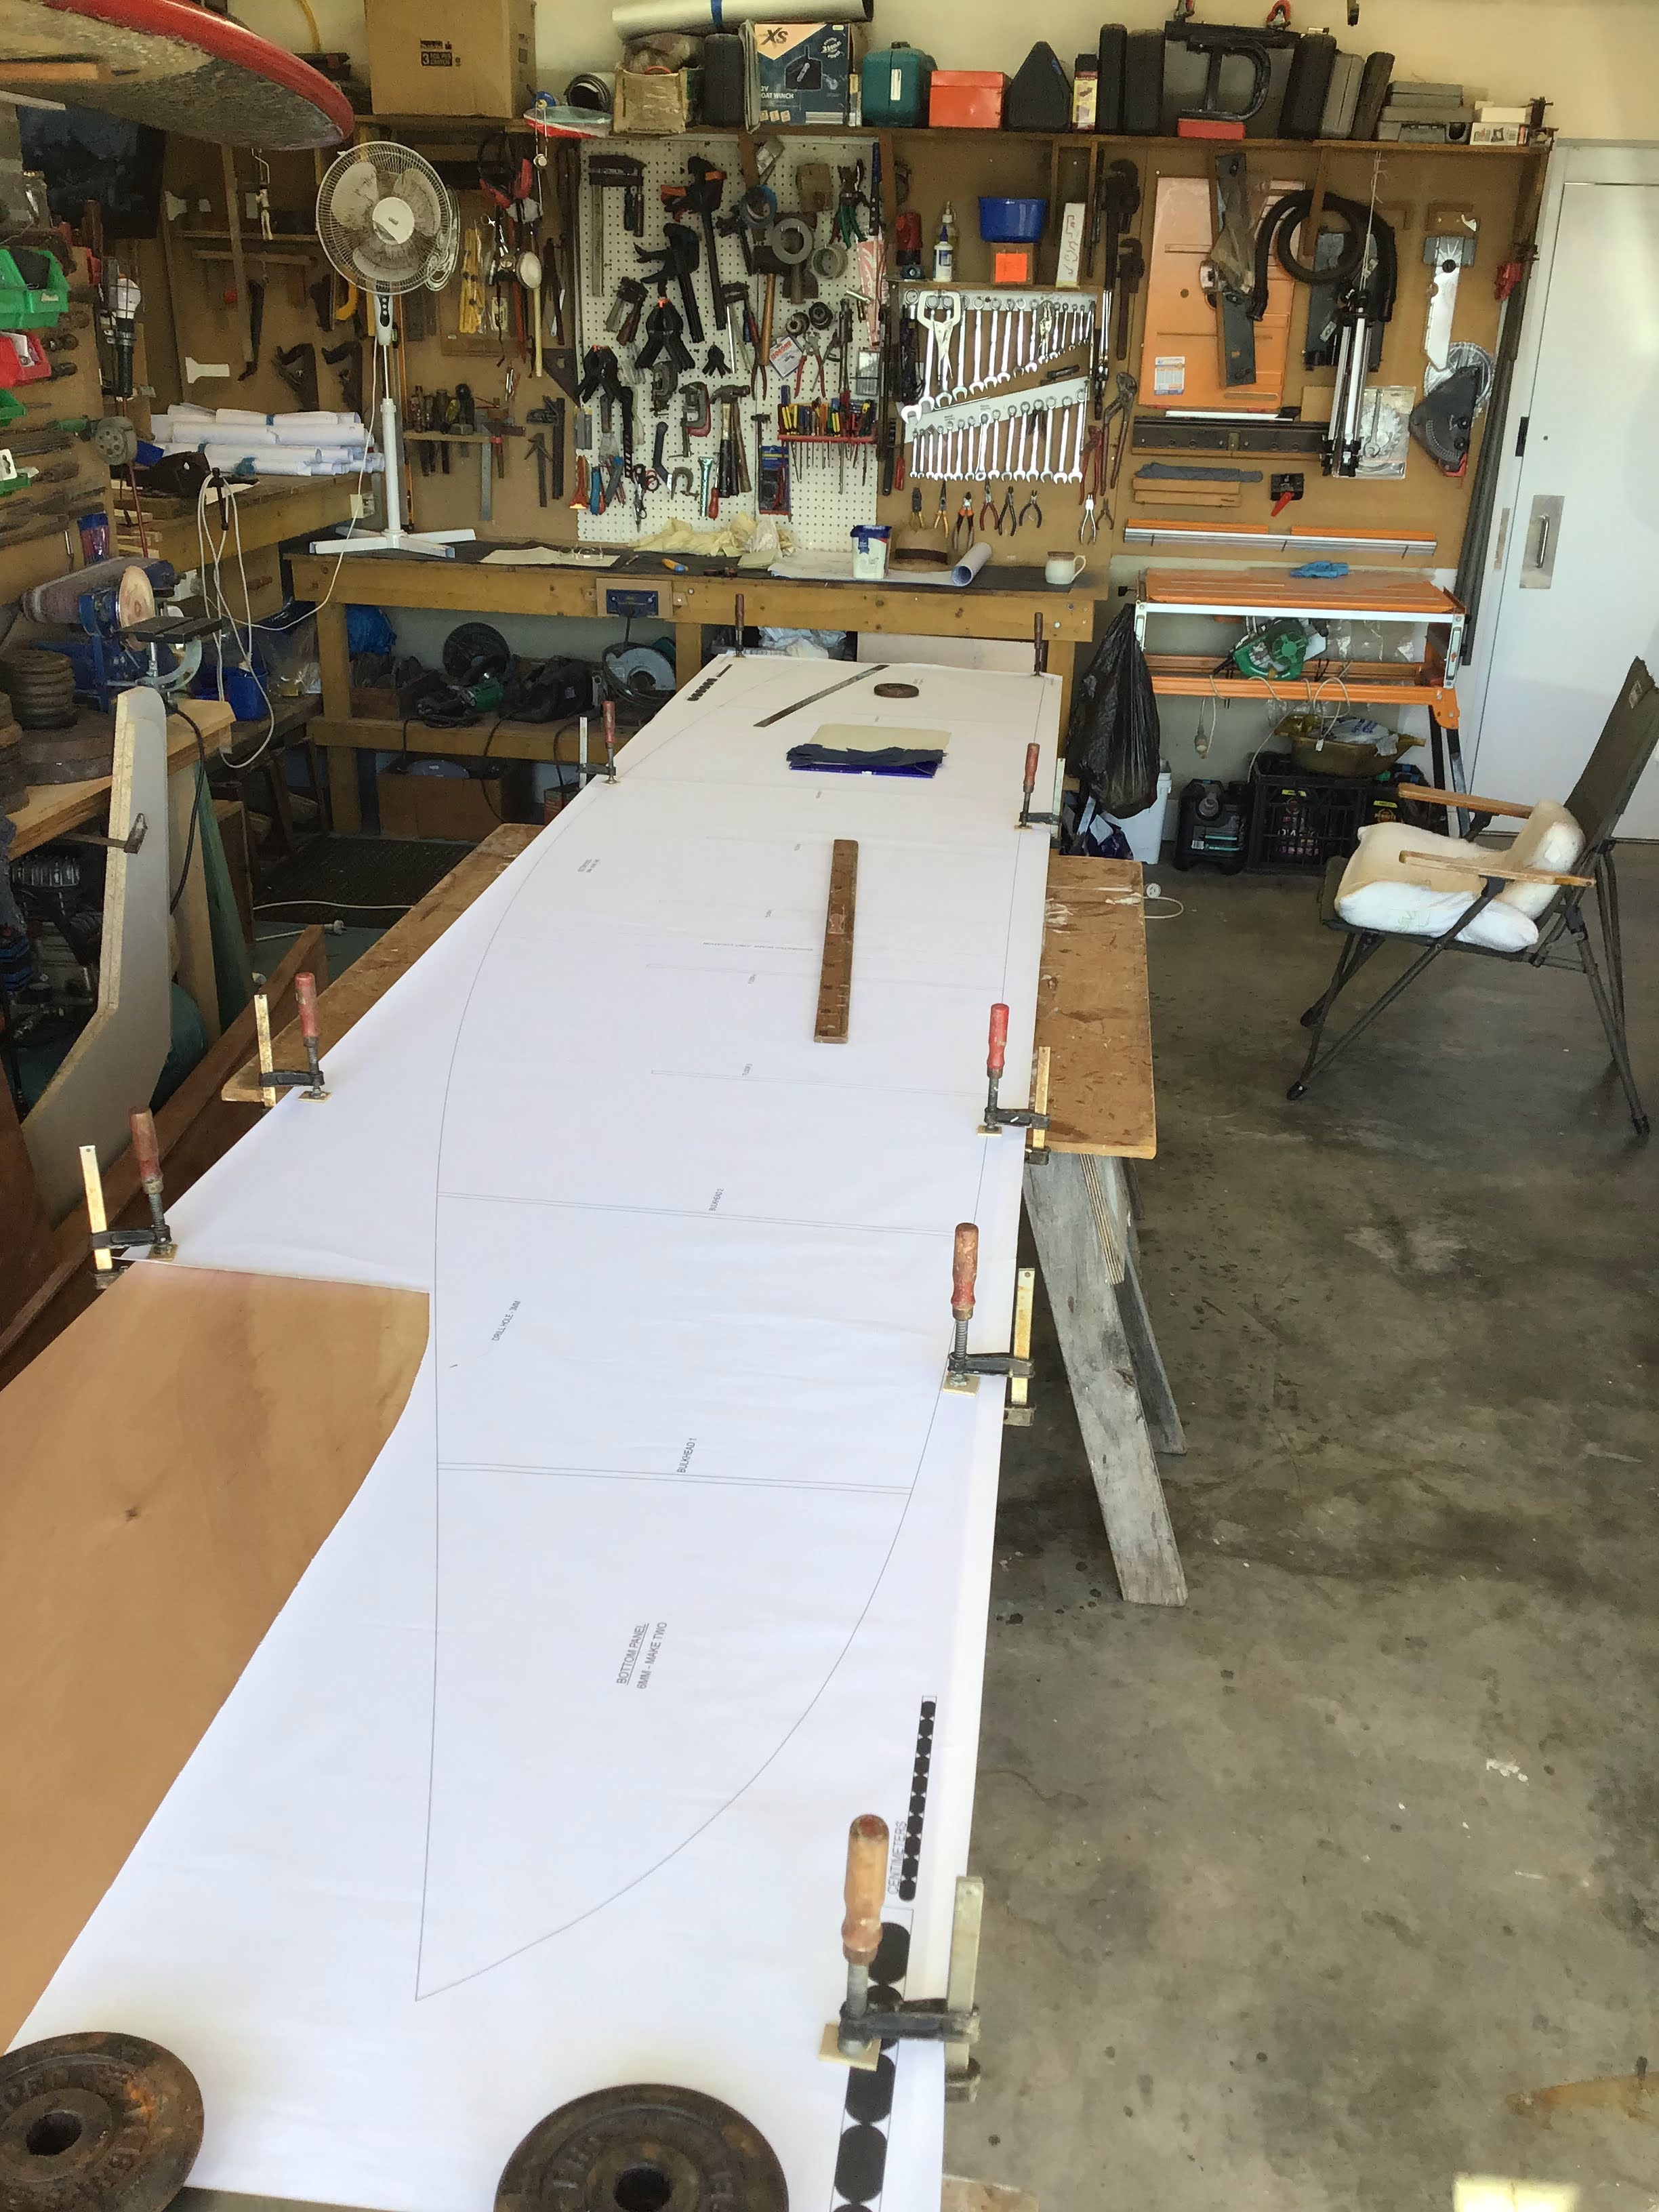
Another paper templet for the next section.

The next section of glass layed overlapping on the keel and hull bottom.
Two more down, 12 to go.
And so, the glassing goes on & on & on. but it is fun. Definitely recommend using knee pads……
Update from the glassing contortionist, I'm still having fun.....
only six more to go.


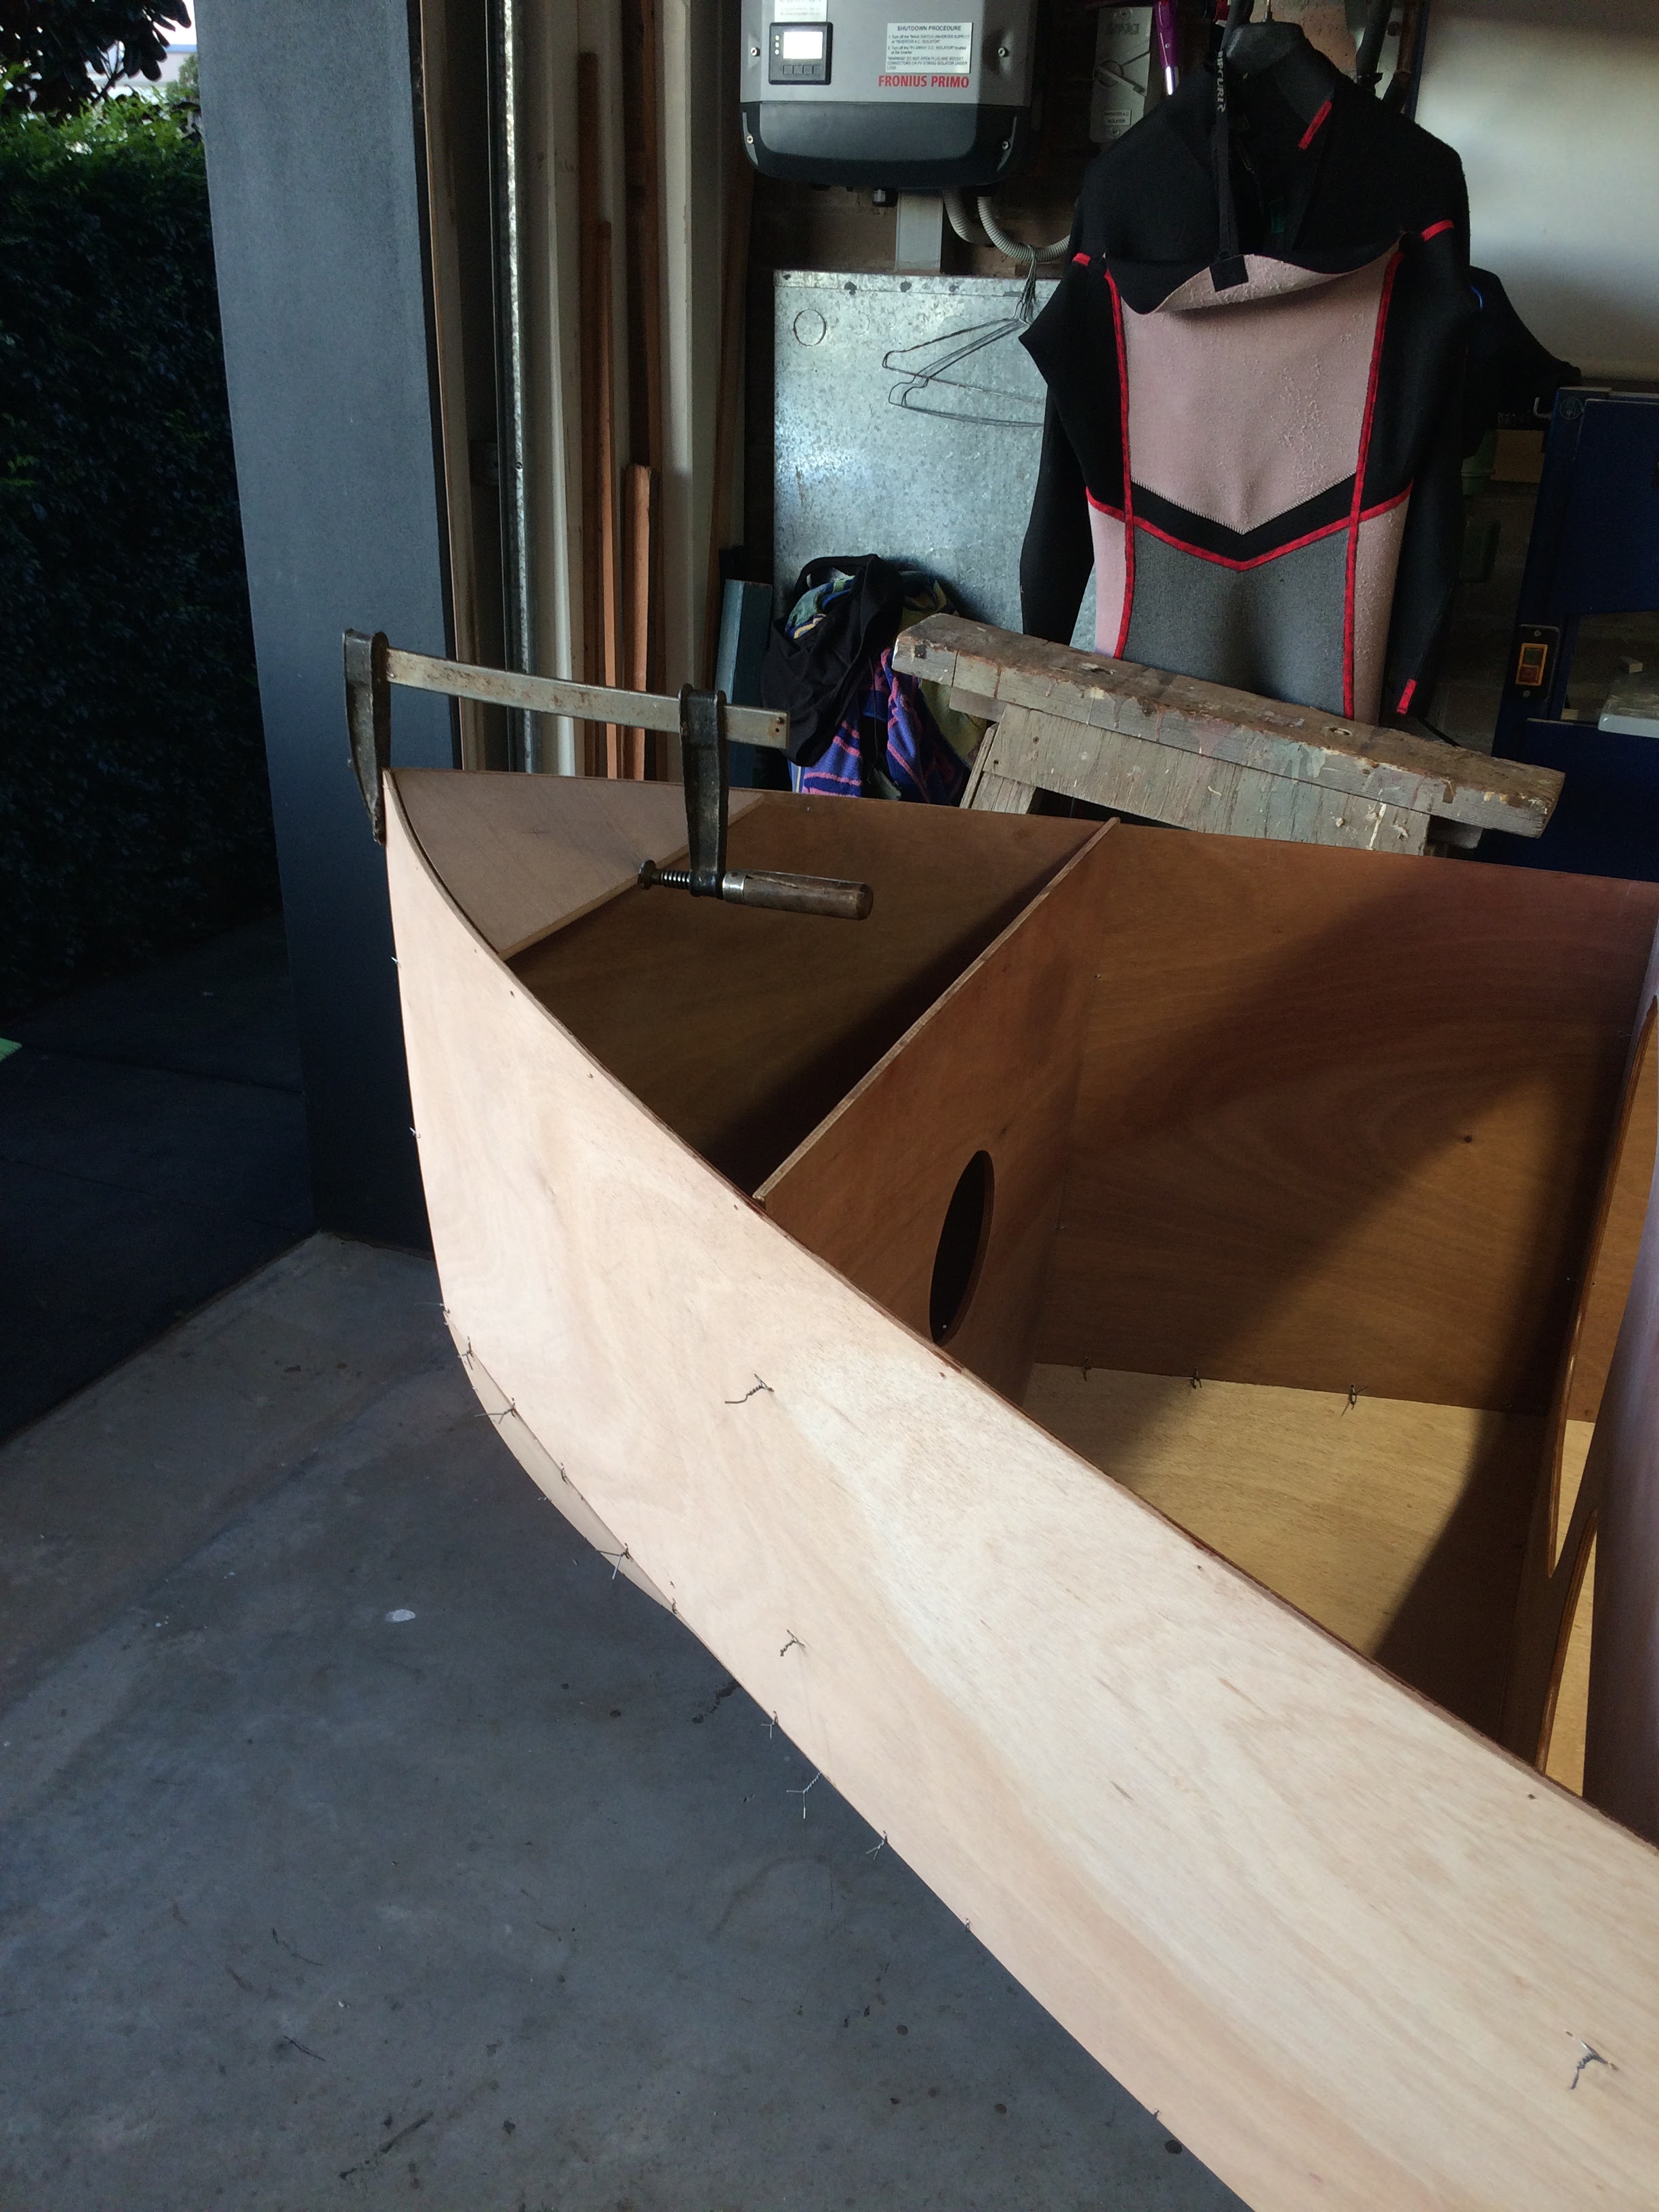
Here I'm laying reinforcing fiberglass tape with peel ply to reinforce the hull to BH 2 & BH7.

BUT my reason for the additional fiberglass tape is to provide peace of mind when sailing my local coastline which is mostly cliffs causing rough seas.
Now for some fillets in THAT AREA, so with a sturdy box to stand on, a noodle on the hull side, its head down (literally) and Ar.. up. I wish my arms were about nine inches longer.
That's the end of the seventh month of construction............


