Cockpit Cleats
Construction starts with milling up the Queensland Hoop Pine off cuts (which I used for the floorboards) into cleats.
The outer hull cleats are cut at a 15-degree angle to allow for the rake on the hull side and the cockpit floor to sit flat. I set up my trusty Triton bench saw on the appropriate angle and used a fine tooth 3mm blade. The 40 mm x 25 mm off cuts milled perfectly into the port and starboard pieces.

The 15-degree cleats are glued to the inside of the outer hull with screws through the hull sides. All exposed cleats are rounded off with a small router.


The cleats for the transom and BH 8
are milled. The transom cleats are also cut at an angle to compensate for the transom rake and ensure they sit level for the horizontal cockpit floor.

The remaining cleats for the cockpit footwell are installed on the transom, BH8 and BH7.
Two larger cleats (40mm x 25mm) are installed between BH8 and where the aft cabin BH will be, 610 mm forward of BH 7. The larger cleats will provide more strength for the cockpit floor when stepping into the boat.

Cockpit Floors.

Time to cut out the cockpit floors, I laid two sheets of 6mm ply on top of each other and traced the outline using carbon paper under plan sheet No. 6.

The trusty jig saw made short work cutting the two sheets simultaneously.

After a bit of aligning and minor trimming the sheets fitted perfect. (I did cut the sheets slightly larger to compensate for the wider footwell mod)

The underside of the cockpit floors are glassed for additional strength in conjunction with the larger cleats from BH 8 forward to the cabin BH.

The cockpit floors are temporarily screwed into position and the cleat locations marked with a pencil. The floors are removed, and the cleat locations masked up.
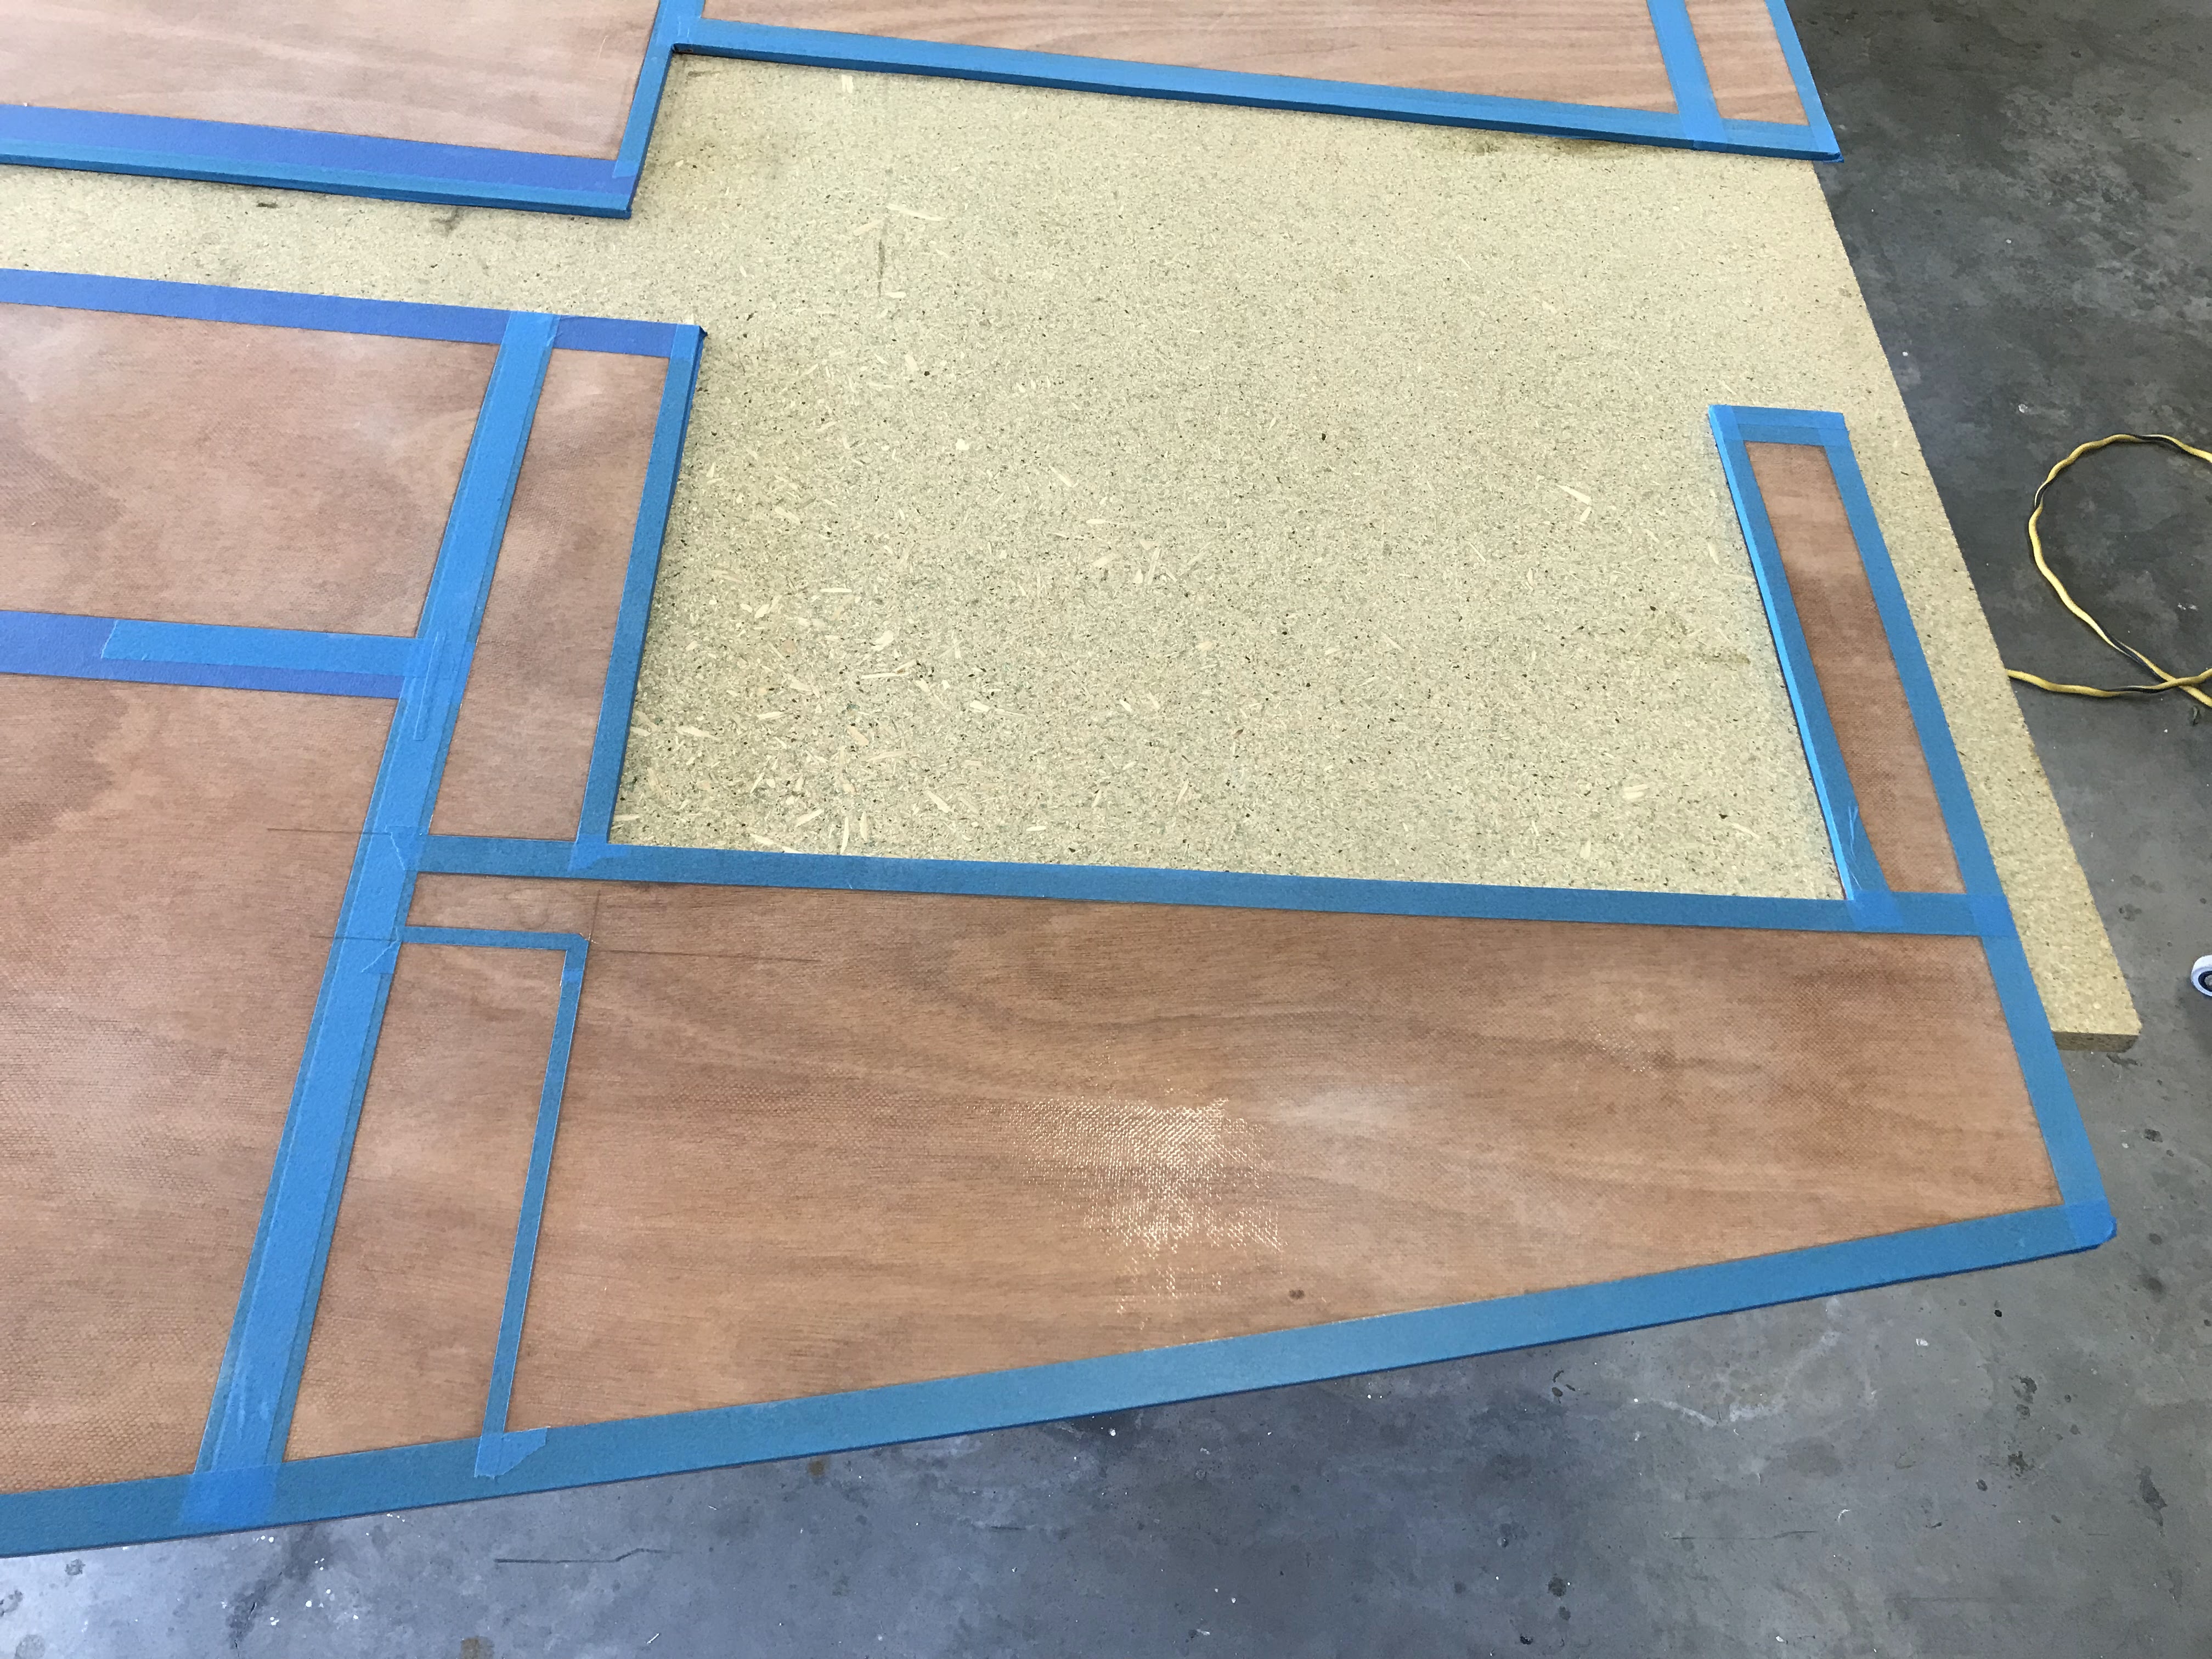
The lazarette masking up includes the top of the hatch drainage units and the speaker boxes.

The underside of the cockpit floors are given 3 coats of paint. Much easier to paint this area on the bench. The floors are put aside until the flush hatch supports are completed and the hull area under the floor painted.


The blocks are shaped to fit the curved area of BH 7.

The blocks are glued and clamped in place.

The frame looks and feels much stronger now.
No comments:
Post a Comment