Contact Email

My contact email: 1tgoding@gmail.com

Thursday, March 3, 2022

The First Scarf, Lead Smelting, Building Cradle,

First Scarf on the Keelson.

test

I used a circular saw scarfing jig; it takes a bit of initial setting up on the base of the saw but once done it's quick to add or remove the jig. A forty-tooth circular saw blade left a perfect cut on the one in eight scarf.


The first scarf of the build on the Keelson.


A string line was stretched along the keelson centerline prior to gluing the scarf. This ensured a straight keelson.


Lead Smelting the Keel.

Now it's time to melt some lead, I used an old stainless-steel pot and a single burner gas stove. I was lucky enough to have some mates who donated a bunch of sinkers and old scuba weights which I combined with tyre weights, thanks Greg & Graeme.

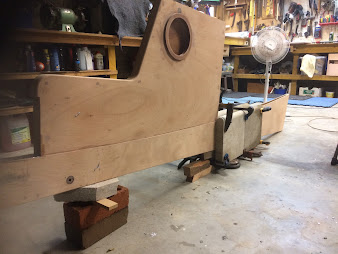
The first melt was the forward section. The keel was levelled, and two concrete pavers clamped either side and one beneath. I raised the keel to allow the lower clamps to fit.

The pouring process went smoothly with lots of smoke from burning timber. Two pots of lead were melted to fill this section. I left an inch of melted lead in the pot after the first pour to speed up the melting process for the second pot.


Time to prepare the rear section. The keel was raised and levelled, a blocking piece fixed beneath, and four pavers clamped to the sides.


A good old Aussie penny was placed for good luck, I managed to find one for the year I was born (yes 1957 was a good year). Then the keel cap was glued and clamped in place. A small four wheeled trolley was placed under to help move the keel around, it's quite heavy.

Time to glue the keelson in place after trial fitting with weights, screws and clamps. The keel was levelled vertically with a spirit level on the side of the centerboard case and the keelson glued and screwed into place with a spirit level to ensure it was at 90 deg. to the keel and centerboard case. Fortunately, the keelson fitted over the circular inspection port spacer I installed earlier which prevented the inspection port catching on the swinging centerboard.


The Cradle.

The cradle is cut from an old and very large piece of 18mm chipboard. I was using it on top of sawhorses as a bench, I won't be sorry to cut it up as it was too heavy to lug around. 


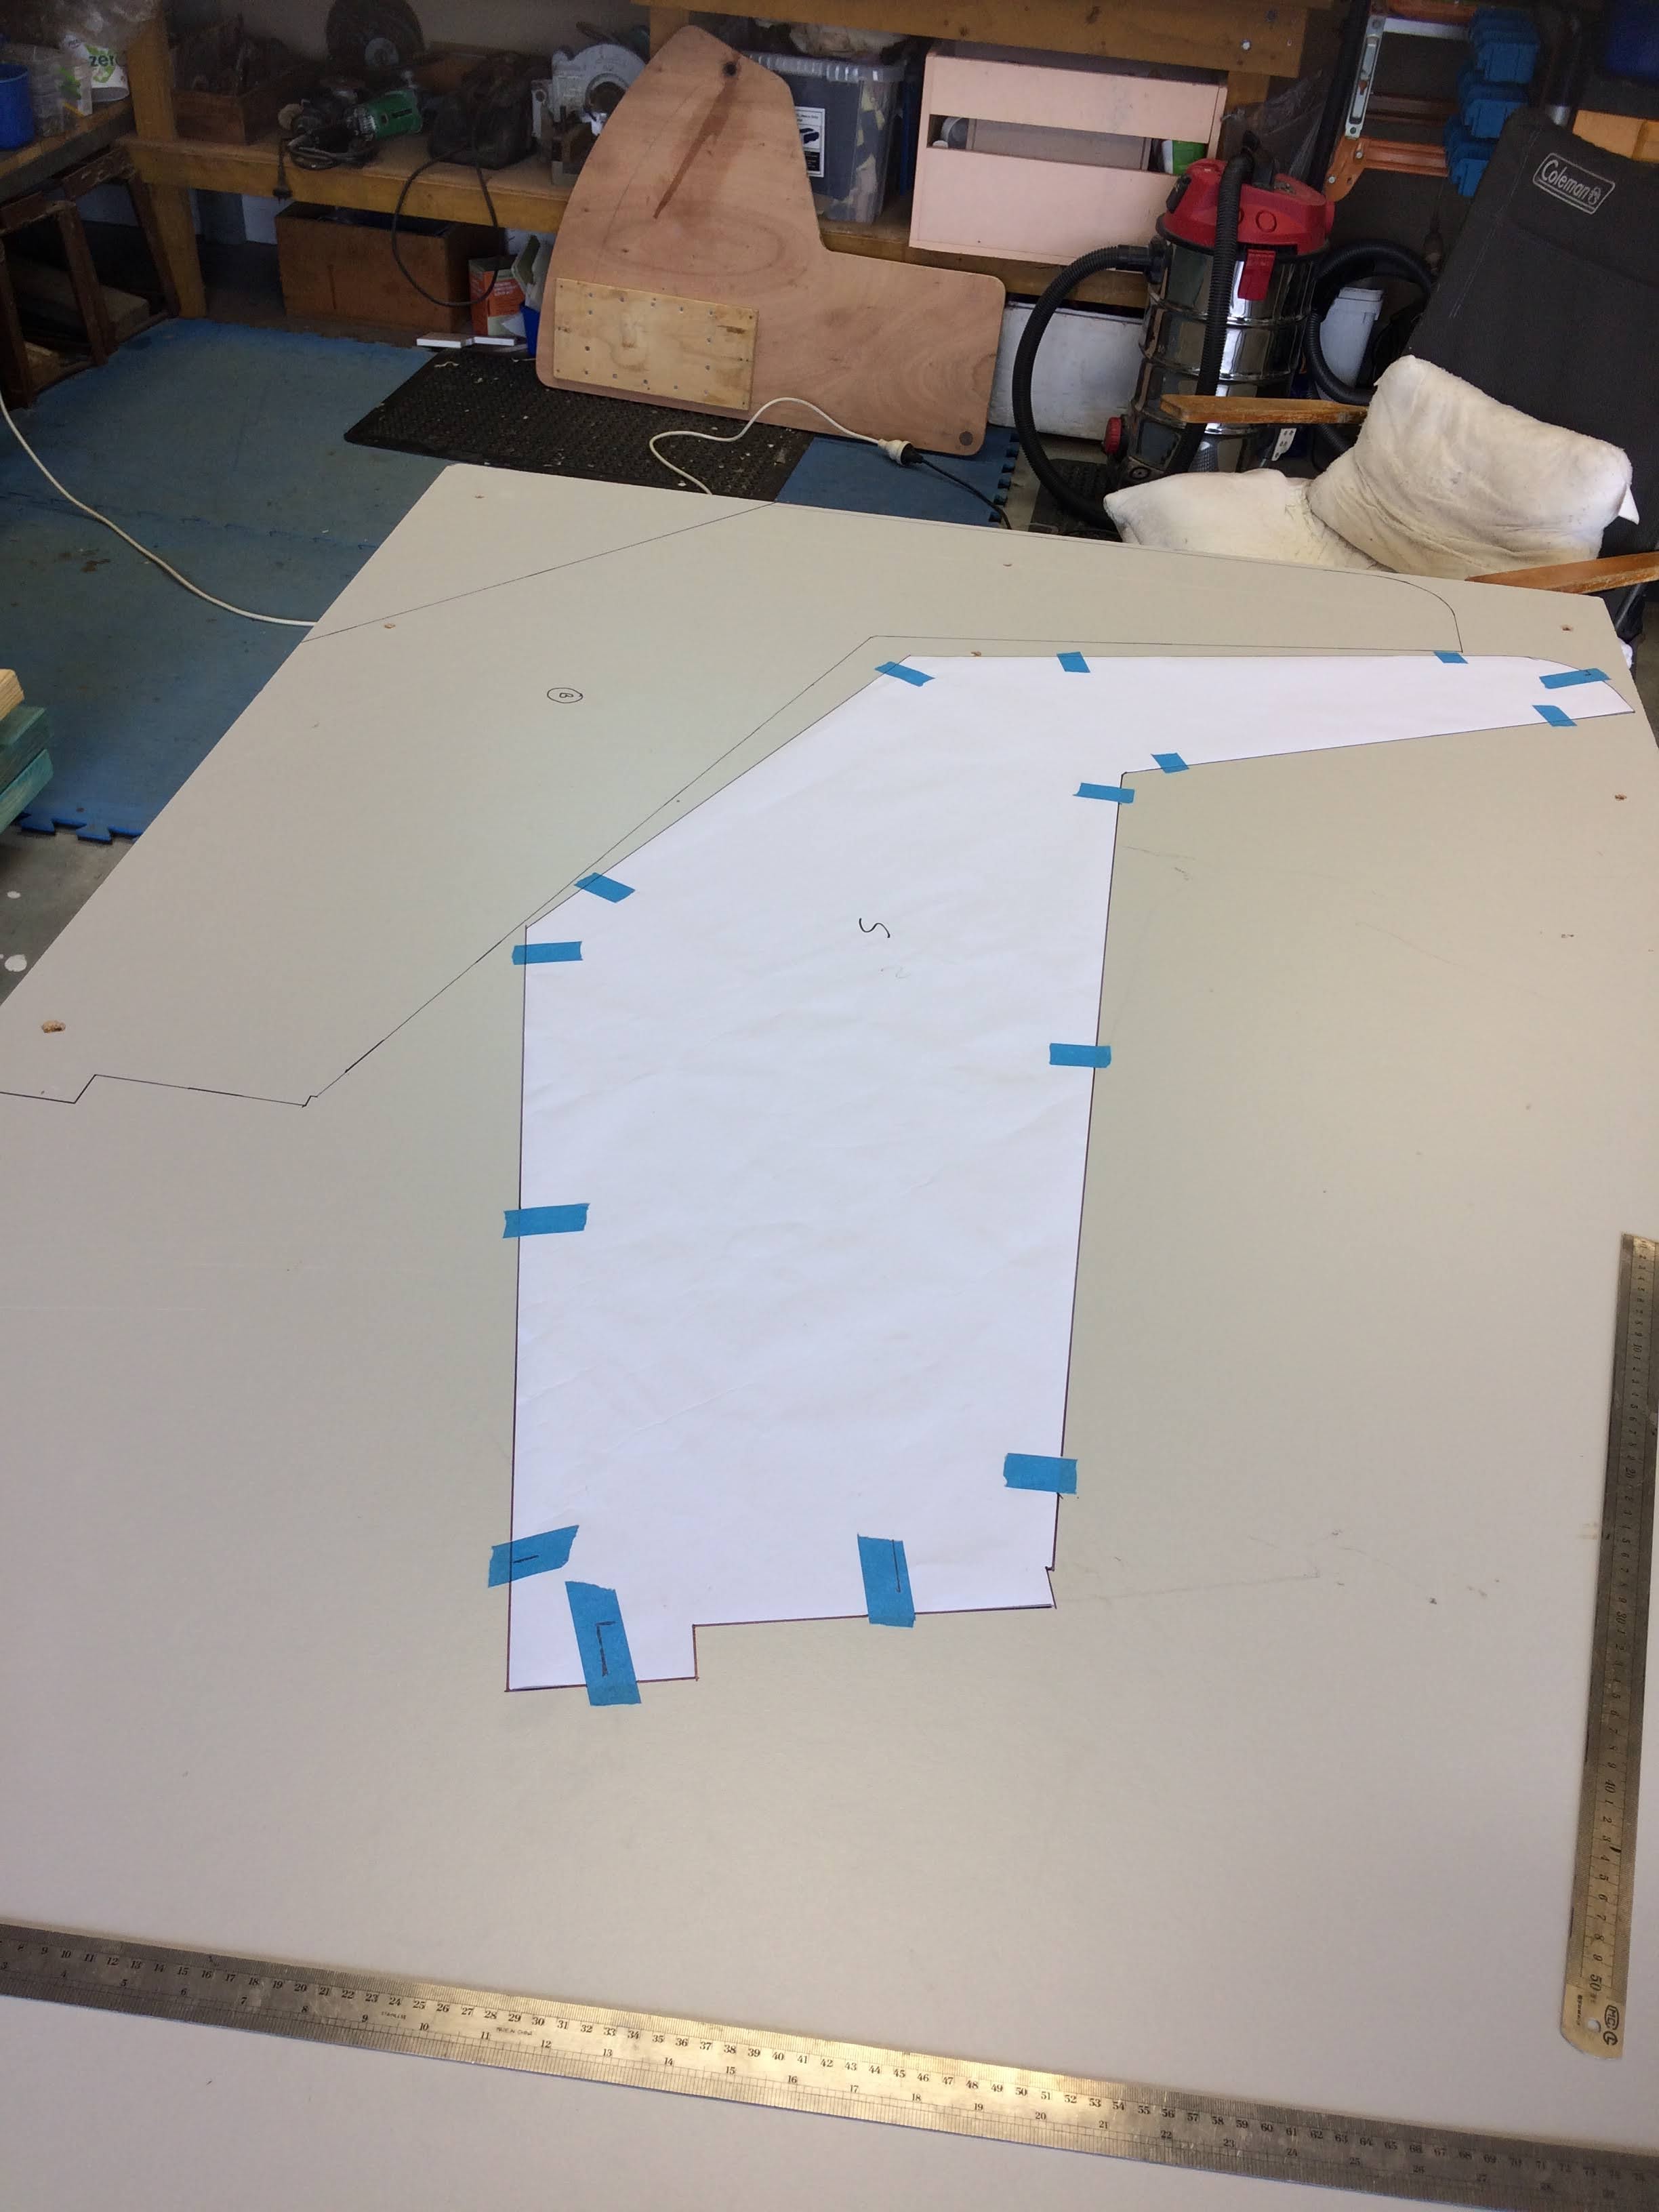
I cut out the cradle plans and traced them onto the chipboard.


The cradle sections are cut out with a forty-tooth blade in a circular saw, lots of dust and noise when cutting chipboard.


The cradles are joined together and lined up with  
a large 90 deg. square.


Wheels are screwed under the cross members to allow the boat to be moved around the workshop. I used fixed wheels aft and rotating wheels forward which can be locked in. Each wheel has a load capacity of 120 kg. The wheels leave a 10mm gap under the cross beams which can be easily chocked if the cradle needs to be made more stable during the build.


To prevent the boat from tipping up when working inside the hull a rotating lockable wheel was constructed to fit under the aft end of the keel.


The wheel is temporarily secured
to the keel with a clamp and is also lockable.


Time to spend some more money, I received a call from the timber supplier advising the 6mm plywood sheets have finally arrived from overseas, however the recent weather conditions in Australia have been severely affected by La NiƱa resulting in severe flooding and nonstop raining. I will have to wait for a few weeks before I can pick them up, in the meantime I will do some more work on the centerboard and build the frames and bulkheads from the 9mm stock of plywood.

Lead Smelting The Centerboard.


Time to 
fire up the gas stove and melt 9kg of lead into the centerboard. A scrap piece of ply screwed under the slotted opening and the board was levelled.


The plywood scrap removed, and the lead cleaned up. The centerboard is ready to shape, glass and paint.


This picture shows the stainless-steel centerboard pivot. I used a long bolt and cut off the threaded end. After reading posts re issues lowering the centerboard, I will drill the centerboard hole a little larger than indicated on the plan.


More on the centerboard to come later.


The bulkheads and frames are cut out and epoxy coating commenced. 


There were a number of posts on the Pocketship forum where builders suggested strengthening bulkhead two. So, I decided to glass both sides of bulkhead two, much easier when flat on the bench. I also coated and sanded the remaining bulkheads and floor frames.


I have to say that while transferring paper plans to plywood, cutting and trimming all the pieces is an enjoyable challenge it is very, very time consuming. Its fortunate that I am retired and time is not an issue but if you are time poor it would be much quicker to build from a kit. (just my opinion/suggestion).

That's the end of the Second month of construction.


Tuesday, February 8, 2022

About me, Centerboard Case, Nose Block & Keel sides.


 Hi, 

 My name is Terry, I live in a small coastal village two hours south of Sydney in New South Wales Australia.

I have been retired for a while now, I have some experience in boatbuilding and boat restoration. The first boat I built was a Jarcat 6 designed by the late Ross Turner from Queensland. I have owned and restored a Heron dinghy and two fiberglass trailer sailors, done repair work on a few friend's yachts and recently built a nesting dinghy which neatly fits in the boot space of my car.

My hobbies and interests include sailing, surfing, spending time with family and mates and I love the challenge of building in wood.

I came across Pocketship on YouTube and fell in love with the design and its sailing ability. I have read all the posts and blogs on the Pocketship builder's site.

So, I have started the build and would like to share my experience with fellow Pocketship and boatbuilding enthusiasts with this blog, I welcome any advice, comments and assistance, send me an email via the “Comments” section or my email, I would love to chat.

I hope you find the blog interesting and helpful; I've done it as a step-by-step instruction guide of my build roughly following the “How to build Pocketship” builders guide and explaining and illustrating my techniques and mods, please enjoy my journey.

My initial interest commenced by downloading the PDF study plans in 2016 and in 2017 I purchased the plans and construction manual from Denman Marine the Aussie distributer located in Tasmania, Here is their website:

https://denmanmarine.com.au

 As I am building from plans it was time to source plywood, epoxy resins, fiberglass cloths, timber and various construction accessories.

And so the project begins with the first load of materials.

I was fortunate enough to find a one stop shop in Sydney called "Boatcraft NSW" who are the distributors for the entire BoatCraft Pacific range. They supply nearly everything required for the build as well as being very knowledgeable and providing helpful advice.
Here is their website:

www.BoatCraftNSW.com
 
The plywood is European Gaboon Marine Plywood BS1088 grade. The epoxy is called "Bote-Cote" A low viscosity, high solids epoxy resin containing thixotropic agents, developed for modern wooden boatbuilding. It is the base material for all coatings, glues and lamination with synthetic fibers. It's a simple 2 to 1 mix that is water wash up and does not form amine blush (great to sand).

 Here is the first load of materials including half of the plywood sheeting on the roof. I'm building in my garage/workshop located under the house so it looks like the car will be parked outside for a while.


I was lucky enough to find a bloke selling old Oregon (Douglass Fir) verandah posts which I intend to mill and scarf for the mast and spars.  I found sourcing new Oregon timber a challenge in Australia, but if you are happy to de-nail and mill up secondhand timber it can be occasionally found on various public selling sites. I also visited the local tire dealer who was happy to provide some of the lead weights for the keel and centerboard.


Centerboard Case & Centerboard.

As I am working from plans it was time to transfer the drawings onto plywood and hone my jigsaw skills. I chose to use the "Tight" layout on the plywood sheets. I commenced with the centerboard case and swinging centerboard. I carefully cut out the centerboard case plan and placed it directly onto the plywood sheet and traced around the outside. I used carbon paper for the inspection port, pin locations, round corners and lead cutout. This worked really well.
I glassed the interior of the centerboard case and added three more epoxy coats with a light sanding between coats. I rabbeted the centerboard cutouts for the lead and epoxy filled the oversize holes for the sheave pendant and pivot points.
After considerable research on the Pocketship Forum I decided to install only one centerboard inspection port and locate it forward. This was to provide access to the pendant knot and sheave location.


Time to mill up some old Oregon timber, I used left over pieces from the nesting dinghy project.


I turned this:

Into this:

The starboard centerboard case is glued and clamped


The two halves of the swinging centerboard are glued together and held in place with lots of clamps and weights.


I used my small router attachment to cut the groove in the swinging centerboard, I routed small increments over several runs.


Then I squeezed epoxy into the groove through a plastic sandwich bag with a small cut in the corner, this worked a treat just like piping bag.


The shims are cut from 6mm ply and larger size holes filled with epoxy.


As the inspection port was thicker than the centerboard case side a circular spacer piece was installed to prevent the inspection port catching on the swinging centerboard. I hope I can slide the keelson over the spacer, if not I will slide it over the centerboard case from the bottom prior to fixing the keel sides or remove the circular spacer and re-attach later.

Time to Organise the Workshop.

I started today by relocating my drill press, scroll saw, grinder and sander to free up some much-needed workbench space. This created more space to build various sections of the boat and provide an area to store the paper plans.

Note: When building from plans it is important to have a clean dry area in which to store them. Paper plans can distort, expand and contract if not stored correctly.


Next was an epoxy and tool station. I used an old workshop trolley and built an additional shelf on the top for the epoxy resin containers. The trolley was on wheels so I could drag it any place required in the workshop.

I find an organised and tidy workshop helps to maintain motivation and interest.


The Nose Block.


Now back to the build, for the nose block I glued two longer pieces together then cut them in half and glued those two pieces together to form a large block.


A cardboard template was traced on each end of the laminated nose block timber.


Time to make some dust.


The first cut was the rabbets for the keel sides. Then I angled the table saw blade to rough cut the leading-edge section.


I used a block plane and sander to smooth the nose block into shape.


Another cardboard template was used to check the nose block shape.


Keel sides and Tapered blocking.

Time to mill the keel blocking timbers, the lower aft one needed to be tapered to give the keel its wing shape. A simple bench saw sliding jig was used to cut the tapered blocking timber. The lower screw on the jig forms the adjustment that determines the angle of the cut to the blocking timber. This worked a treat; it was very accurate, and no further sanding or adjustments were needed. I used the waste piece as a perfect support under the keel side prior to glueing.


The two centerboard cases were glued together, after cleaning up the epoxy squeeze, I inserted the centerboard with two packer timbers to maintain an even gap while the epoxy dried.


The blocking timbers are attached and three wet on wet epoxy coats applied to those areas that will never see the light of day again.


I screwed a piece of scrap to the nose
block prior to cutting off the ends on
the band saw.


Time to put the pieces together. A string line was stretched along the centerline to ensure the centerboard opening was square and the aft section had the correct taper.


Lots of weights and clamps held the keel sides to the centerboard case.

Well, that's the end of the first month of construction.