I'm back in the workshop after a bit of time off travelling around.
Time to build the Companionway Hood. I'm thinking of constructing the sides, forward section and trim from Hoop Pine and lacquering them bright.

Construction commences with the cabin top sills.
The sills are located around the companionway top and prevent water from entering the cabin.
I milled up some old Oregan (Douglass Fir) timber that was originally used in a backyard shed. So out with the trusty triton and time to create some dust.
I carefully selected knot free sections and starting with the forward sill I used a compass to mark the cabin top curve.
A band saw is used to cut the curve and butt
block notch.
The section is cut a few mm larger and will go through a thicknesser until it measures 12mm x 25mm.
The Sill side sections are trimmed, routed and sanded. Several trial fits are required to obtain the correct bevel that allows them to sit neatly on the cabin top.
The pieces are epoxied in place and held with clamps. To ensure the side sections are correctly aligned I clamped plastic covered ply offcuts to the cabin carlins.
The sills pieces are cleaned up and small epoxy fillets layed.
The Companionway Hood (Sea Hood)
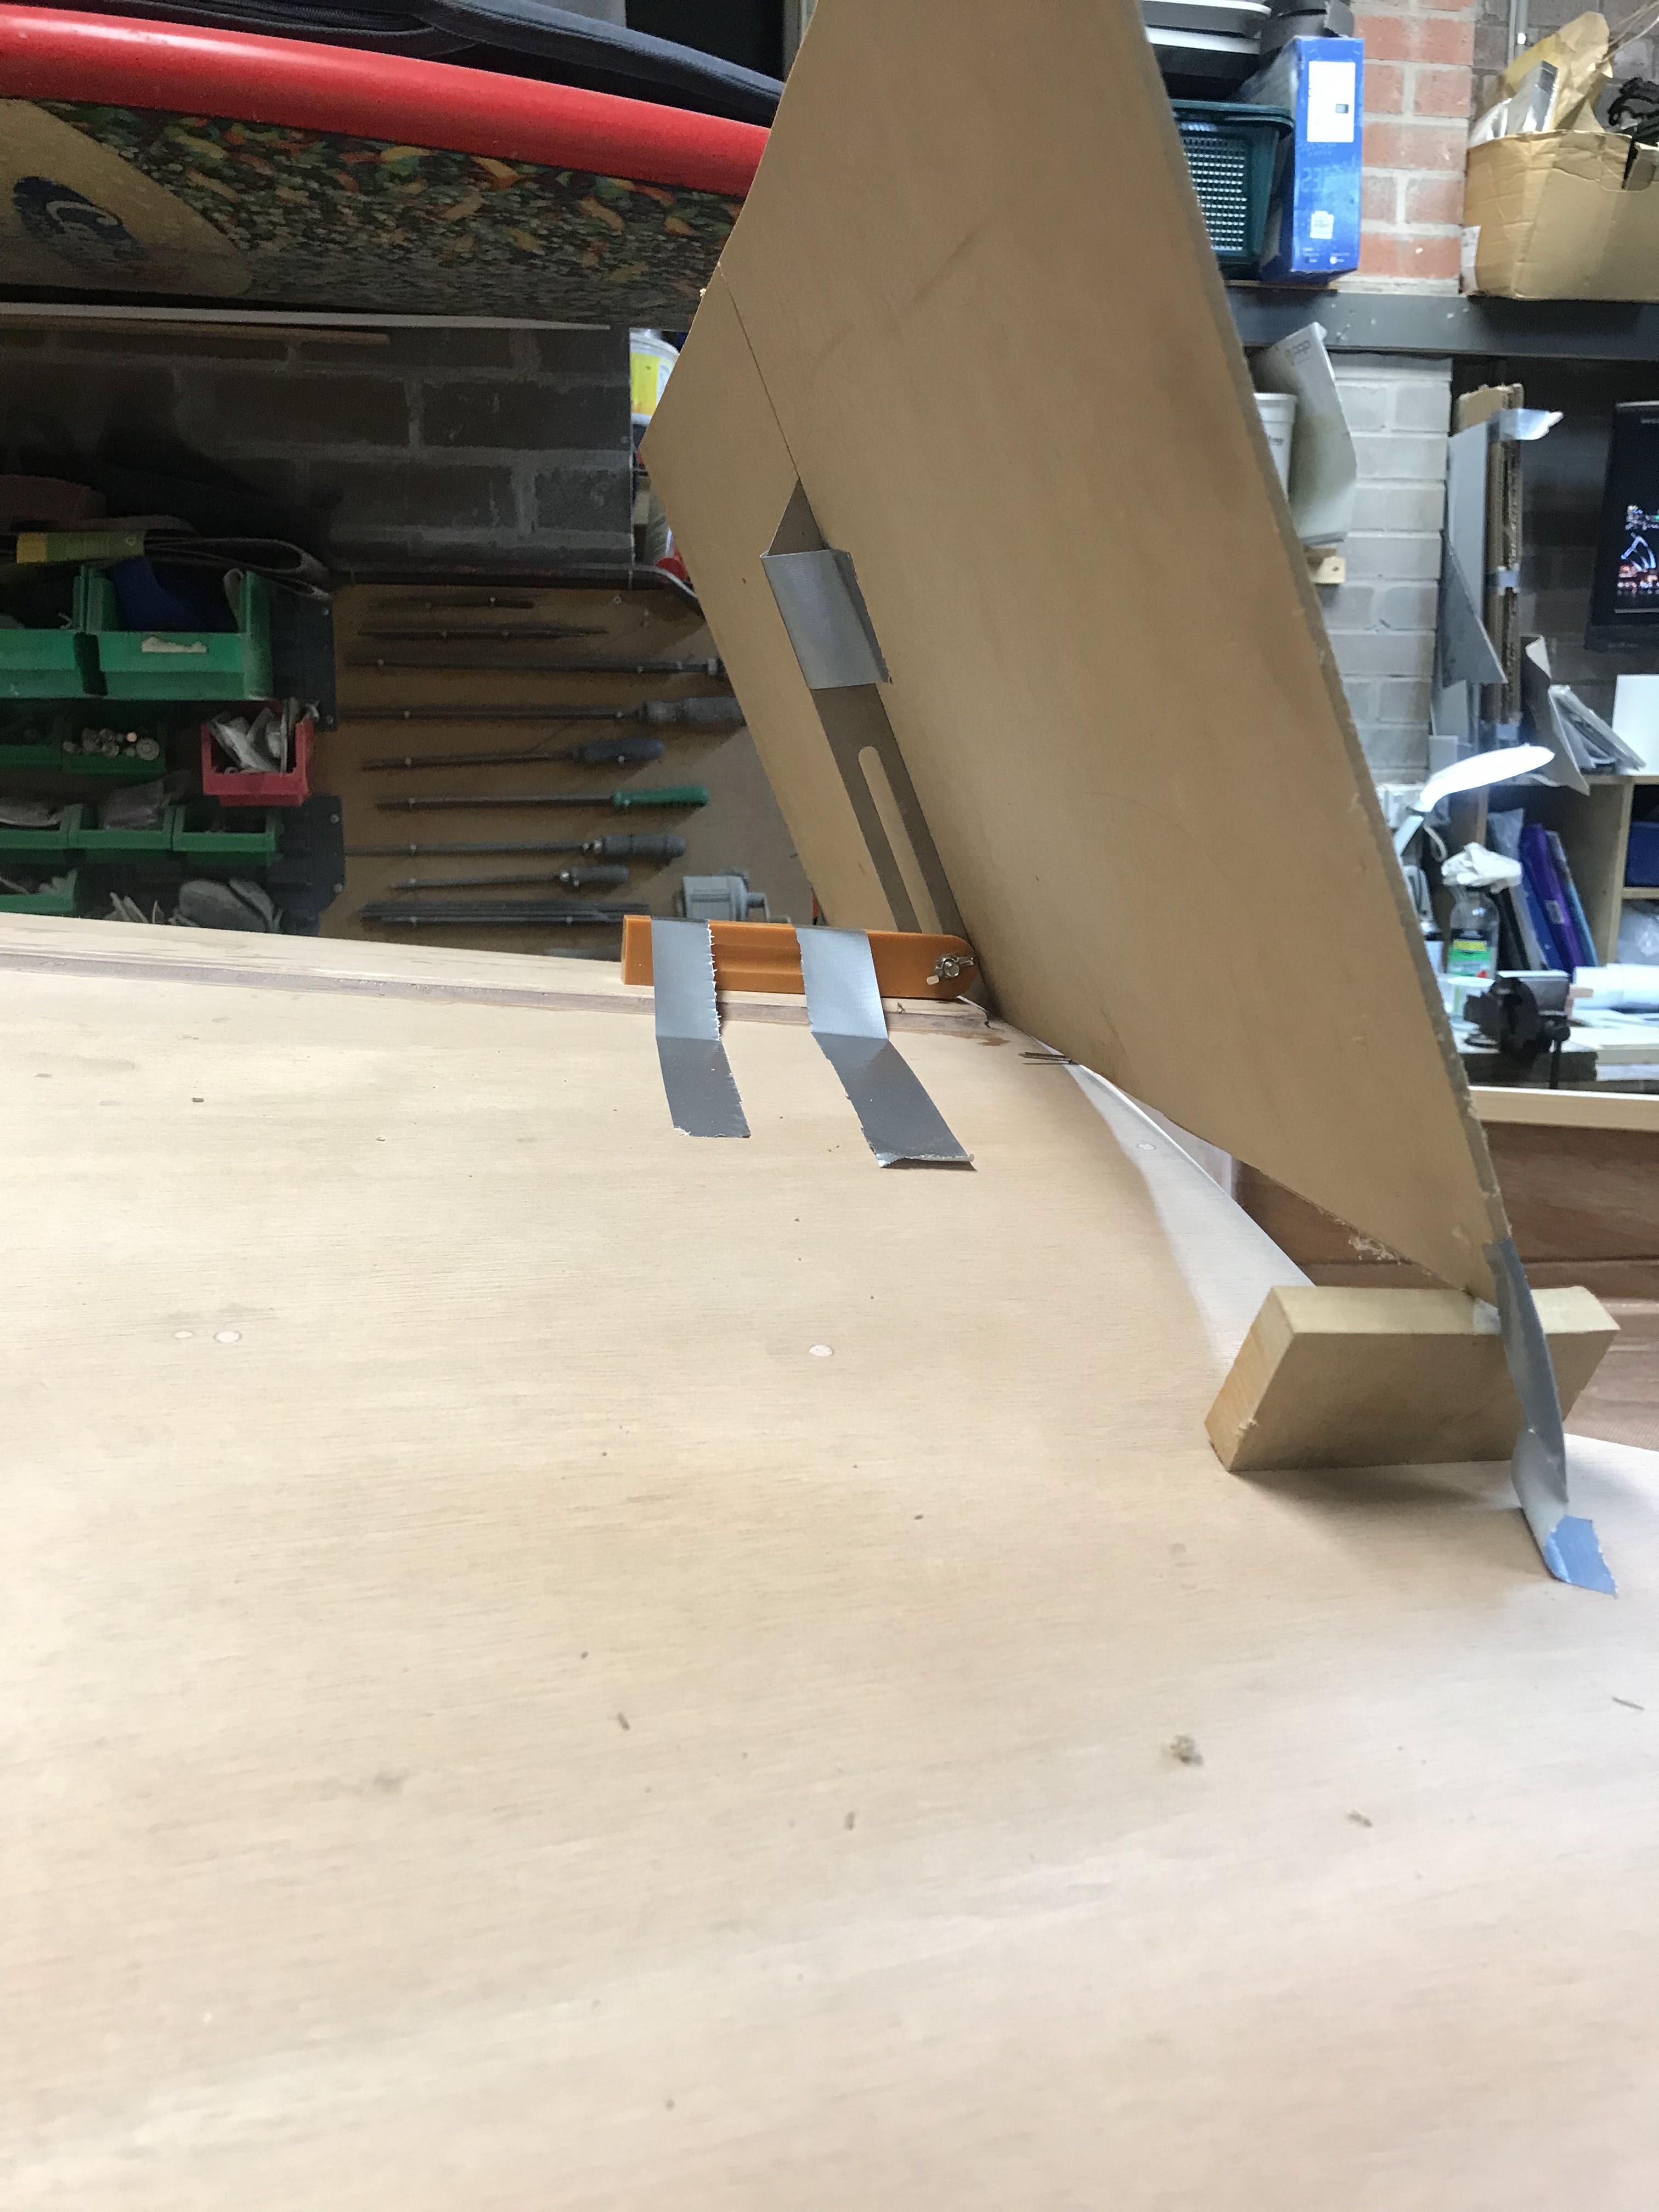
Construction commences by making a template for the front of the hood. The template is raked at 66 degrees from the cabin top.
An adjustable "T" Bevel is taped in place to hold the template at the appropriate angle.
A curve is scribed onto the template with a compass.
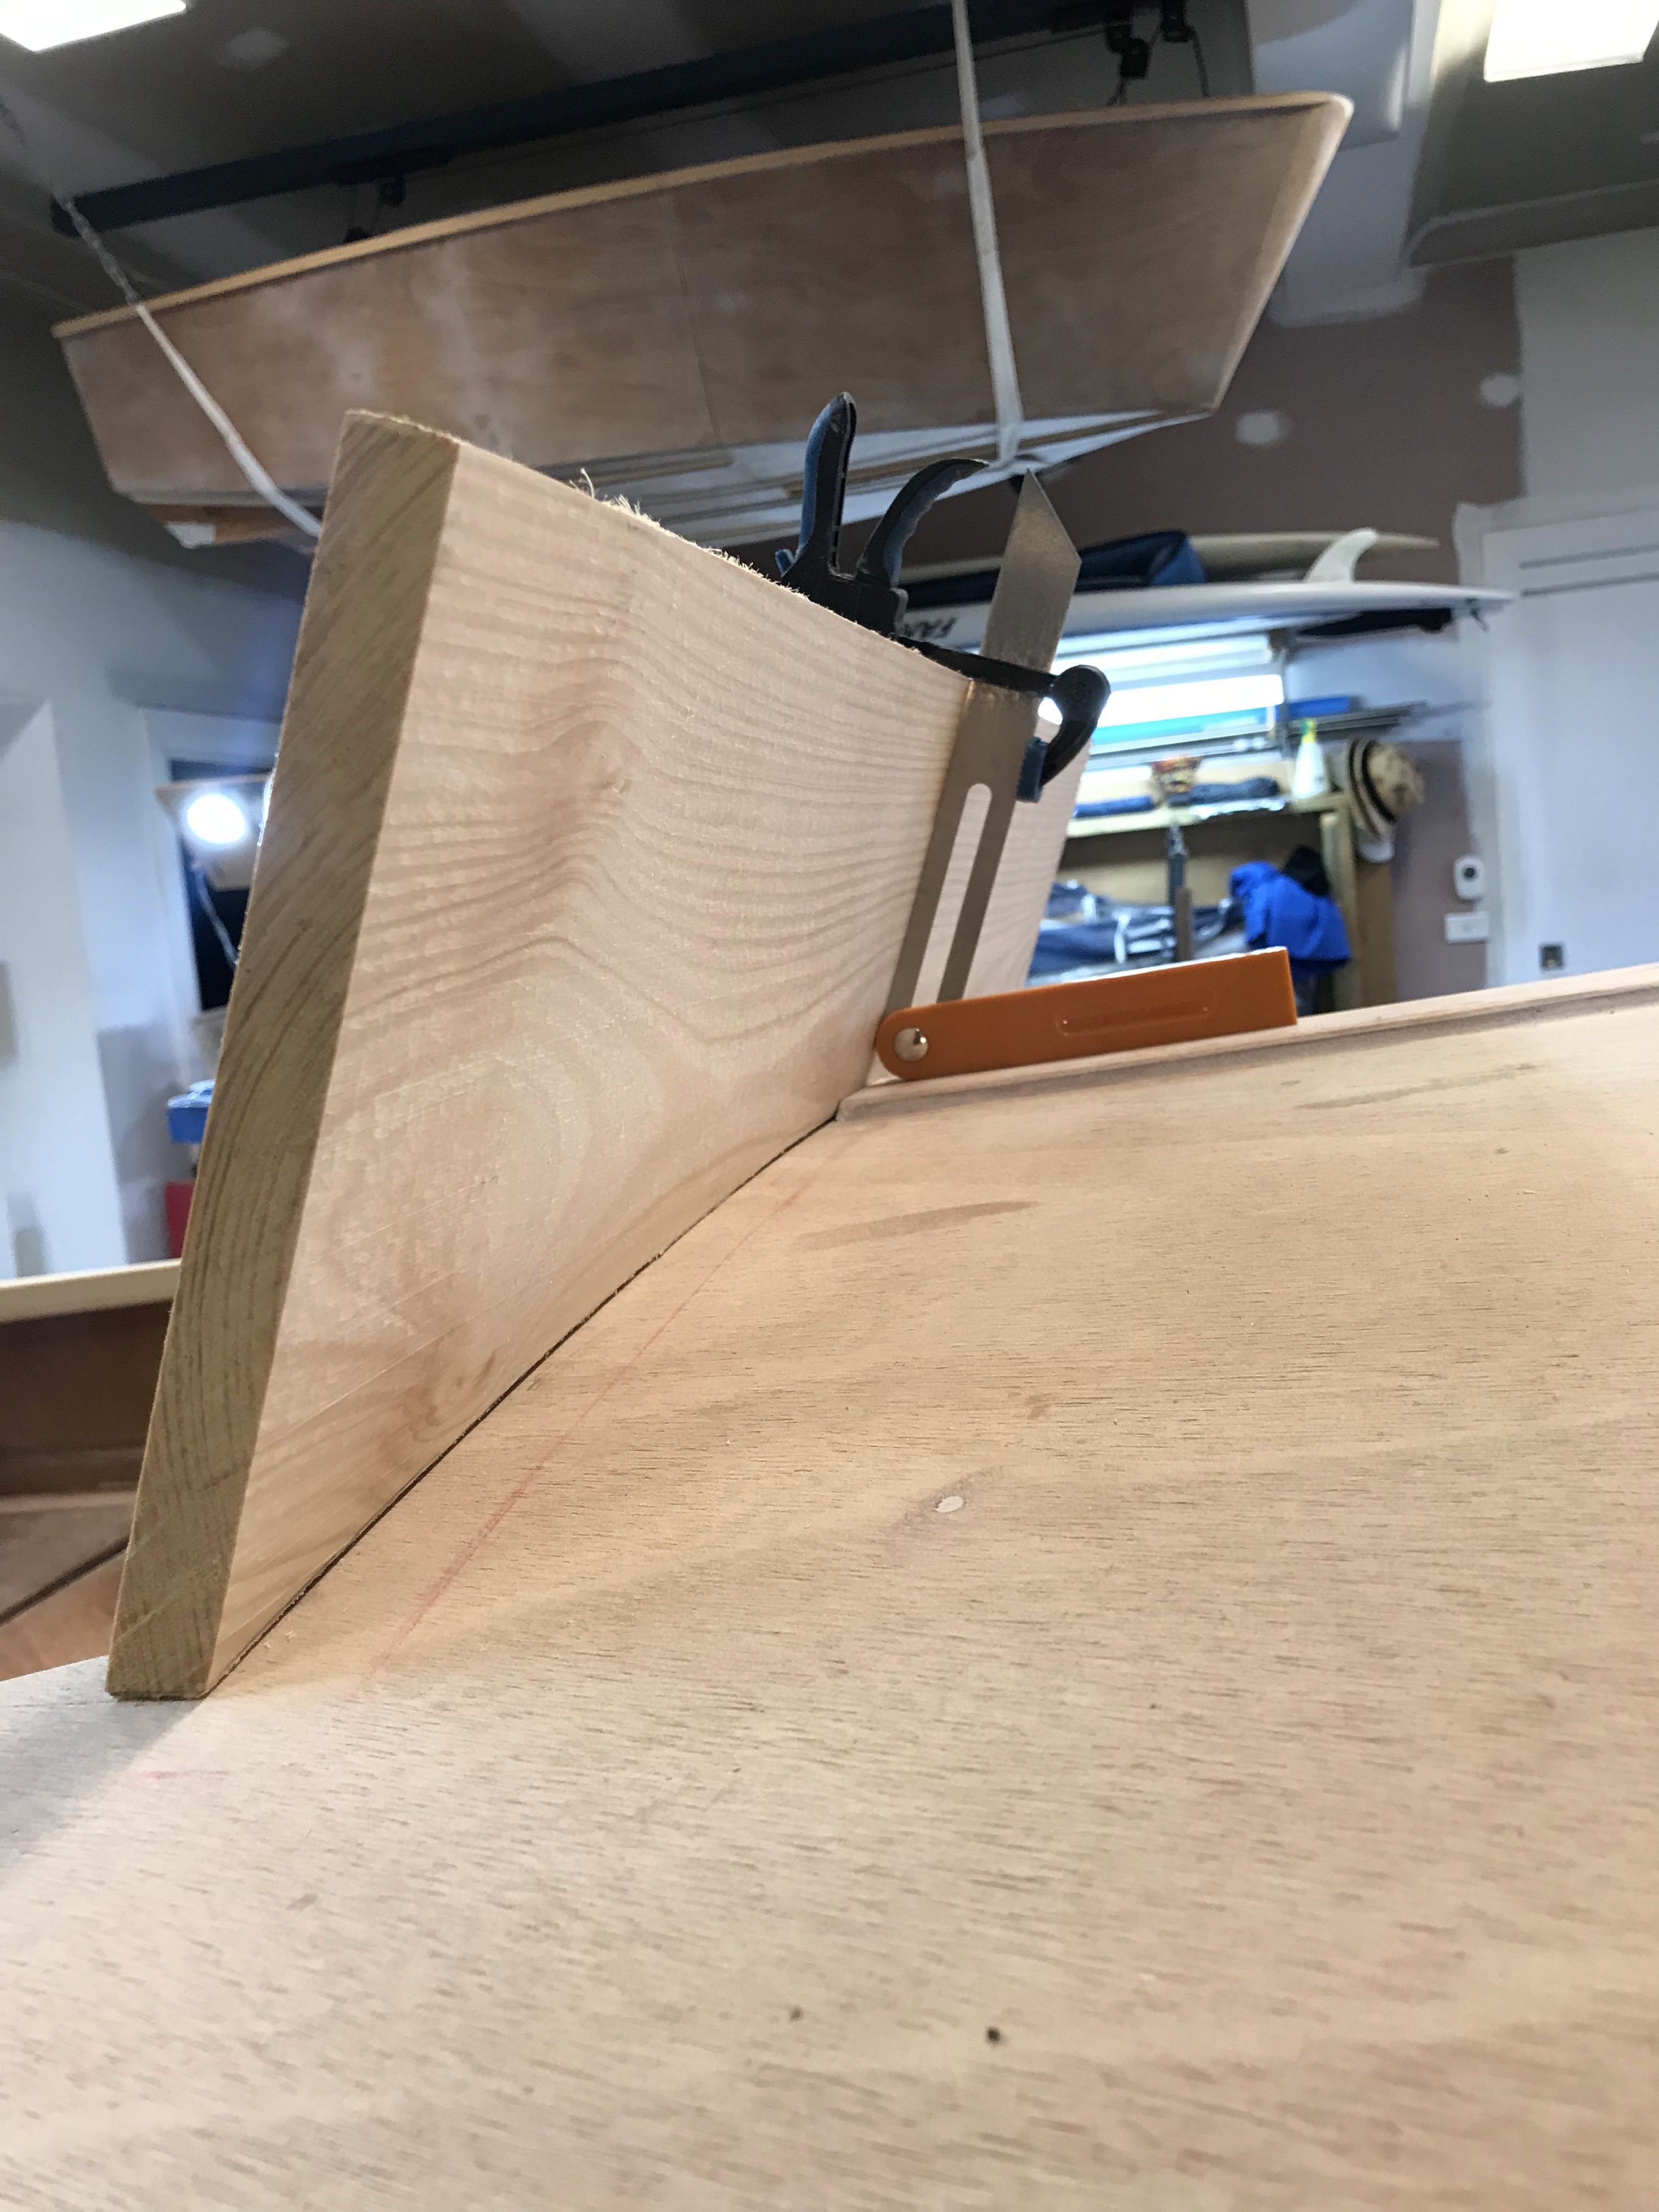
The curve is traced from the template onto the Hoop Pine. Unfortunately, my Band Saw is too small and doesn't have the grunt to cut thicker timber sections so out with the old jig saw and time to make some dust. I made the width slightly wider than the plan to give a bit of wriggle room in case any minor adjustments are required.
I also made the Hoop Pine piece taller so the off cut can be used for the trim piece.
The section is trial fitted on the deck, the angle on the bottom looks a good fit.
A parallel line is scribed using a template measuring 114 mm. I simply moved the template along the deck top while marking the height and again cut the section with the jig saw.
The Companionway sides, and the Companionway slide sections are cut from the plans. I used a combination of Hoop Pine and Oregan for the Sea Hood which will lacquered bright.
Here are all the components for the hood and slide.
The lower edges of the side rails are beveled to the angle of the cabin top, and the grooves for the companionway slides are cut on the table saw.
The companionway hood and slide units are assembled.
Several trial fittings and further minor adjustments were required to ensure the hood fitted neatly.
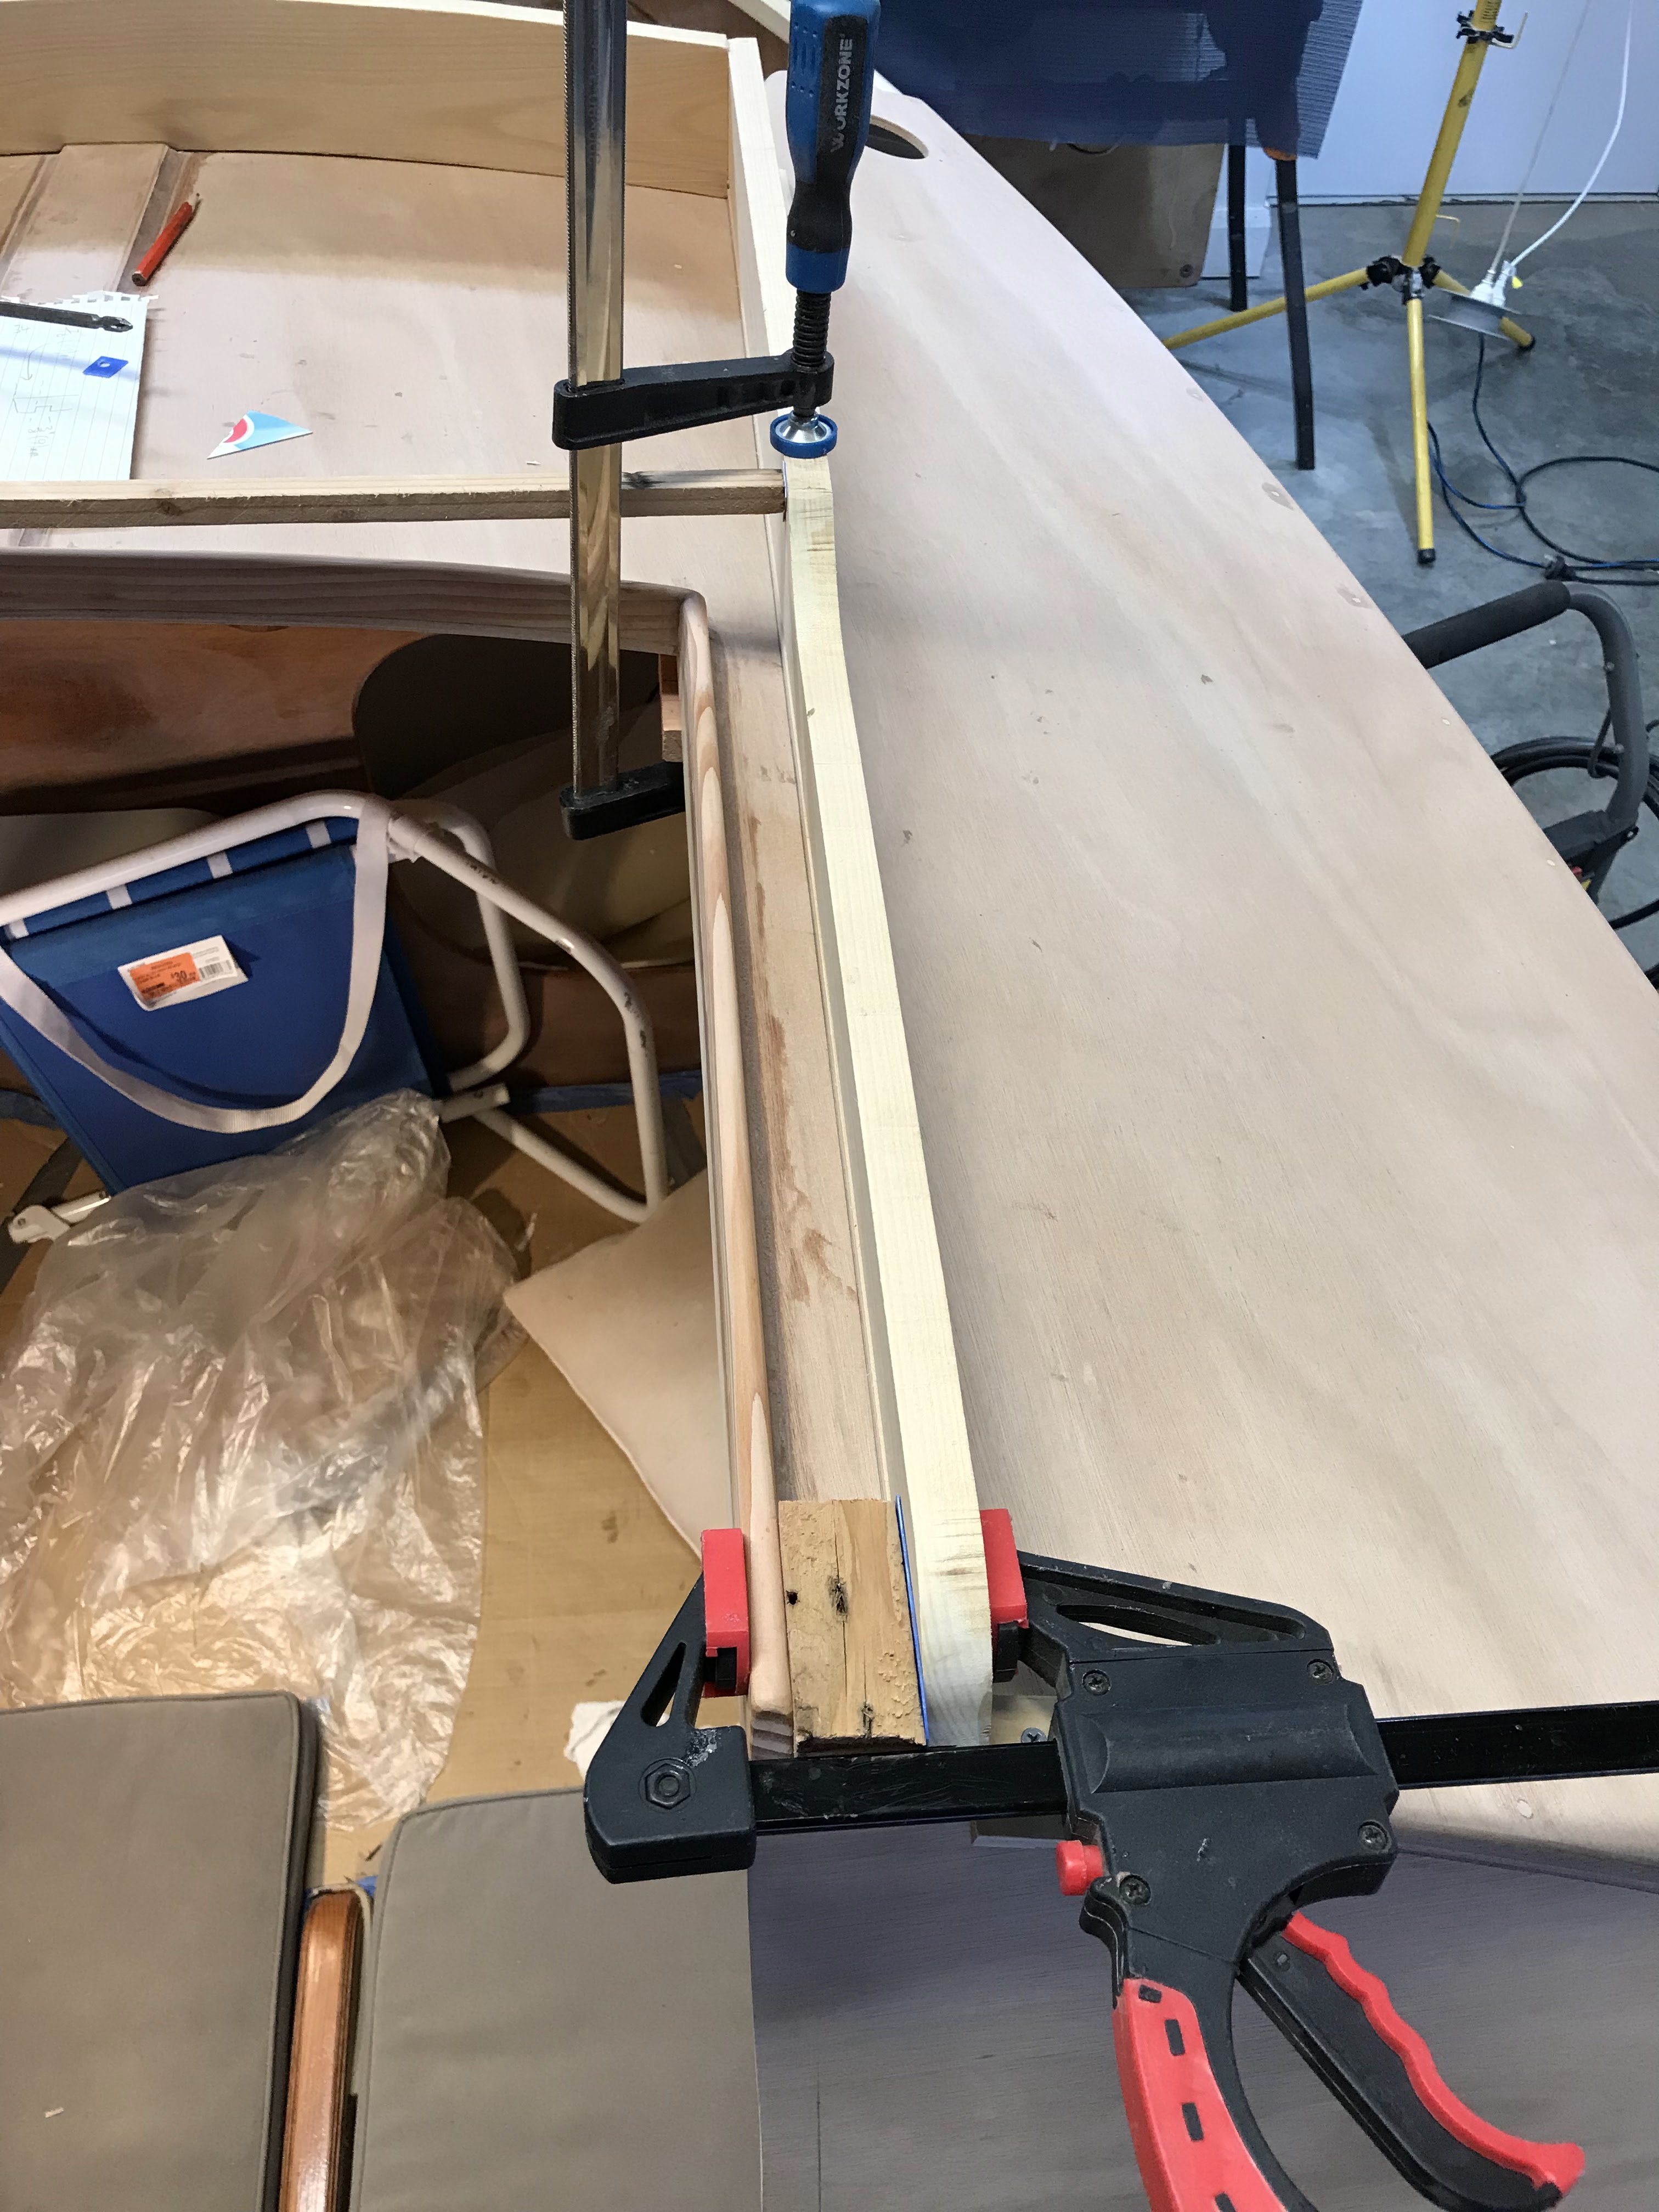
Timber spacers are clamped between the companionway side and the sill to ensure the sides are parallel.
Temporarily locating blocks are screwed to the cabin top to ensure the Hood is located in the correct position. This is the forward locating block and.....
this is the aft locating block.
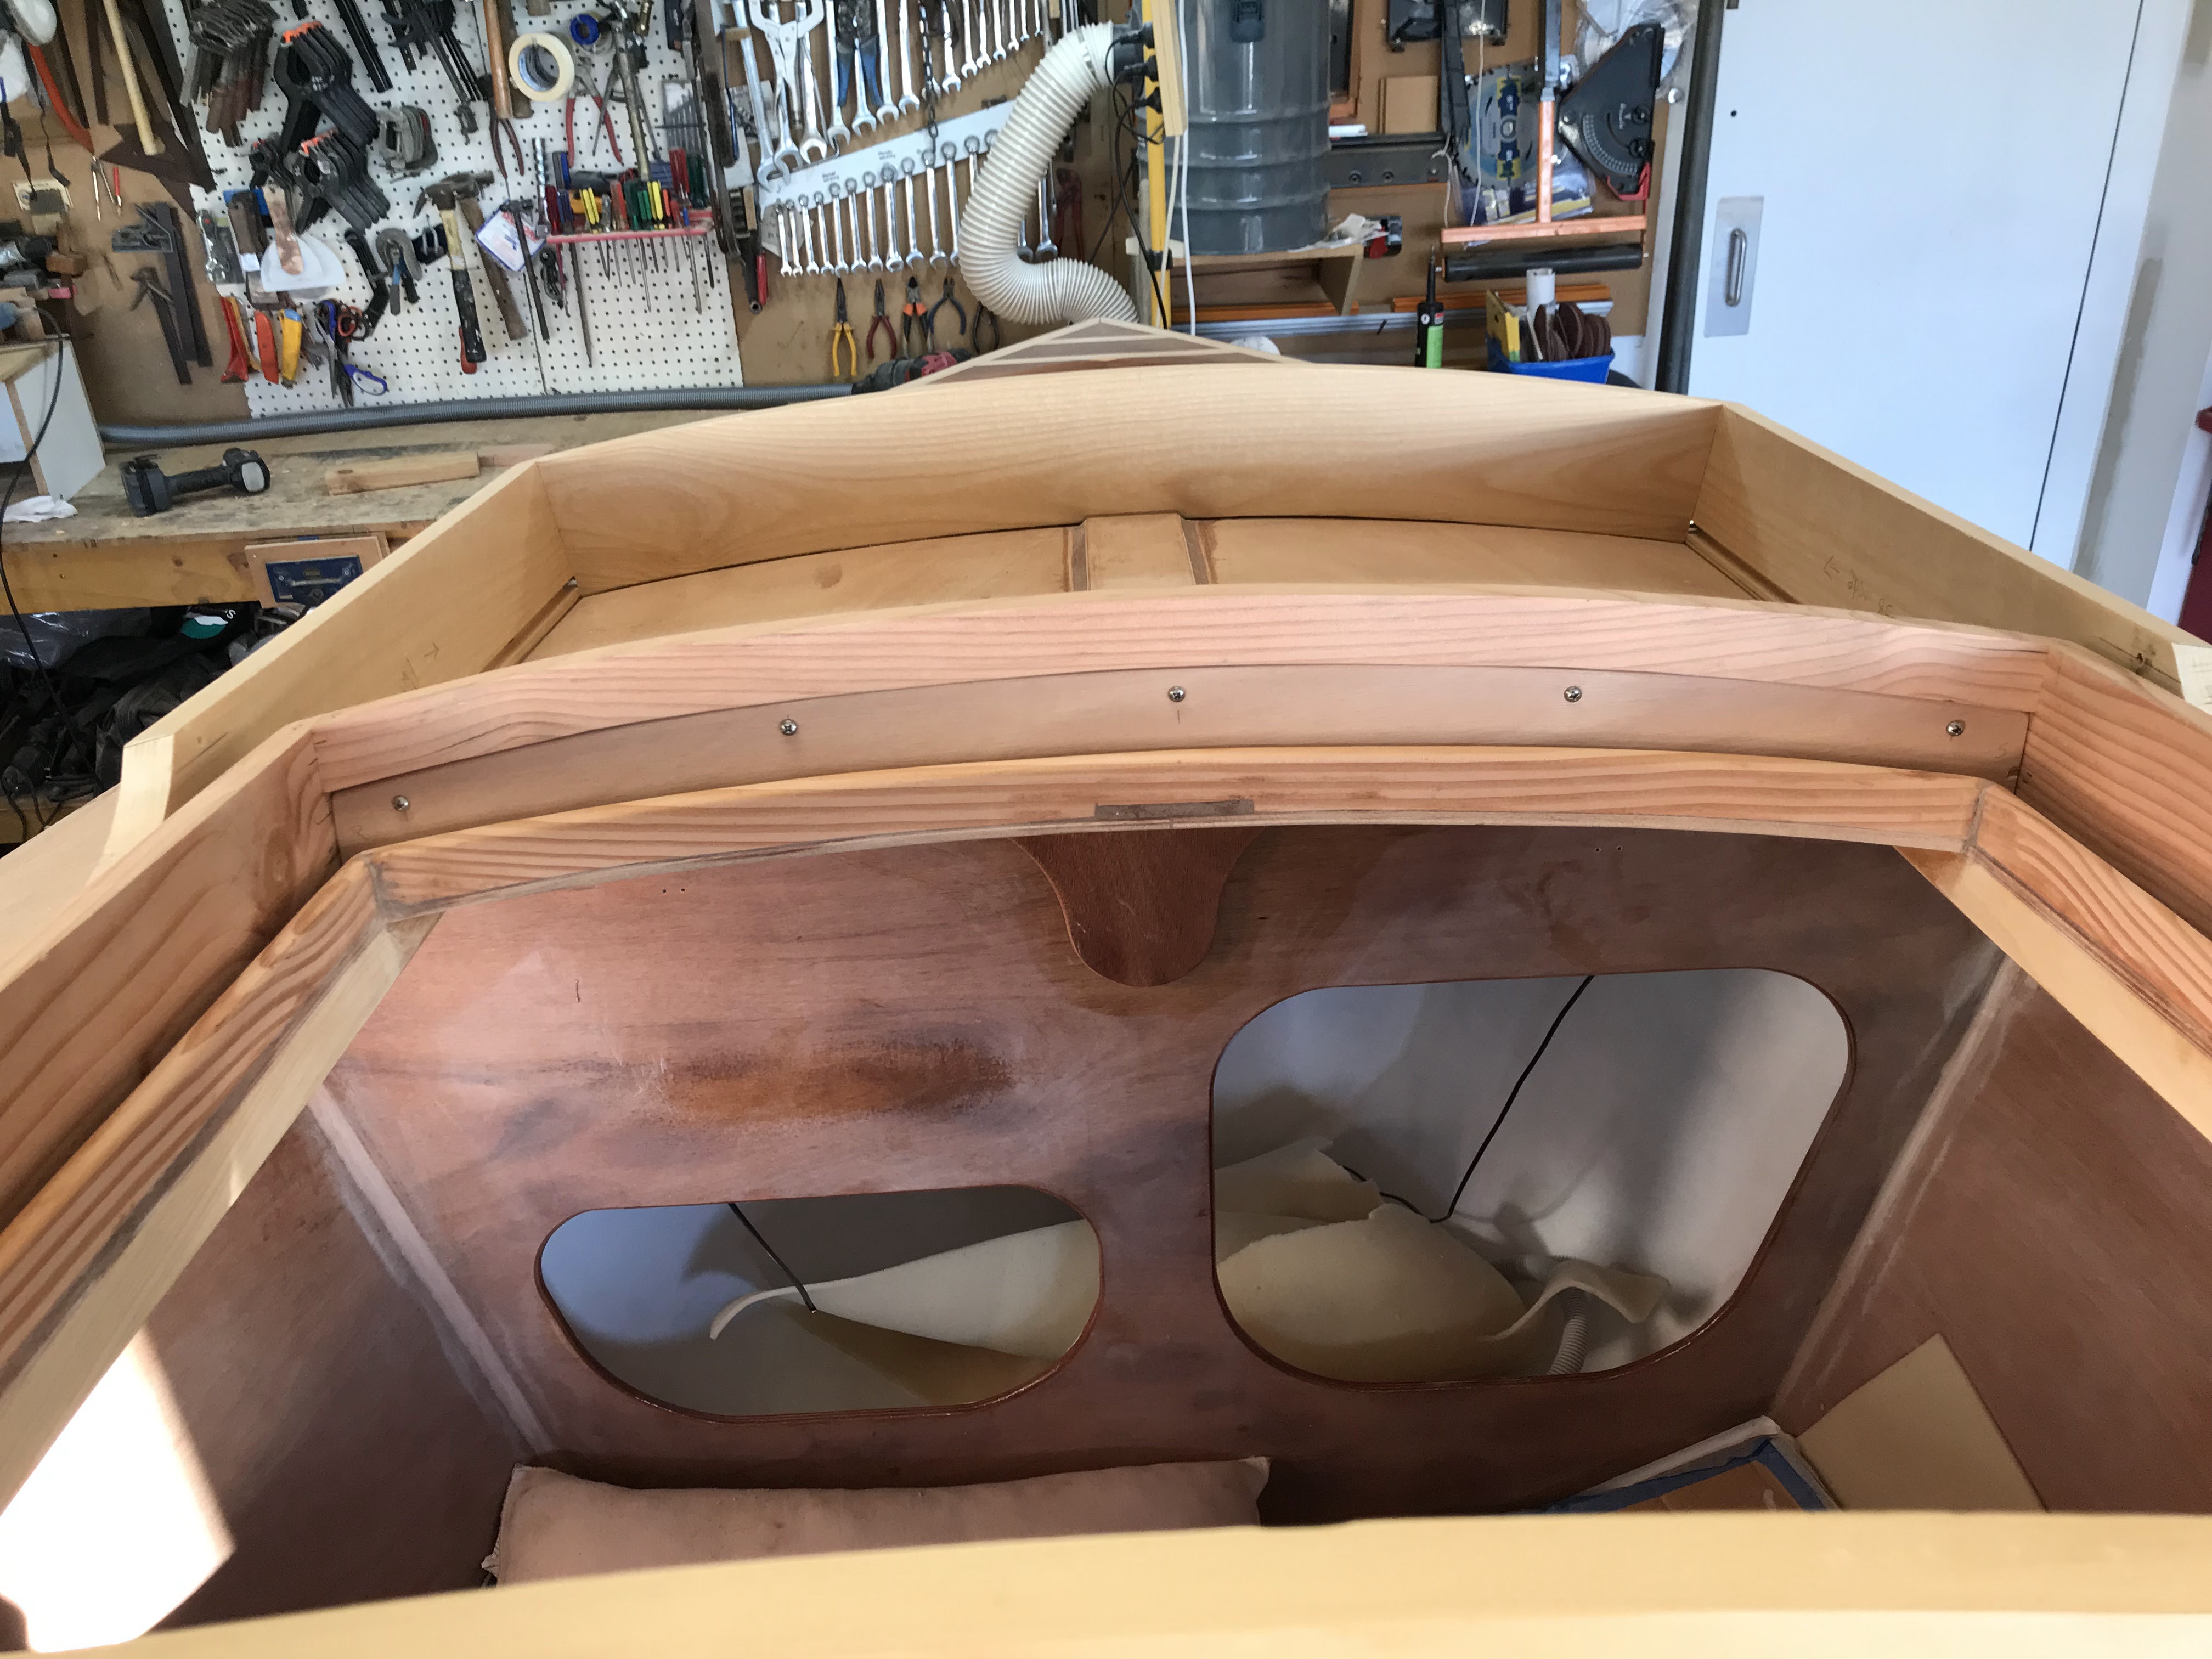
The hood is screwed into place from inside the cabin.
The slide requires rails to ride in the slots. I had some old Lexon off cuts from a previous boat build, it measured 6mm in thickness and cut easily on a table saw, PERFECT.
The rails are screwed onto the slide.
but I don't like the square cut outs for the sill cleats. I'm thinking of doing something here......
The trim piece located on the rear of the companionway hood is cut from the left over of the front section of the companionway hood. The next picture shows the trim piece sitting atop the companionway hood.
The companionway slide is trial fitted, it required some adjustment and trimming to ensure its smooth operation.
To prevent the companionway slide from coming completely out and to ensure it is correctly located when fully closed I decided to insert a 6mm ply blocking piece into the forward arch. I marked the arch with a small template resting on the sill.
I made several passes on the router table to form the recess in the arch. The recess was made deep enough to ensure the fully closed hatch overlaps the drop boards thus preventing water egress.
Here you can see the recess in the forward arch.
And here is the blocking piece screwed into the arch. It can be easily unscrewed, and the sliding hatch removed providing access to the inside section of the companionway hood.
Now it's time to pretty up all the Sea Hood.
I removed and dissembled the Sea Hood and slide. Before installing the hood and slide top deck I decided to laminate 6mm thick strips of blue gum into the hoop pine sections.
This follows the theme I had commenced on the bowsprit (see April 2024 post).

Two parallel 6mm wide by 2mm grooves are routed into the side sections using a small trimming router. The side fence smoothly followed the edges.

This pictures above shows the shallow grooves in the hoop pine and the blue gum strips.
After setting the strips in place with epoxy the pieces are clamped together. Plastic sheets placed between each section to prevent them sticking together while the epoxy sets.
The excess is trimmed up with a hand plane.
And cleaned up with an orbital sander.
I decided to laminate a blue gum strip on top of the companionway hood and slide trim pieces. After shaping the trim pieces, I cut them lower by 7mm. Then I shaped two blue gum strips.
The blue gum strips are epoxied to the trim pieces and held with clamps.
Clamps off ready for cleanup.
And here they are after a run pass the bench sander.
I didn't like the square shaped gaps on the aft face of the companionway slide, so I epoxied a blue gum insert.
The arch shaped pieces follow the curve of the sill cleats.
And here is a pic after clean up.
Now I think that looks better than a square opening.
Dont you agree?
Next the companionway hood and slide decking tops.
The slide Decking Top.
I epoxied the top down with clamps only, using scrap ply strips under the clamps to ensure a smooth arc and protect the lid from clamp marks.
Time to clean up the overhang ply on the slide. I angled the trimming router to the angle of the slide top and made some dust….my neighbors just love me.
After cleanup I smoothed fiberglass cloth over the top and down the sides.
The cloth is wetted out, this is the first of three coats, I will do wet on wet for the remaining coats.
I trial fitted the sea hood top in situ on the cabin top prior to removing to a bench. The sides are glued to the front section and all mating sections are wetted out with undiluted epoxy.
The hood trim piece is glued and screwed to the top; you can see the curve in the pic. The underside is wetted out with undiluted epoxy.
All adjoining surfaces are covered with thickened epoxy and screwed down. Starting from the middle of the forward section I screwed down athwartships then screwed down both sides aft, cleaning up any squeezed-out epoxy.
The sea hood is temporarily screwed back on the cabin top until the epoxy is set.
To install the trim piece and prevent "epoxy slide" I inserted small pins (made by cutting up a 4 mm dia. galvanized nail) sharpened to a point.
I located the trim piece above the slide and using a rubber mallet tapped the trim piece down pushing the sharpened pins into the slide top.
This provided countersunk points where I could drill holes for the pins.
The trim piece is glued in place with thickened epoxy and held with clamps.
While waiting for the hood and slide epoxy to set I cut out the plywood flange that surrounds the inside edge
of the companionway.
The sea hood is cleaned up, edges rounded, and sides sanded smooth. The screw holes need to be plugged and the whole unit glassed, that will be in a future post.
In prep for the plywood flange that surrounds the inside edge
of the companionway I angled the base of the companionway
opening so that water can’t gather.
The flange is epoxied in place and held with clamps.